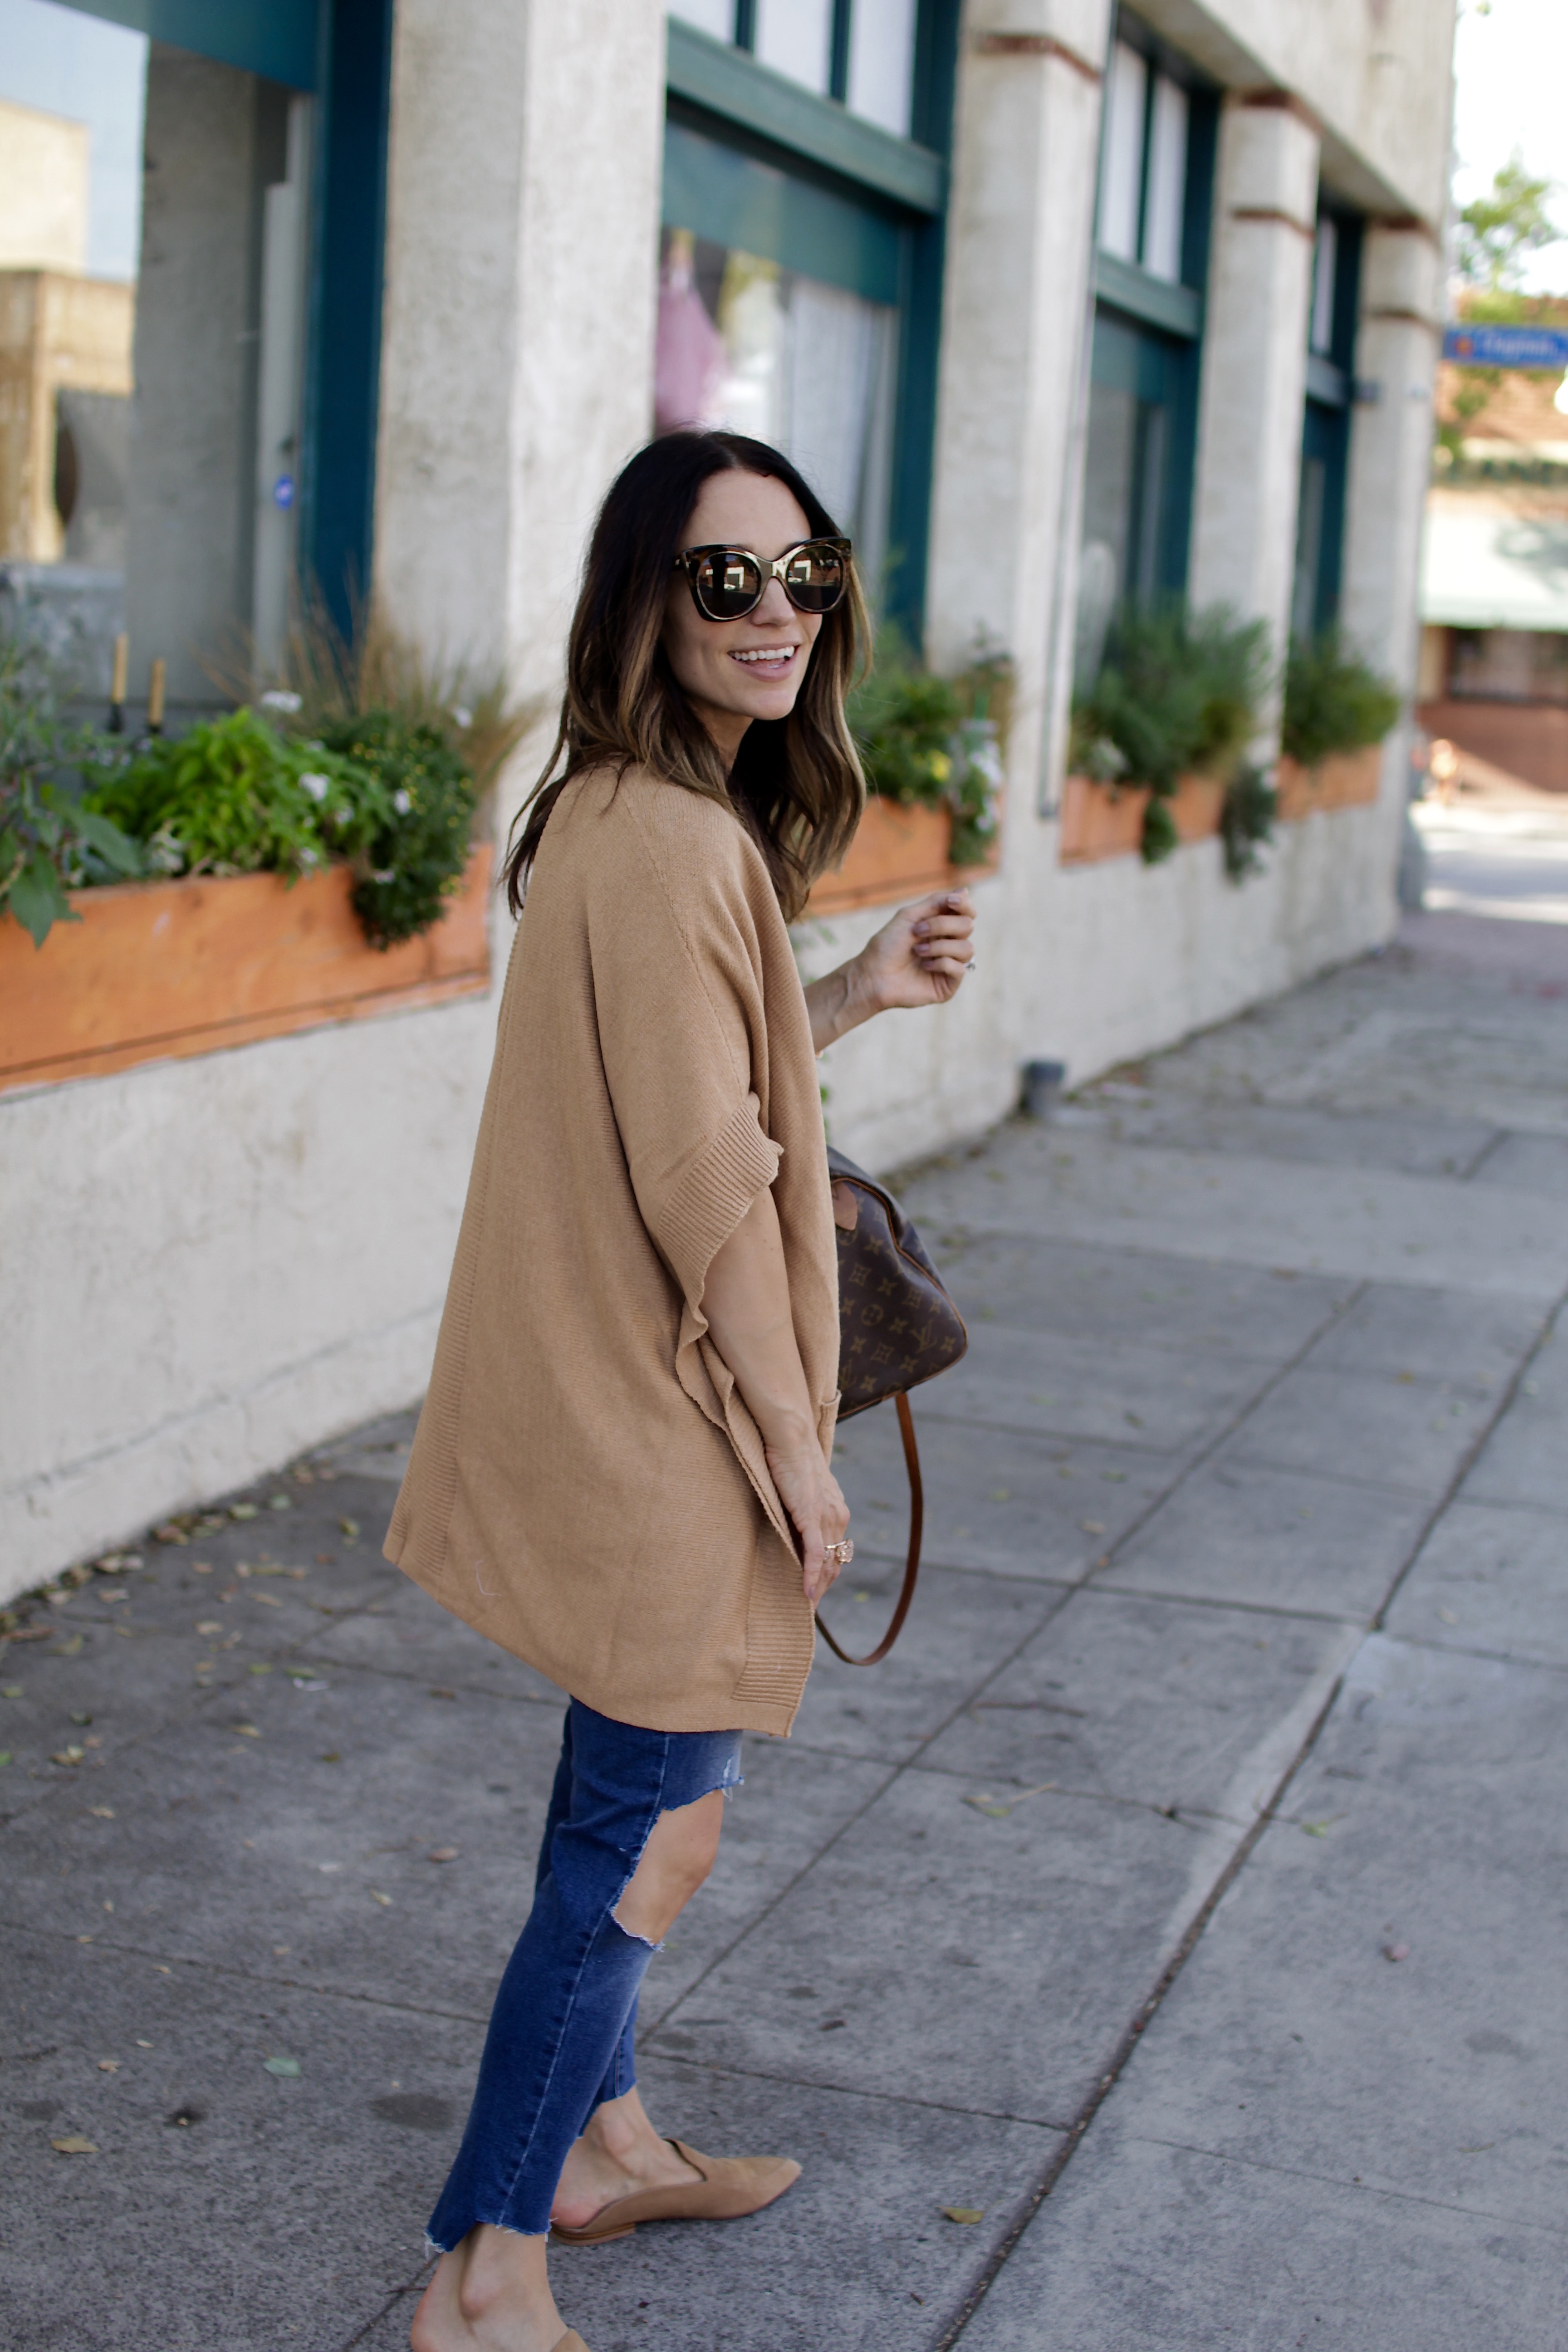


 {Outfit Details || Jeans | Top | Cardigan | Mules | Sunglasses| Druzy Ring | Phone Case | Pendant Necklace | Crescent Necklace}
As a short girl (5’1″ over here!) jean shopping was (is) never easy. I’d try on a pair of jeans, even in petite, and I could never tell how they were really going to look because the legs were about a foot too long (and rolling them under just isn’t the same). Oh, and don’t forget that if I tried on a pre-distressed pair, the hole was pretty much just below my knee… not really the “cool” look I was going for. Then, once I settled on a pair, the extra step of having to get them hemmed was a hassle…. the jeans would inevitably sit in my closet for a few weeks before I would get around to taking them in to get hemmed. So, when the raw hem trend hit I was ecstatic. Not only was it in line with my style, it was pretty much the panacea for my denim woes. I started just chopping off the bottom of my jeans and ripping my pre-distressed holes a little bigger…. all on my own…. and was pretty satisfied with the end result.
Then… the denim industry decided to hit us short gals with another blow. The step-hem. When I saw this pair, I had to have them…. yet, when I tried them on, they were horrible. Not the cool girl look I was going for when the hem pretty much hit the ground (so much for that shorter inseam). Frustrated, I got to thinking…. how hard can that hem really be? I got brave one day during Harper’s nap and whipped out this old pair of jeans…. and hacked away… creating a whole new look (pre-distressed here… very old post!), and the hem I had been coveting… all within 15 minutes. As I started to wear them on instagram, people started asking for a tutorial… and so this post was born…
If you’re a short girl like me, or simply looking to distress a tired pair of jeans, then this post is for you! I have a step-by-step tutorial on how to create the look (I really wanted to do a video, but haven’t mastered that….). Yet, my disclaimer is that what you end up creating might not look exactly like mine… but that’s the beauty of it… every pair looks slightly different, while still maintaining that casual vibe…. oh, and my second disclaimer is that you really can’t worry about the jean.. just trust the process and have at it…. (but if you’re really concerned try it out on a cheaper pair first…)
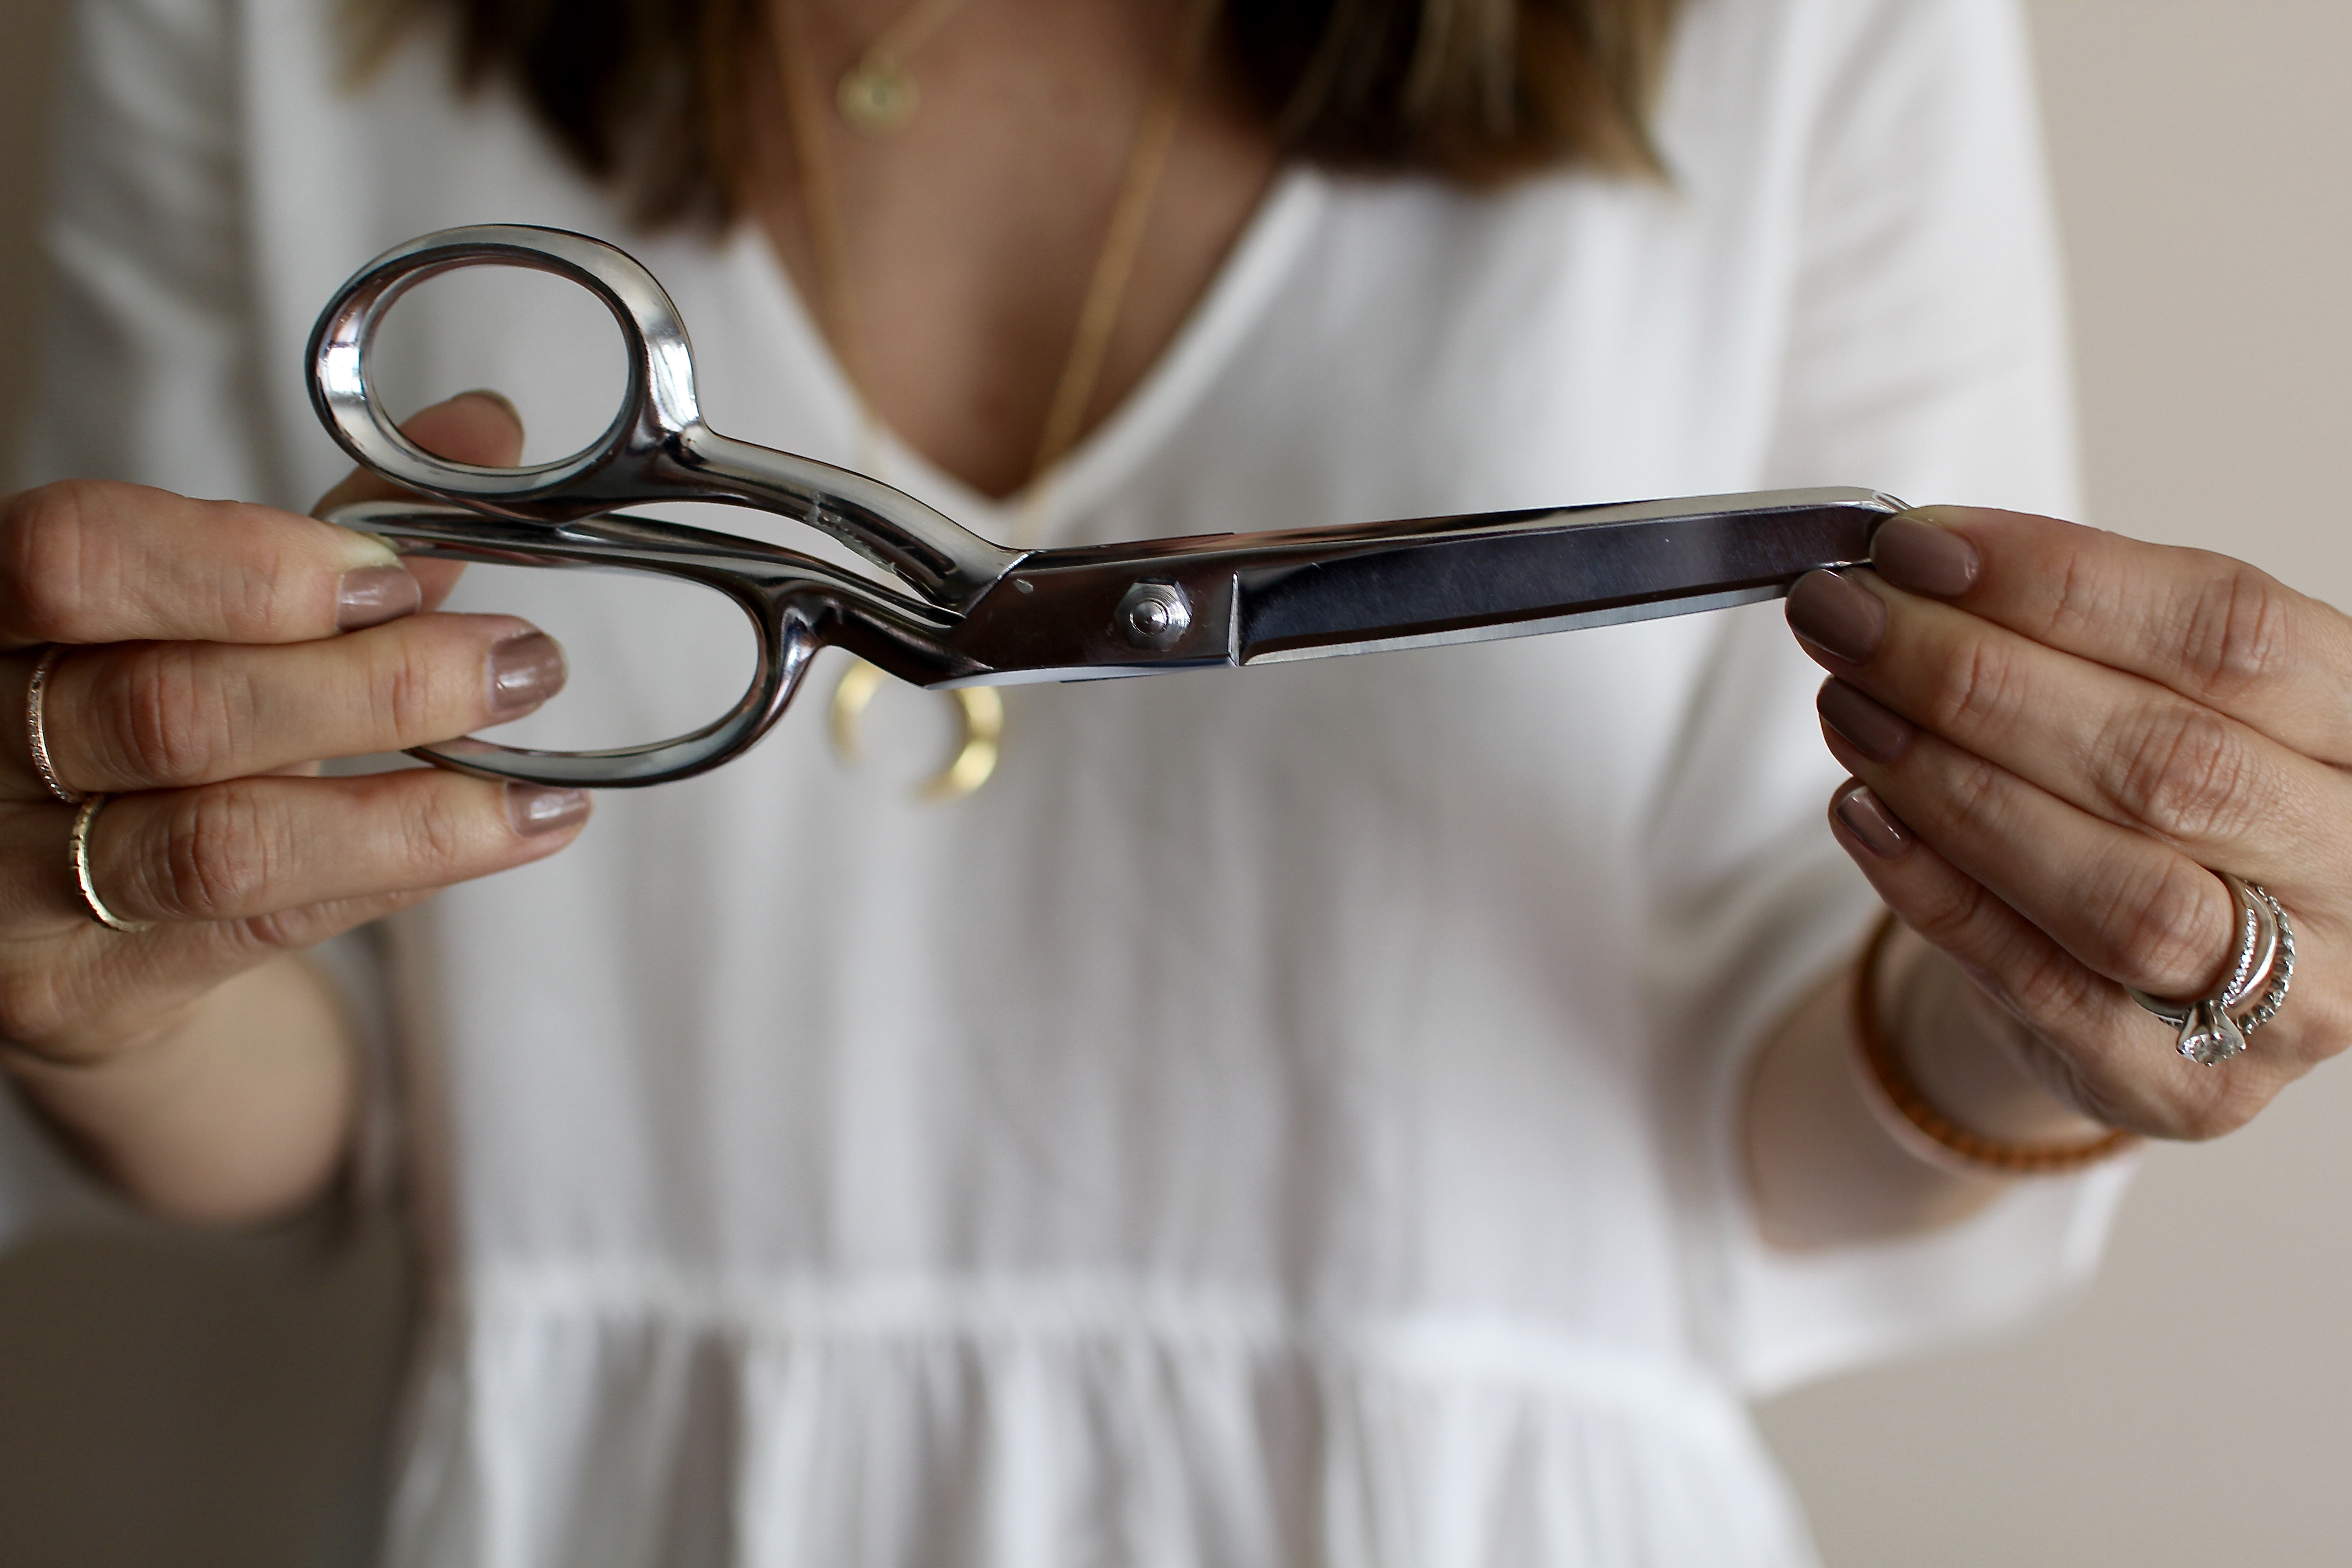
For starters, you need a good fitting pair of jeans. For this hem/distressing, I think the jean needs to have a little looser fit. I purchased these jeans in a size 2 (one size up) to achieve that look. You want to make sure you have a measuring tape and a pair of scissors (these are sewing scissors, but you can use whatever sharp pair you have sitting around…).

To start with the hem, I simply reach down and place a snip where I will want to eventually make the cut. I typically like to have it hit below my ankle, because I will eventually cut the top layer to a length that is above my ankle…..

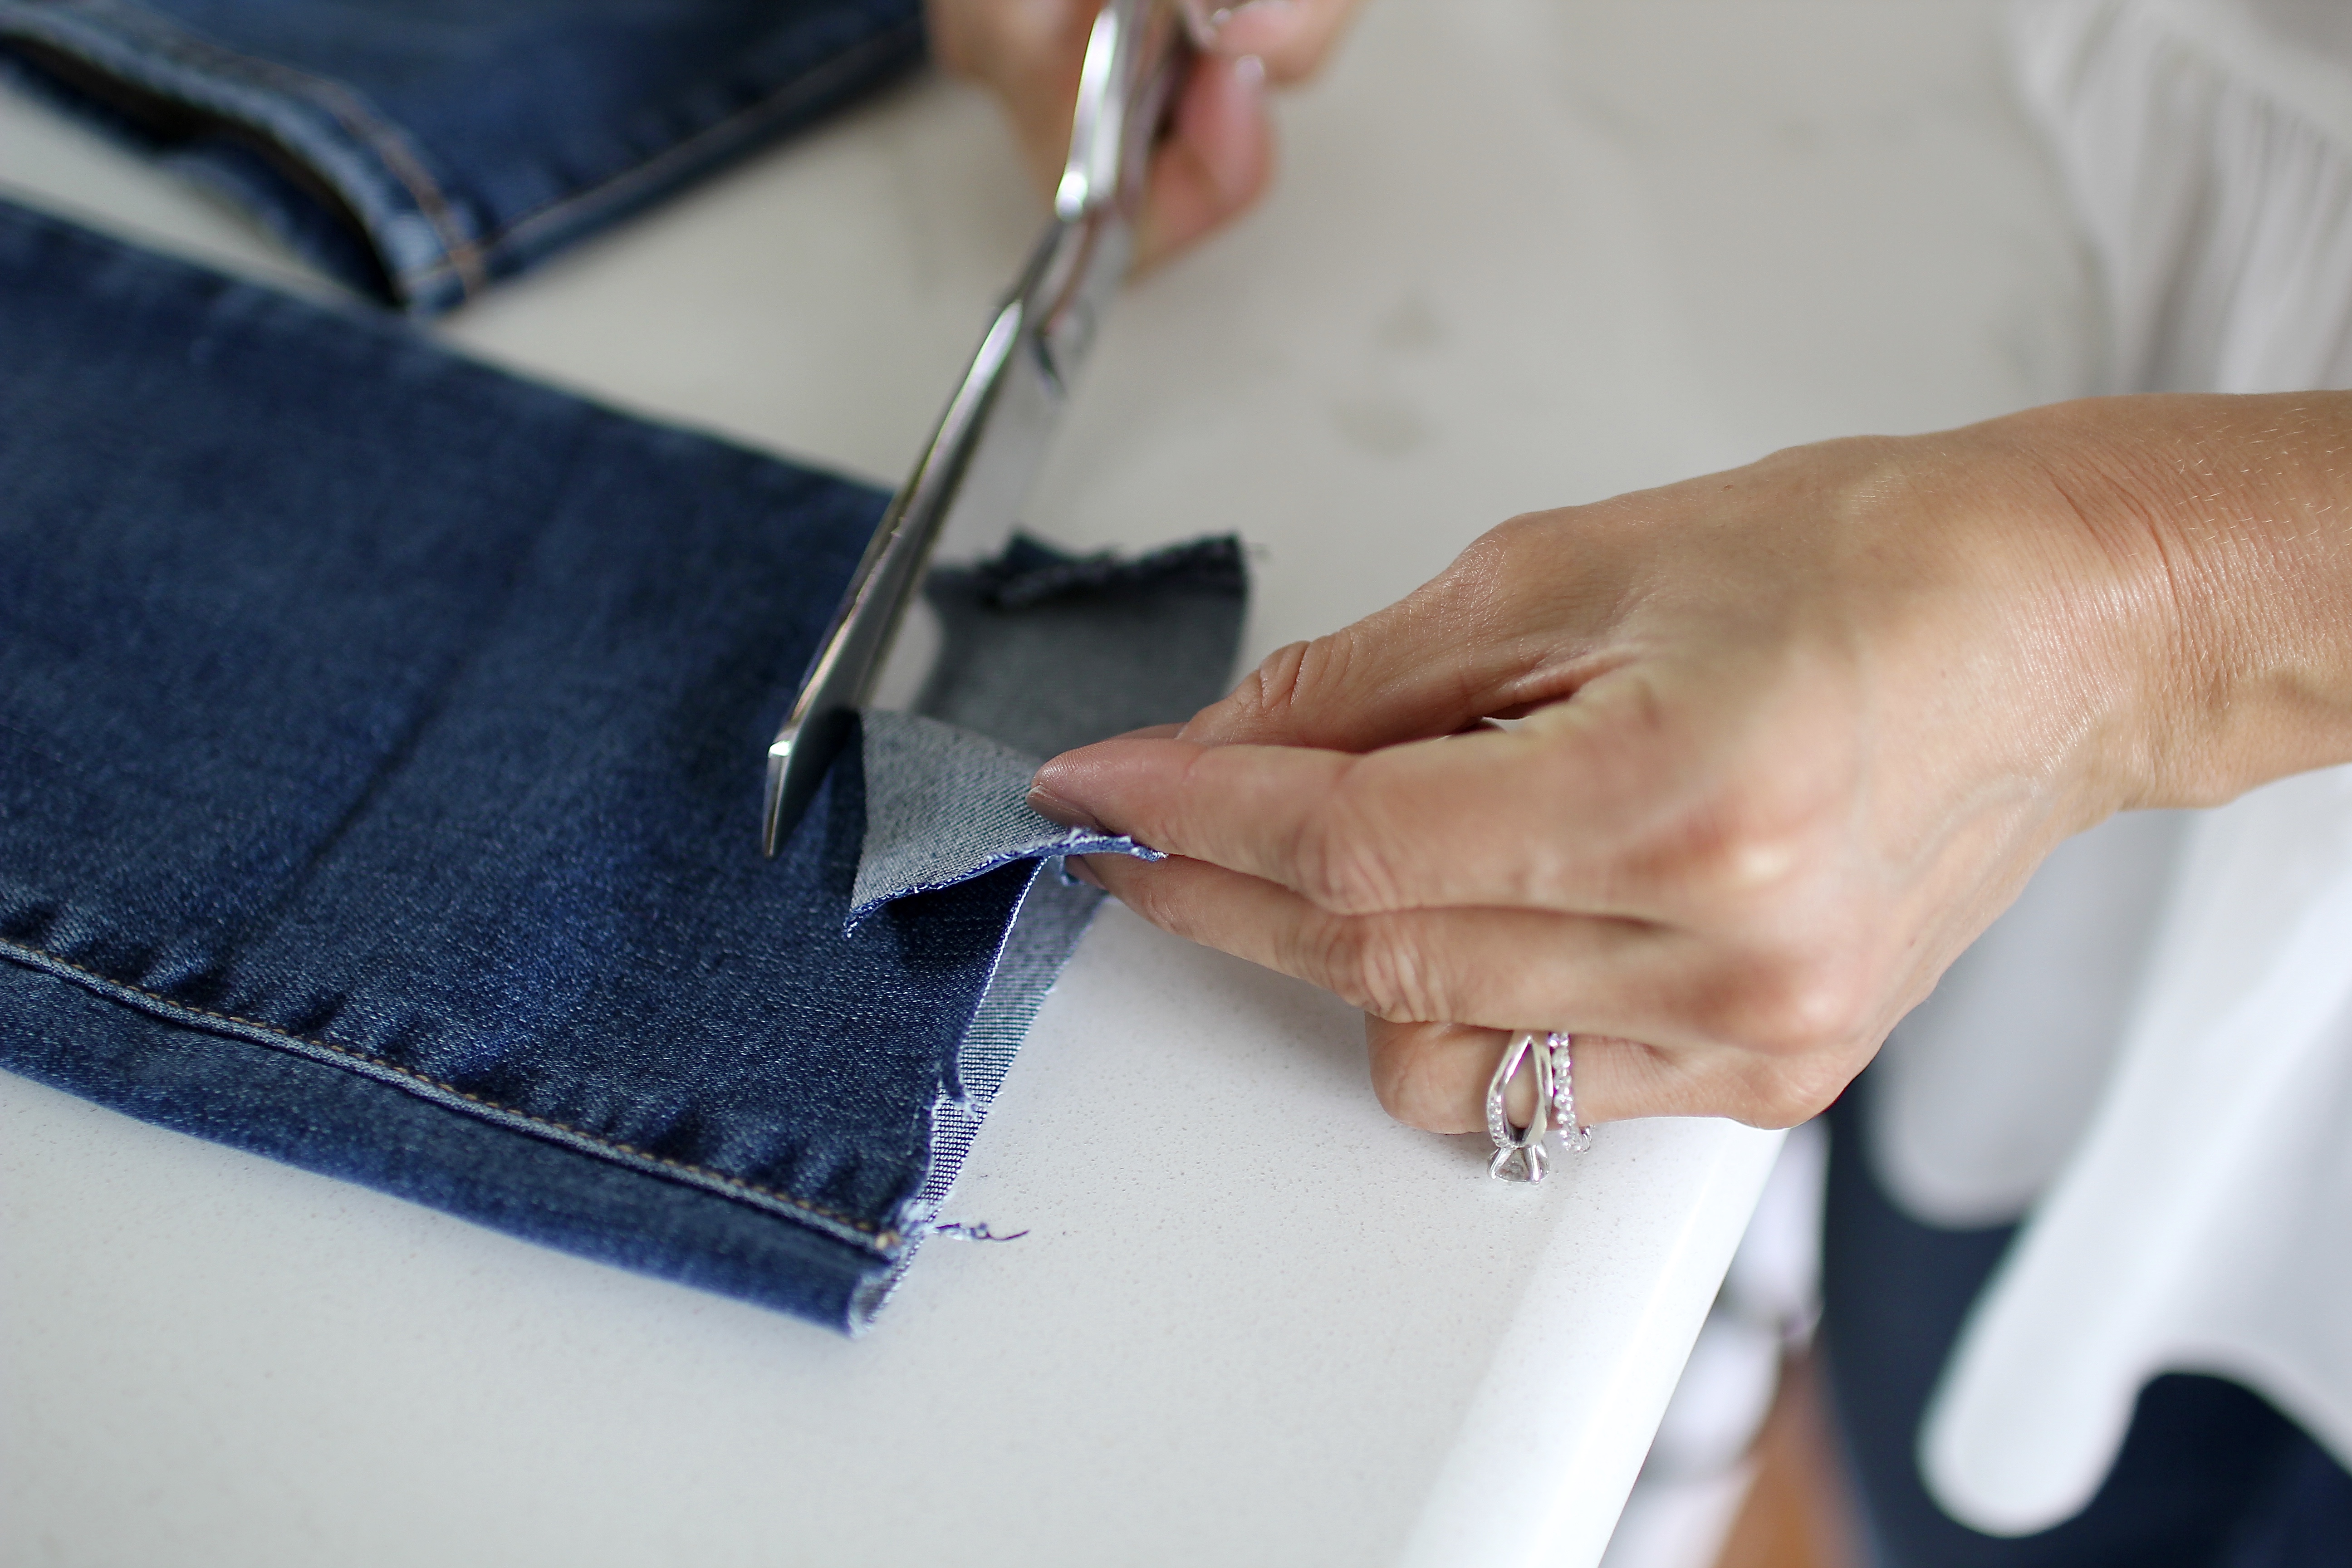
After you make the initial snip, remove the jeans and cut straight across both the front and back of the jean (at the same time). Complete on both sides….
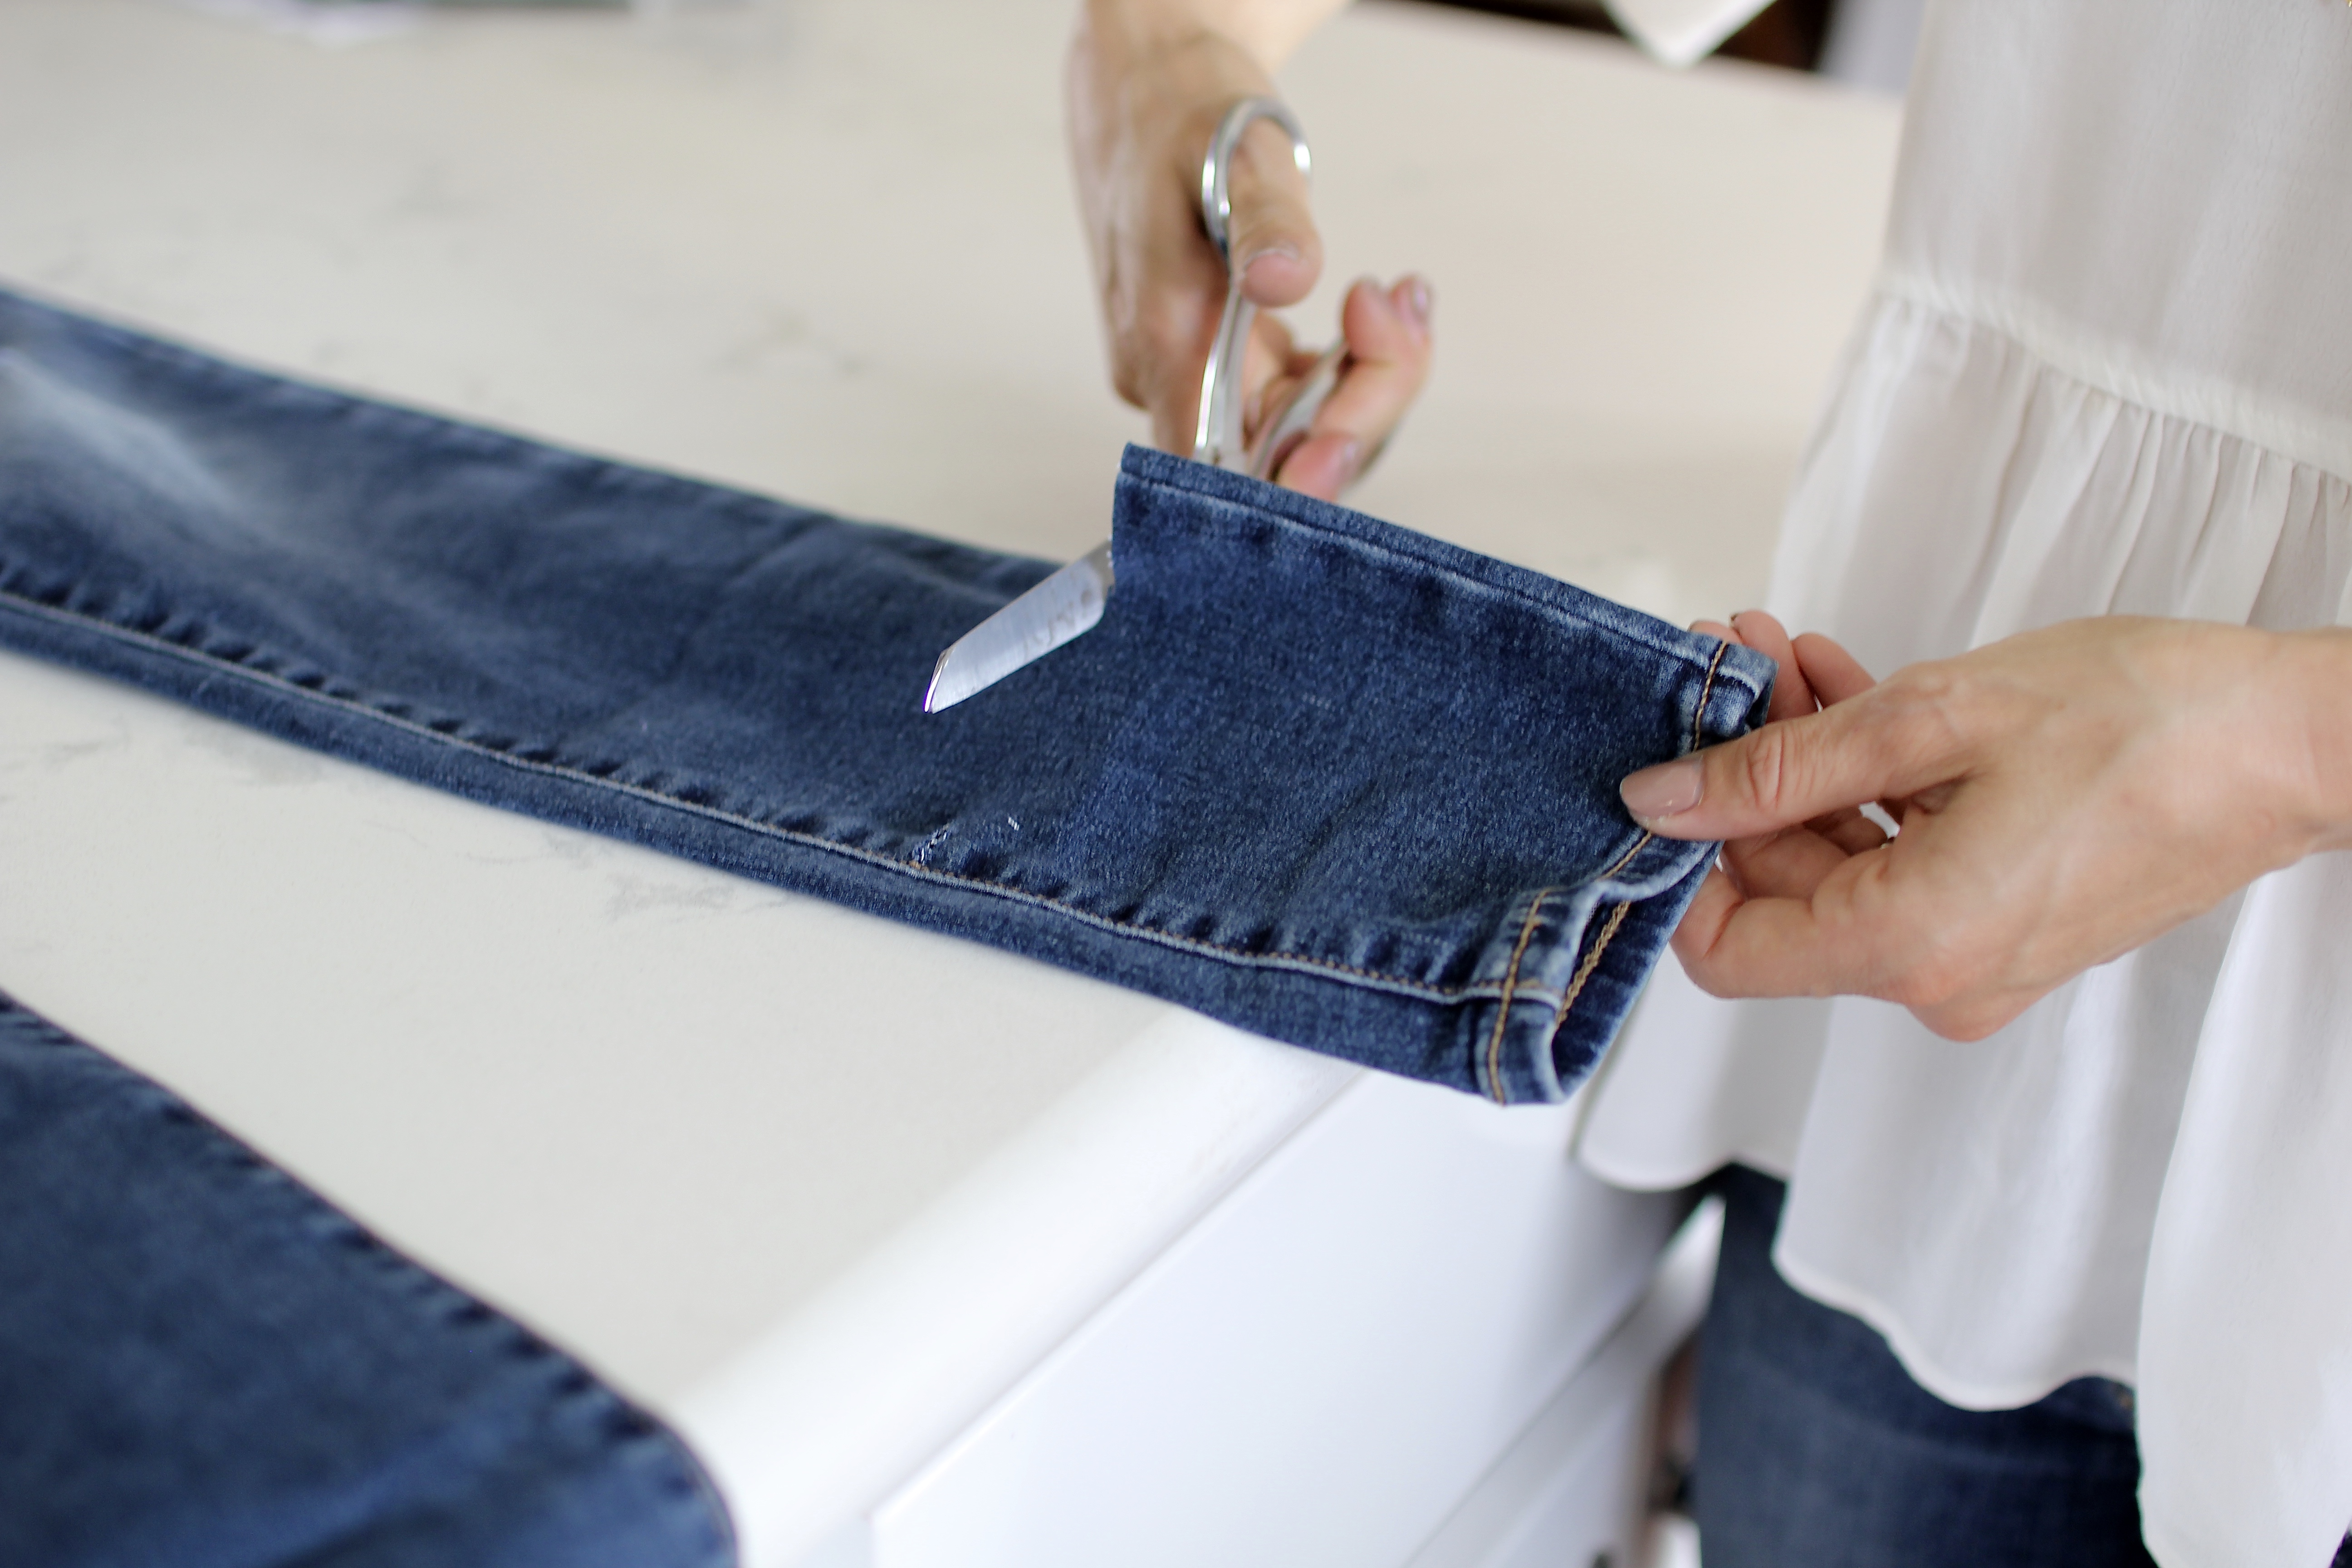
Next, I measure about 1 1/2-1 3/4 inches up from the bottom hem and then I cut straight across the top layer. When I’ve completed the cut, I also cut off the thick hem that is on the side of the jeans…..


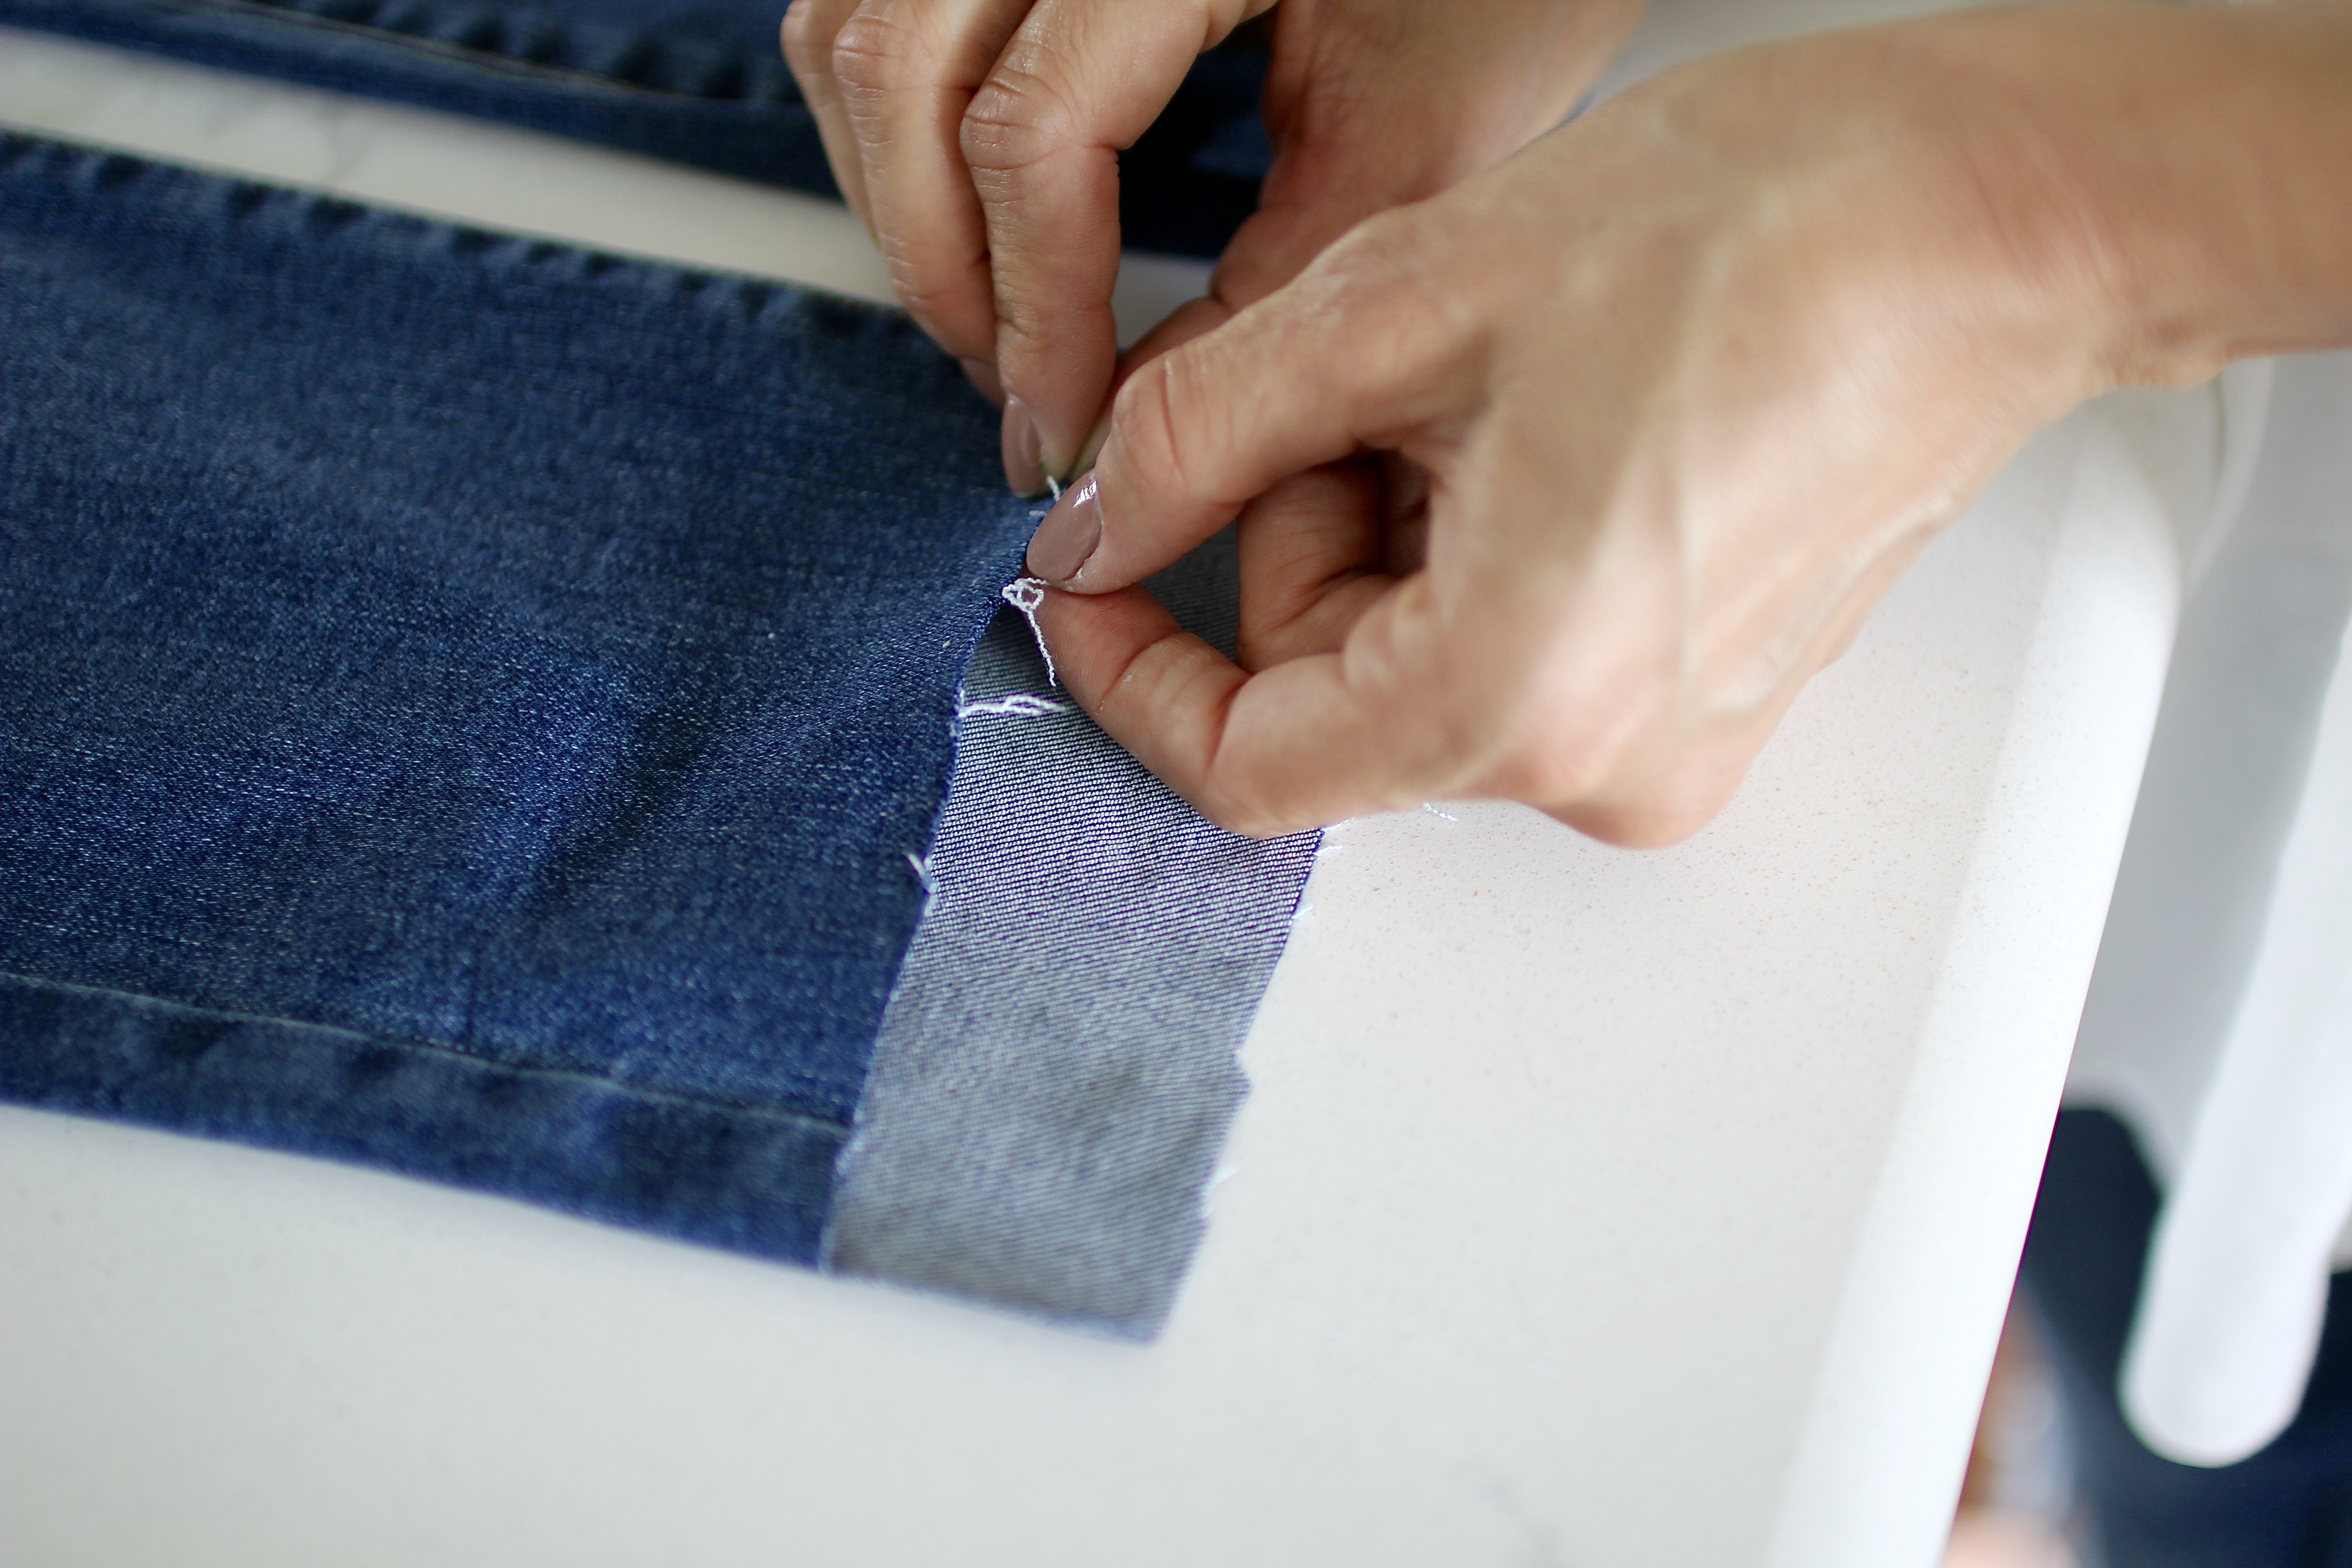
Then I attempt to pull a few strands out
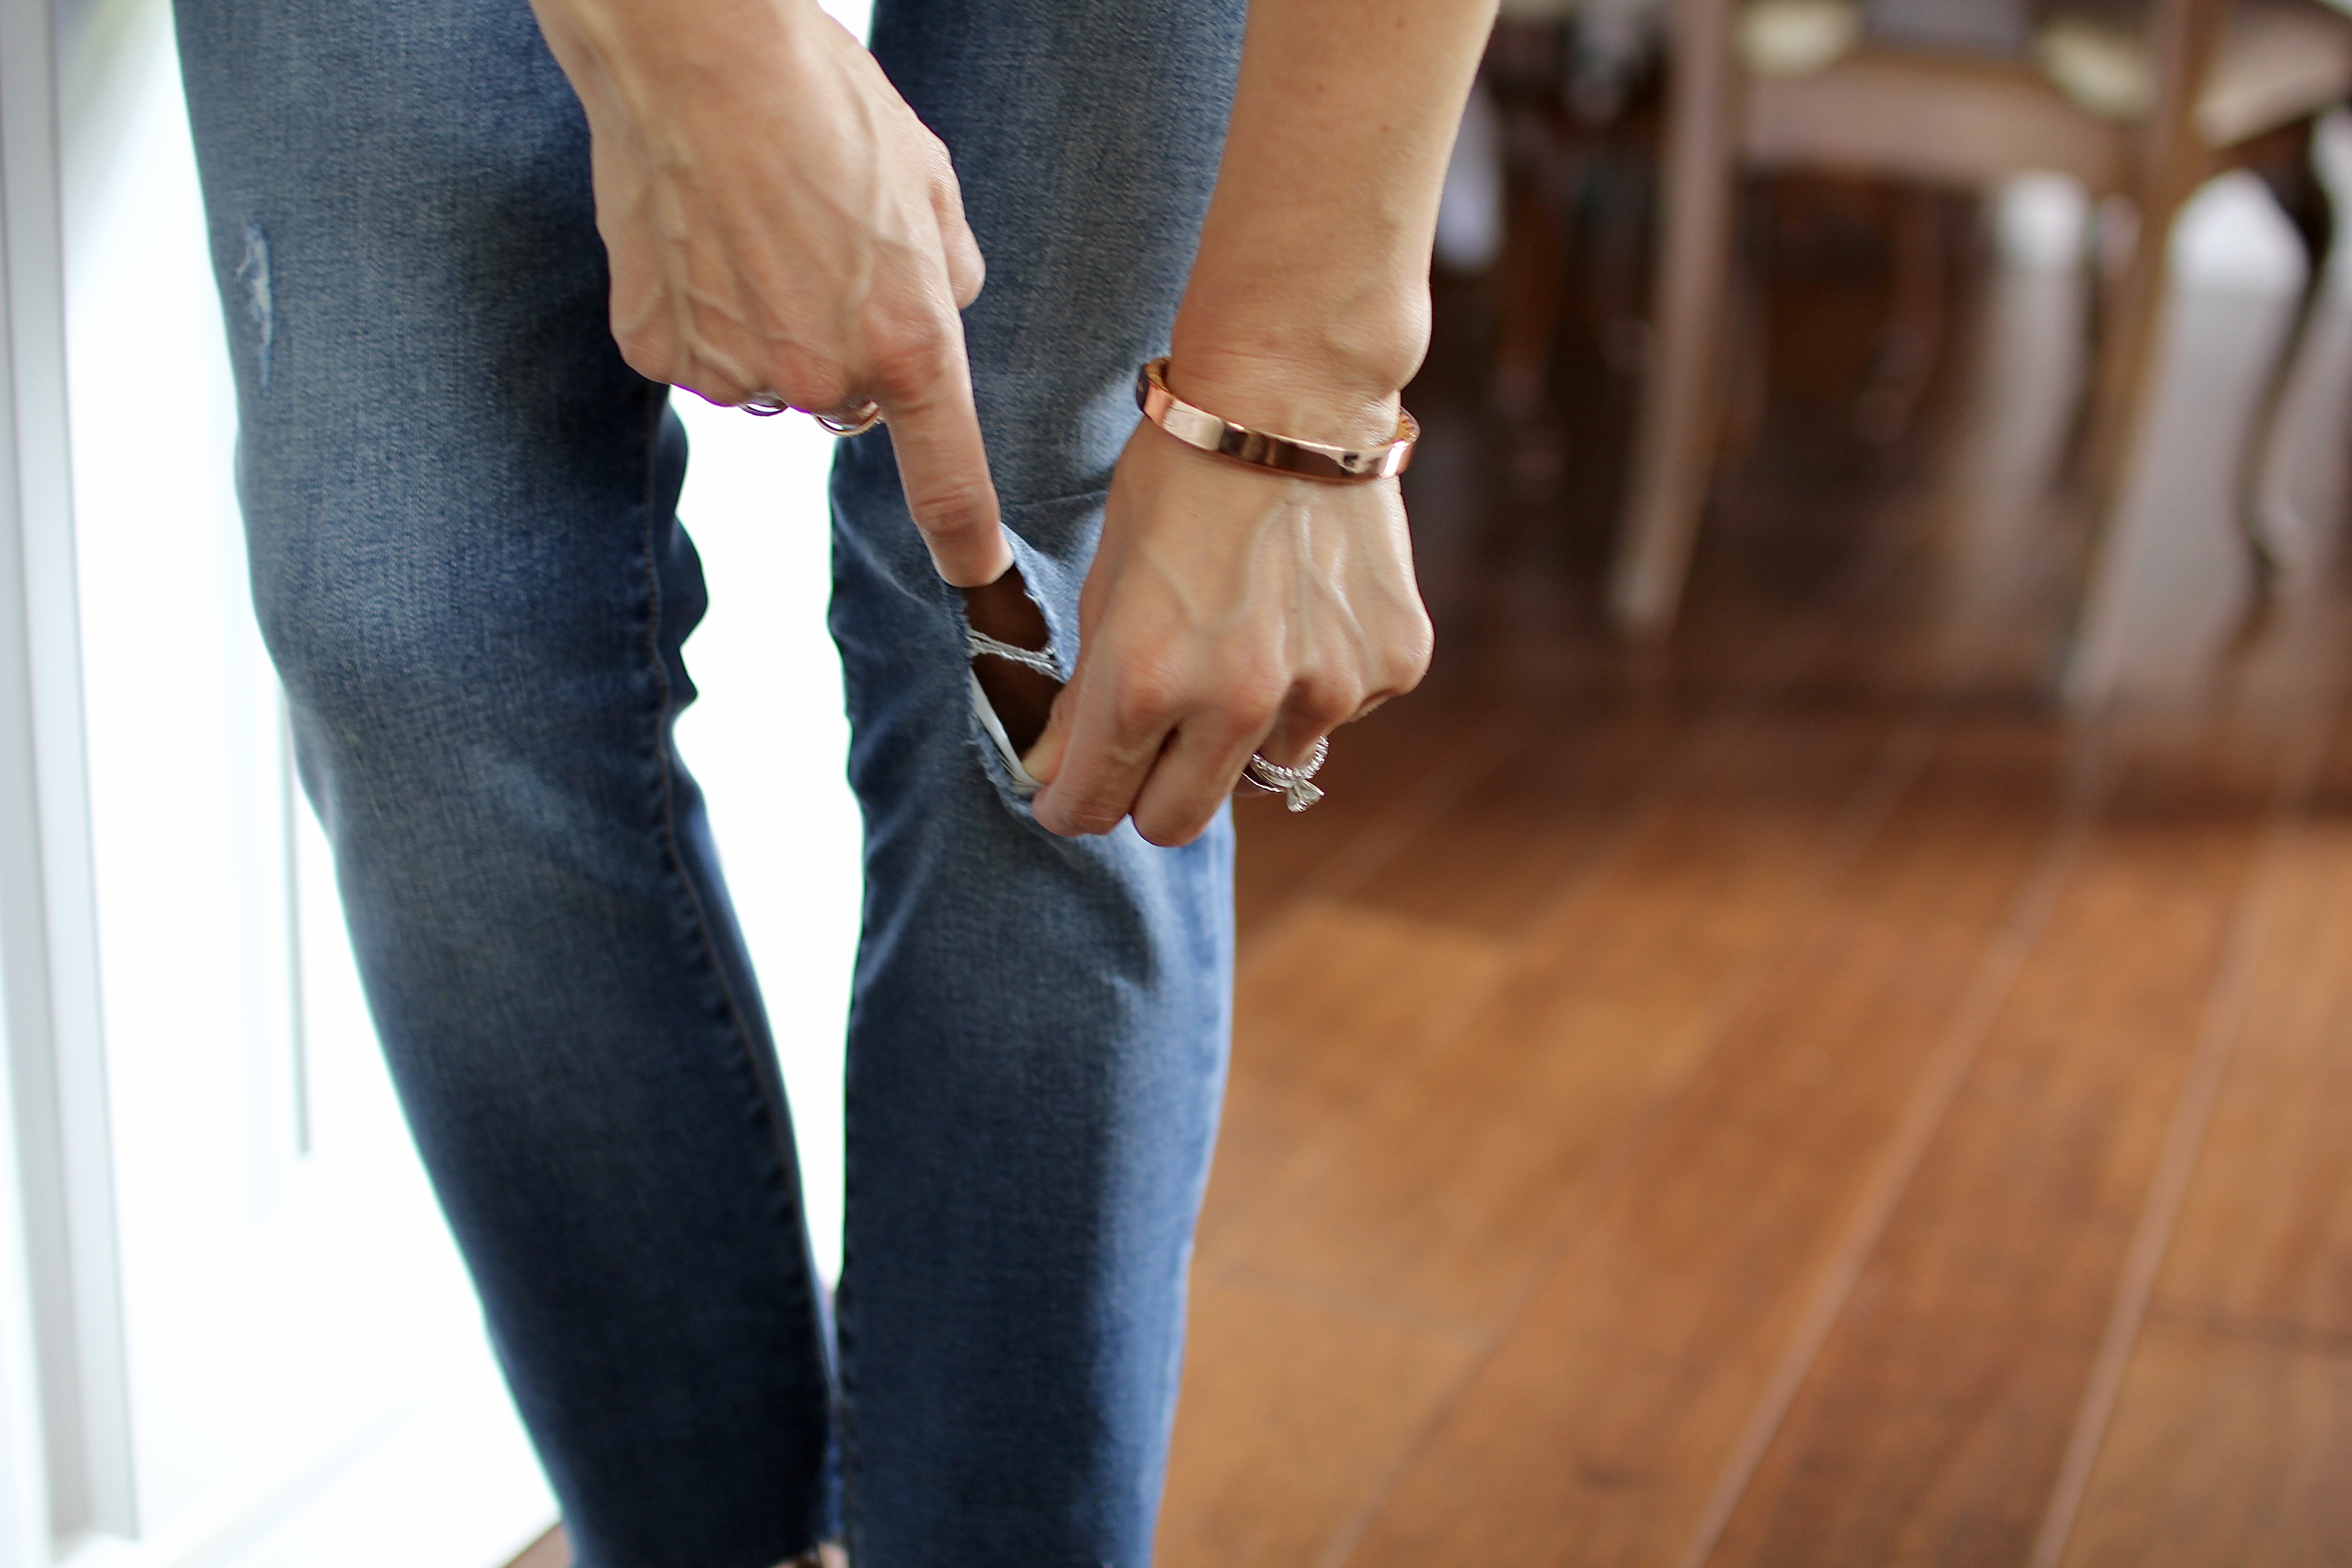
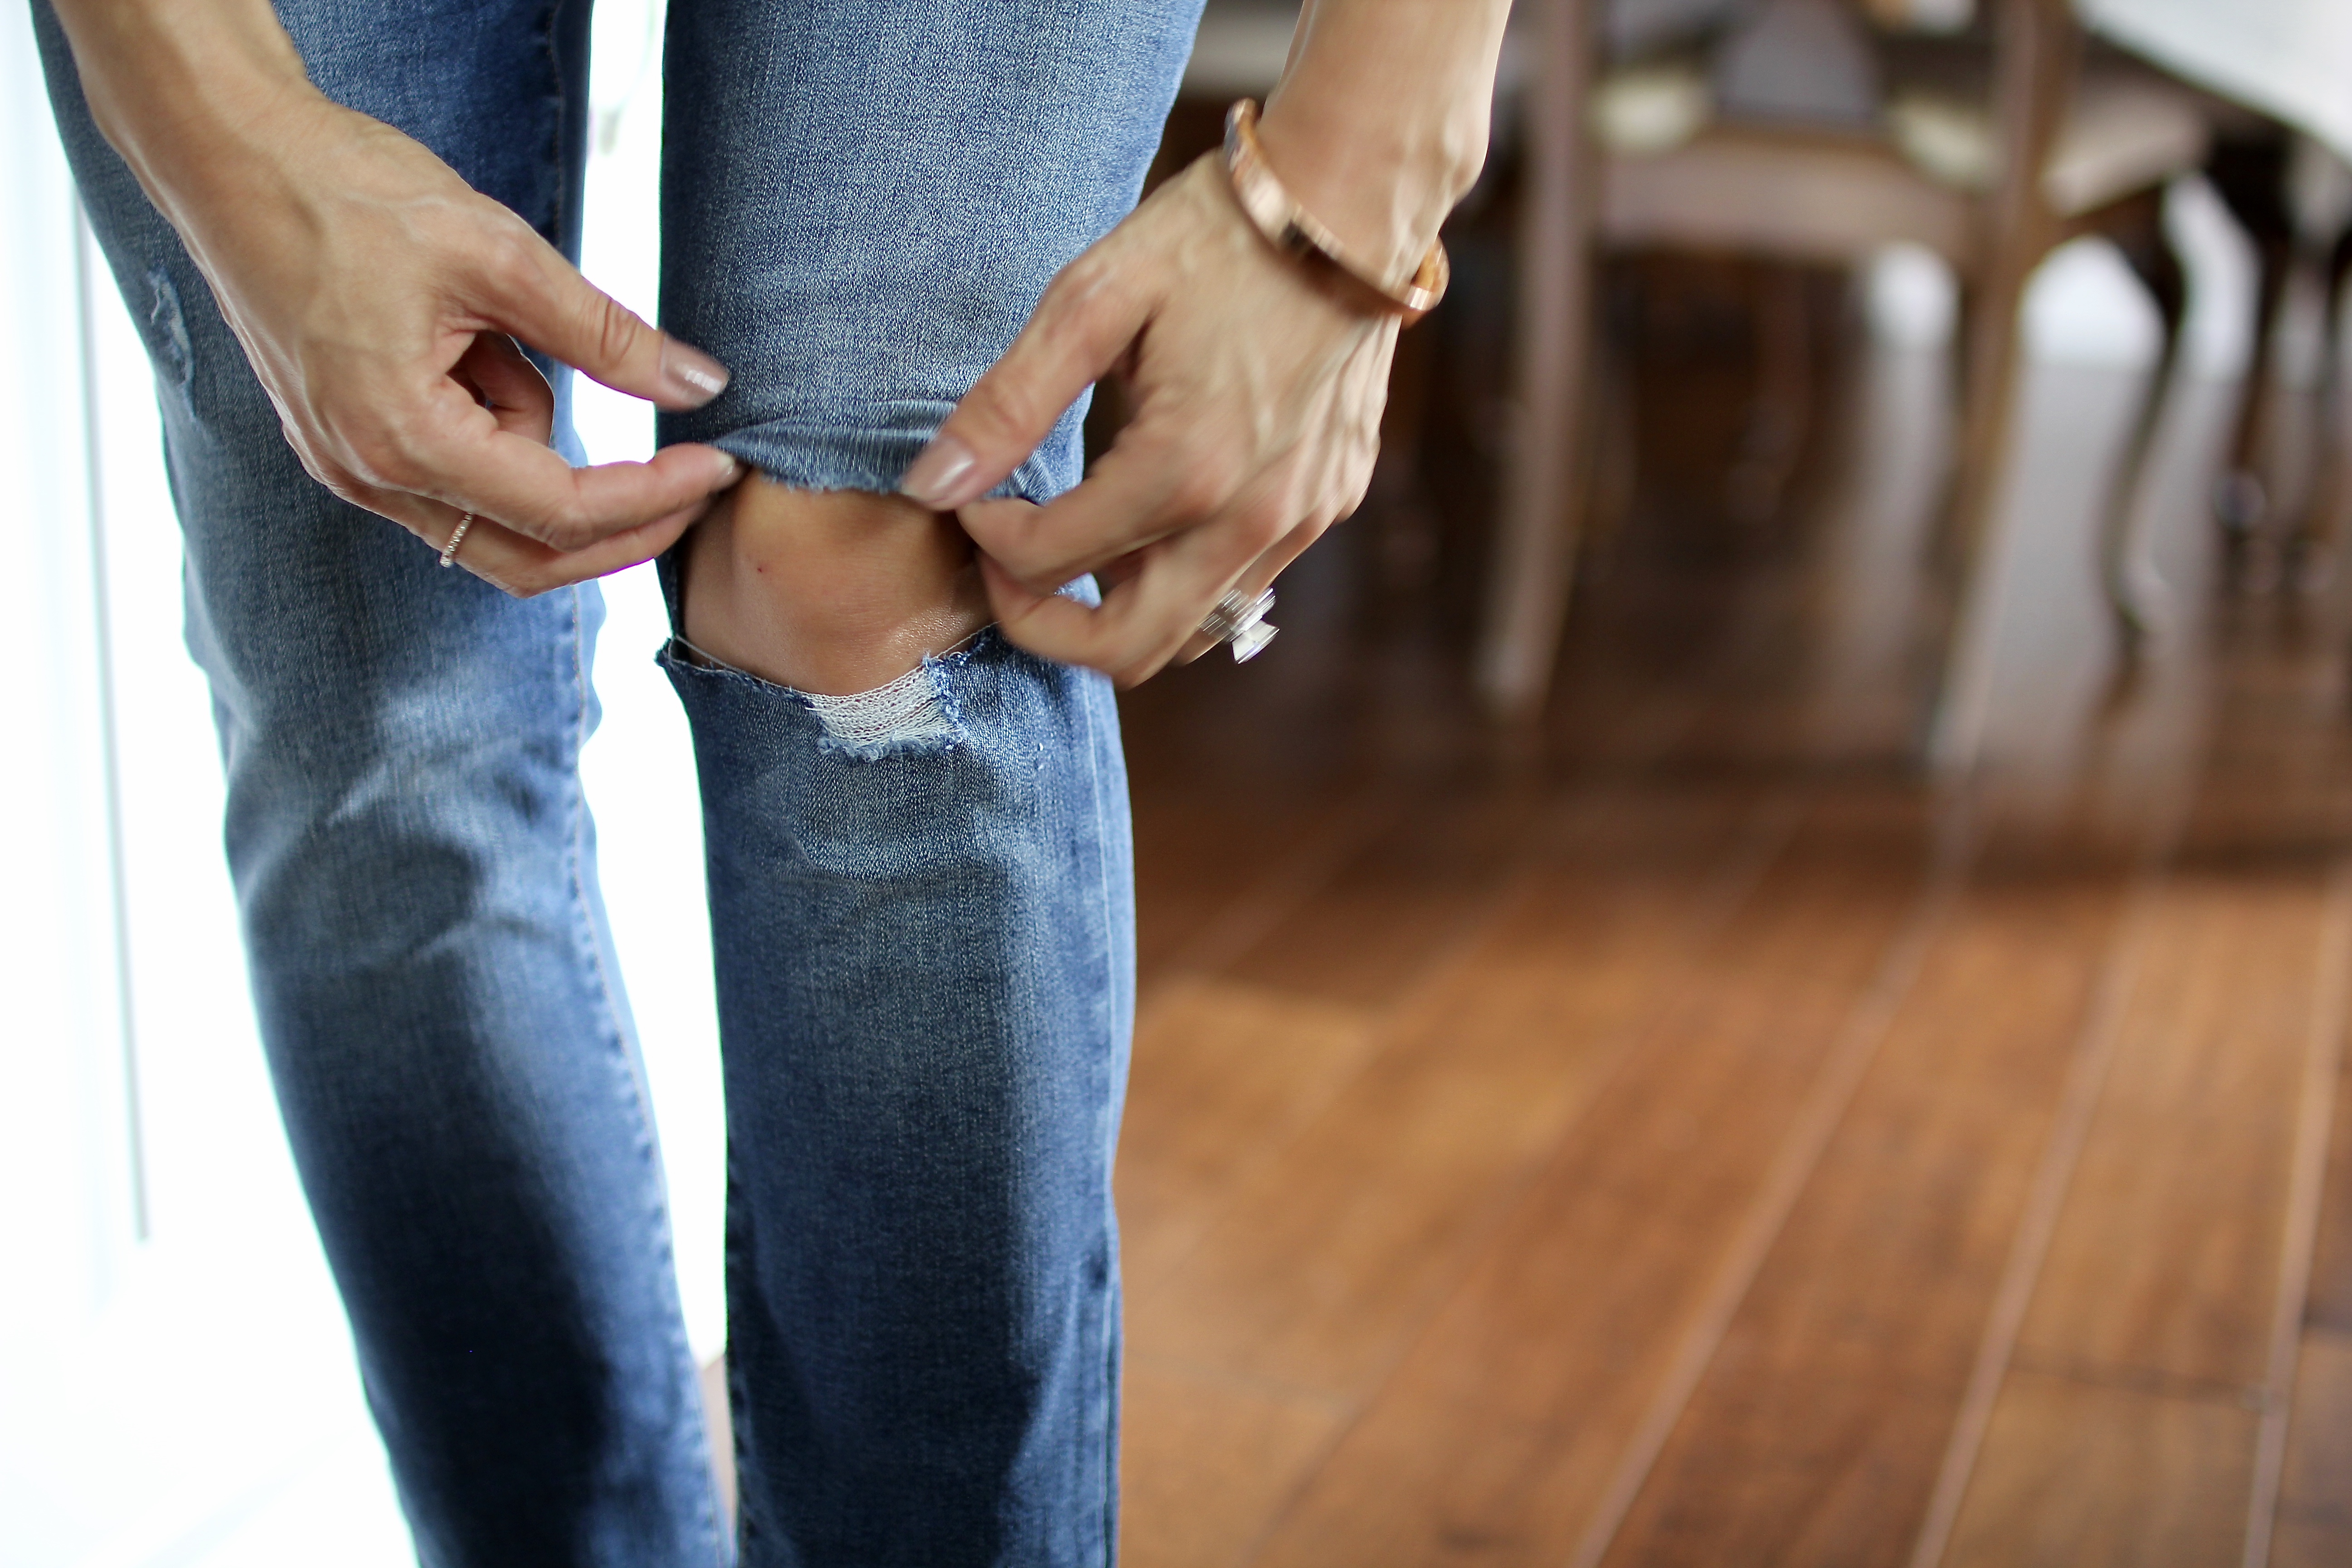
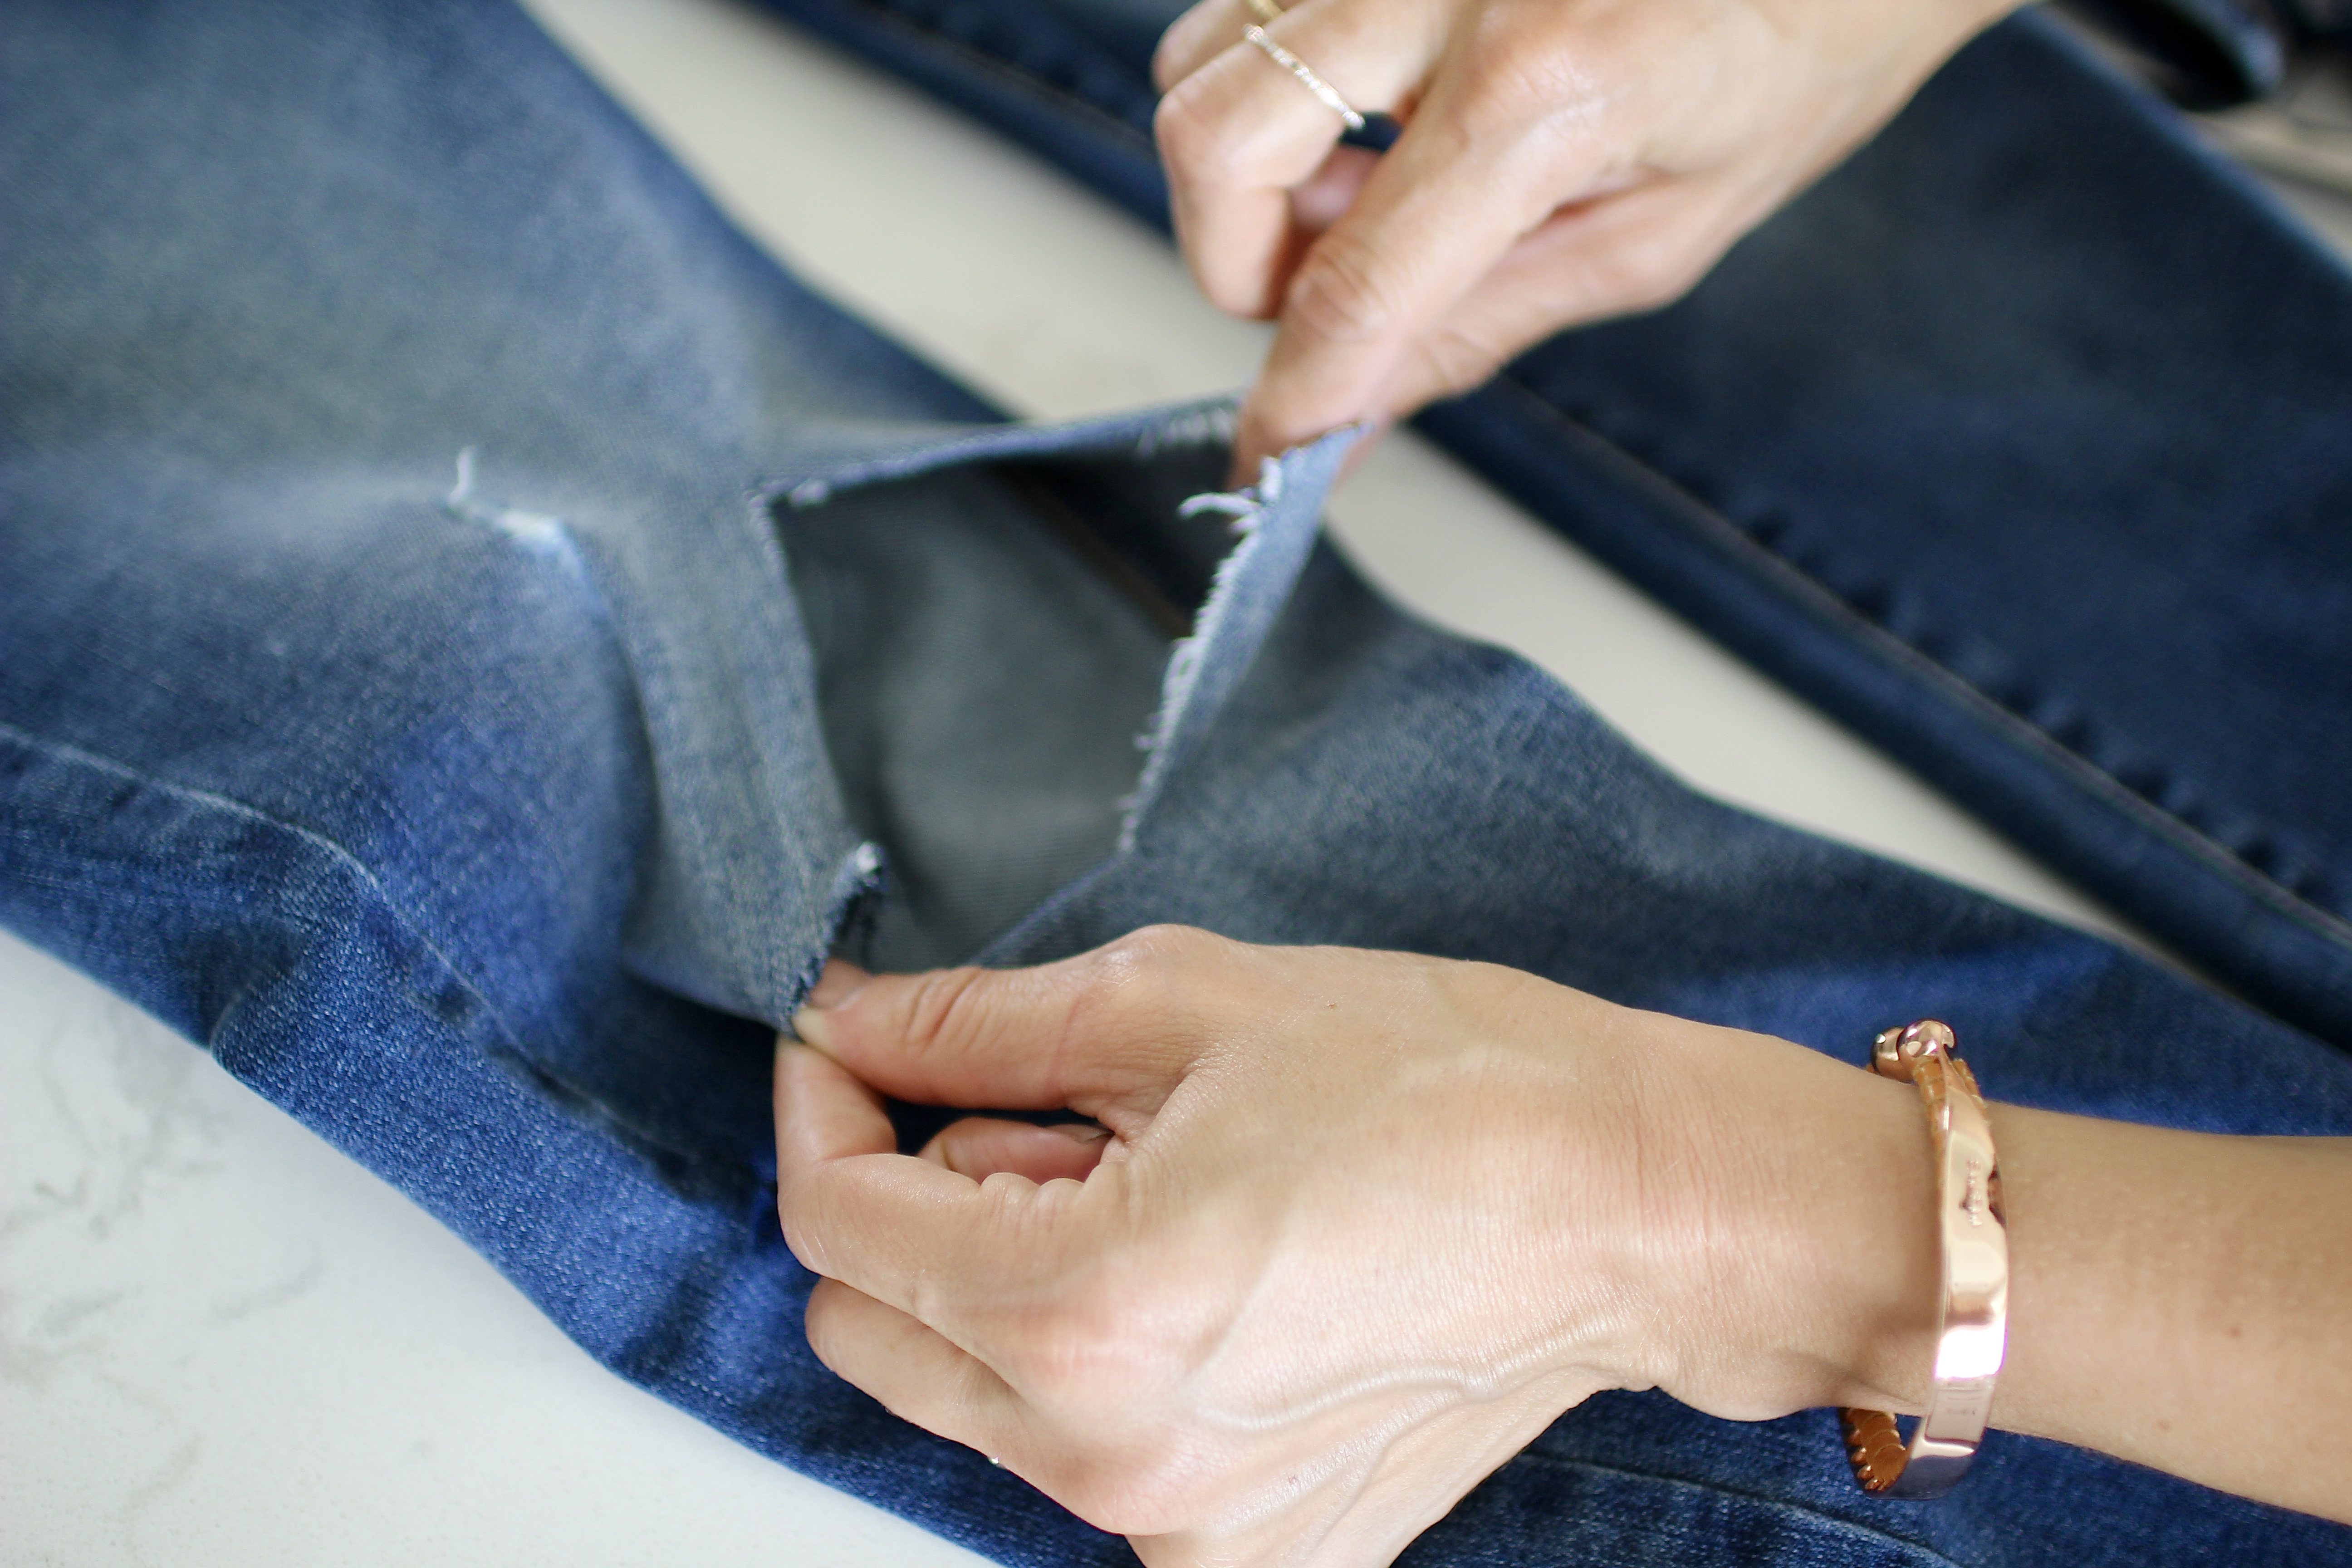
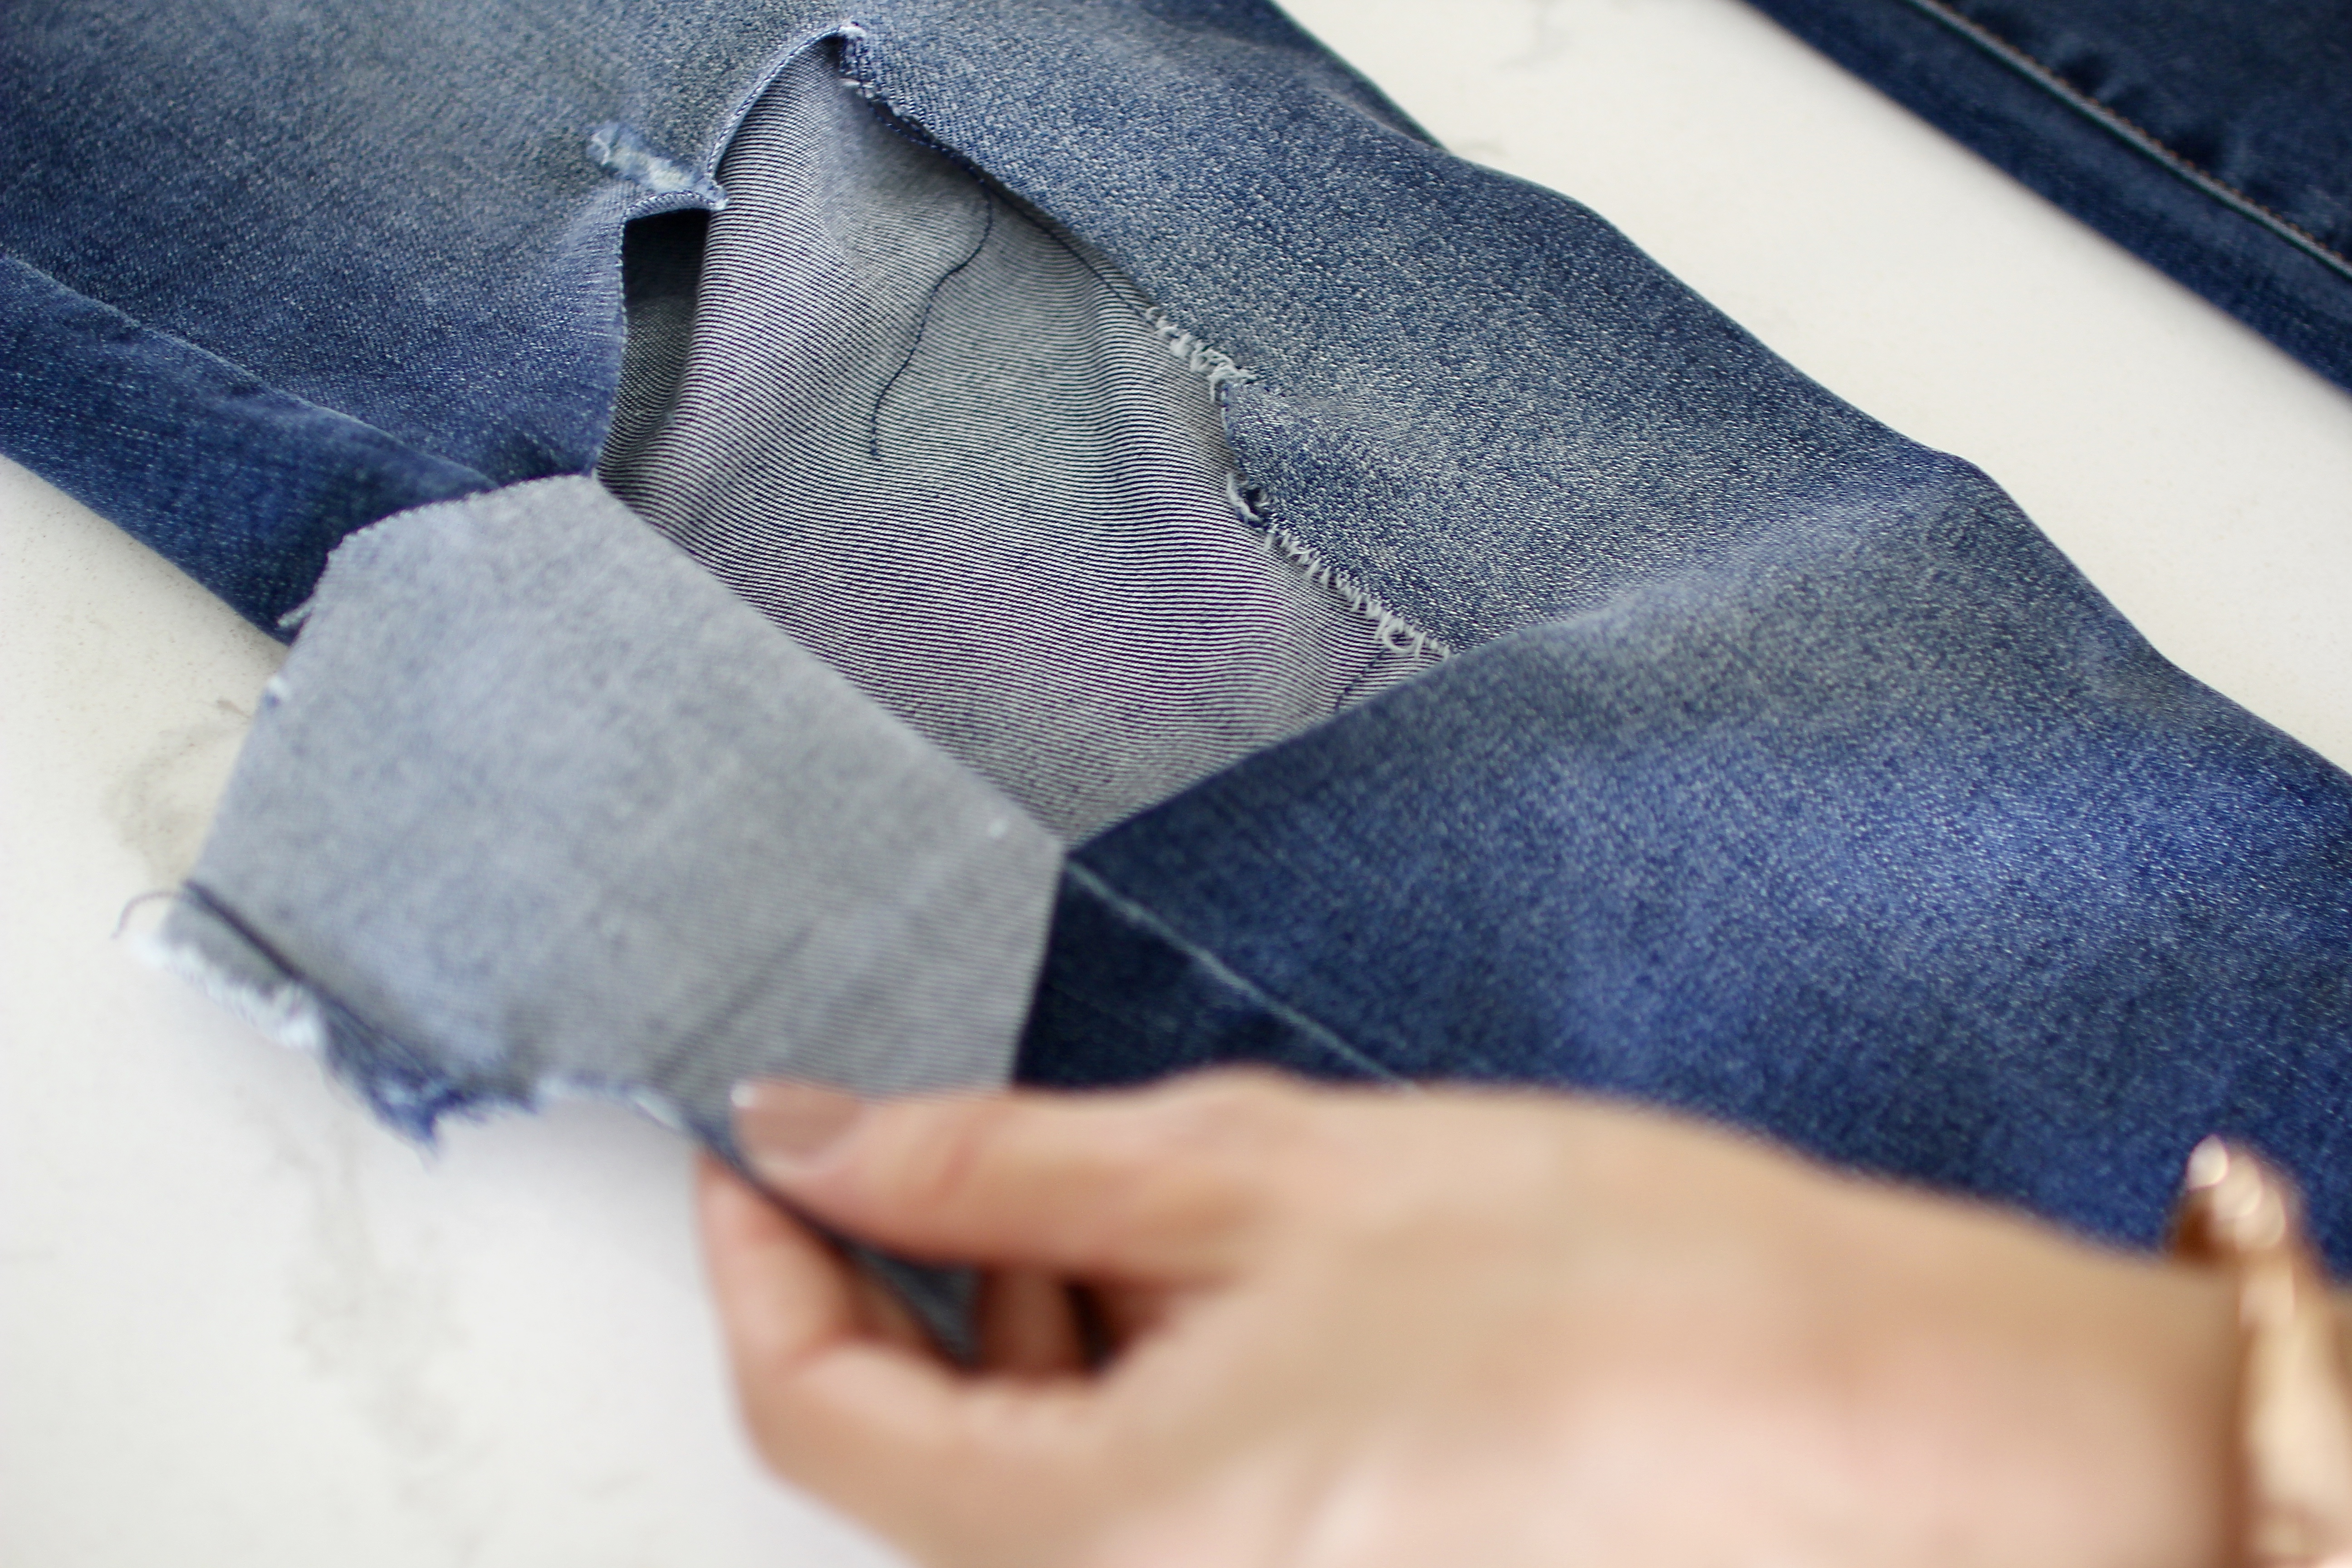
To get the holes in the jeans, I either rip a pre-existing hole (this pair had a tiny one, so I worked with that on the left side) and make it larger, or I put the jeans back on and make a slit at the knee and rip from there. I then cut a hole. I actually cut the hole on these jeans a little larger than I would have liked, but it’s growing on me. My best recommendation would be to simply start small. Begin my cutting in a round shape inside the hole you have created. Put the jeans back on, and then if you feel like you want a bigger hole, continue cutting around the inside….

Next, one of the most important parts, get the holes and hem of the jeans wet and toss them in the dryer. This will give you the added frayed effect…. yet, it might take a wash or two before they look just how you want them to. I bought these jeans for $35, and had them just they way I liked in 15 minutes… I’d say that’s a pretty good deal… and the finished look is below…..
{Outfit Details || Jeans | Top | Cardigan | Mules | Sunglasses| Druzy Ring | Phone Case | Pendant Necklace | Crescent Necklace}