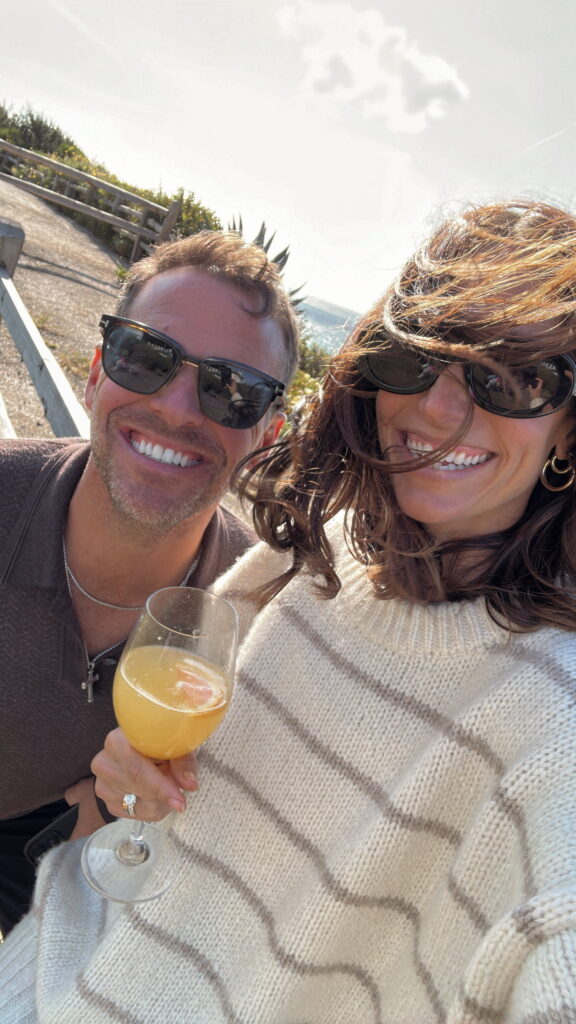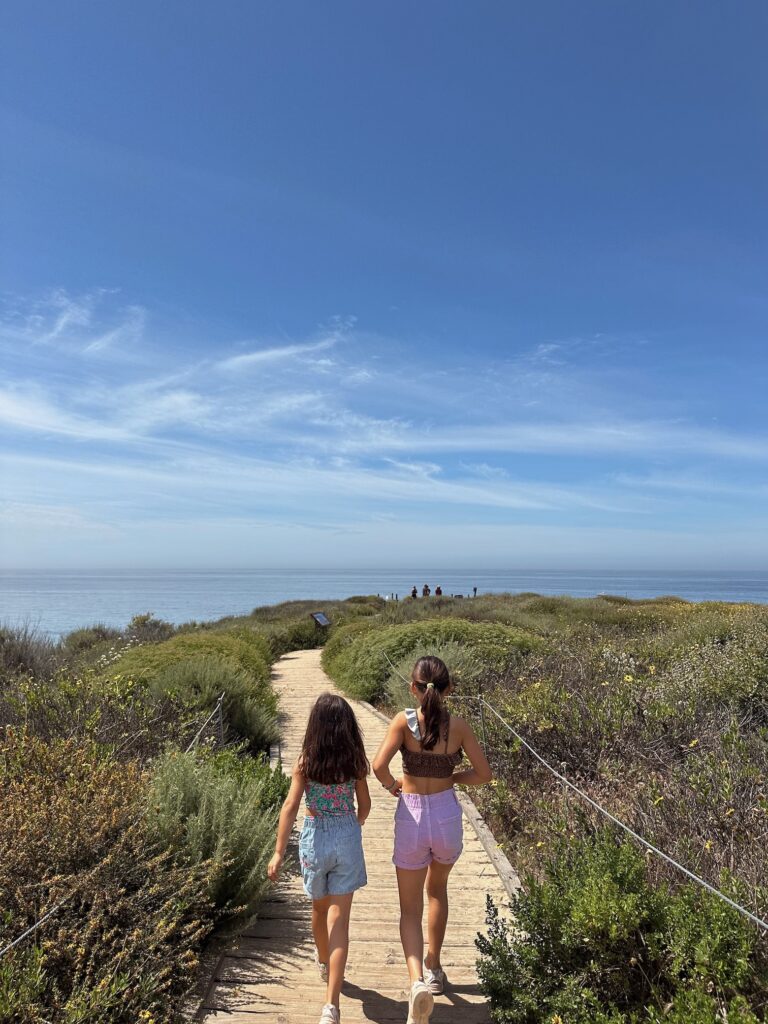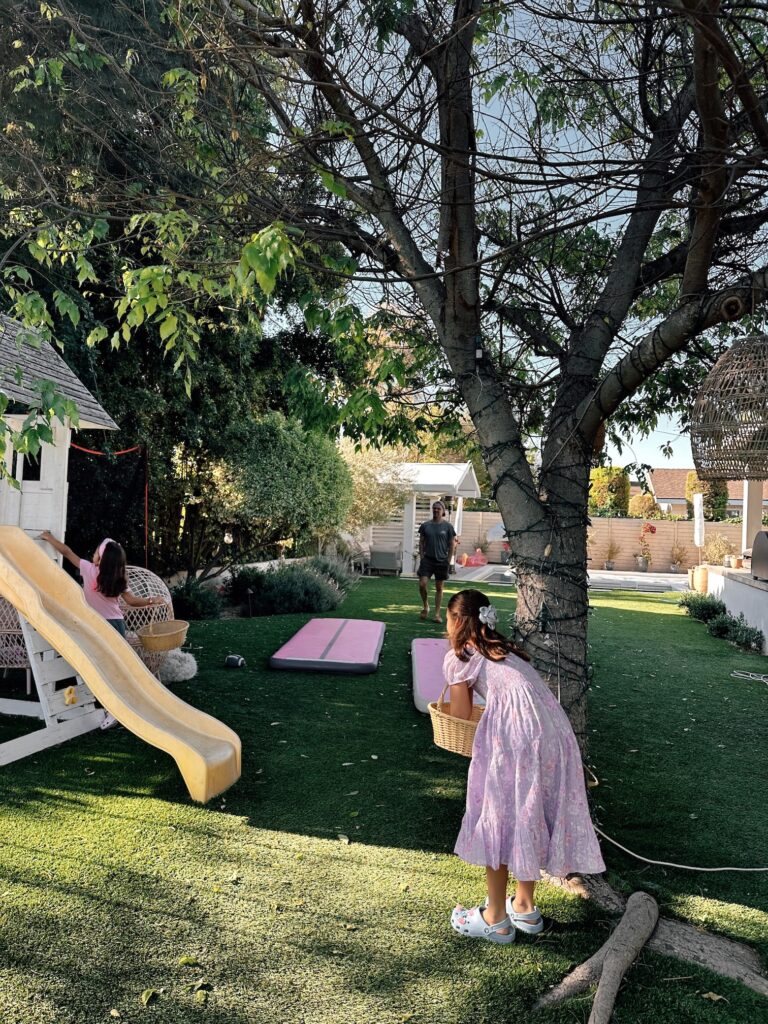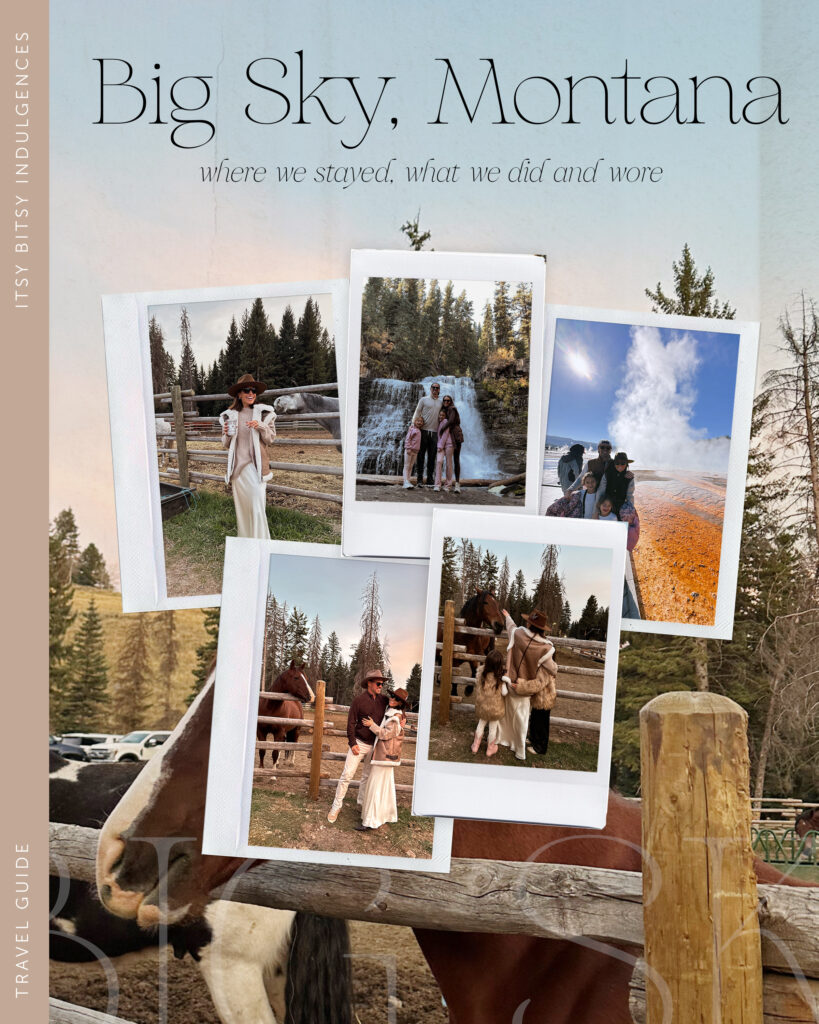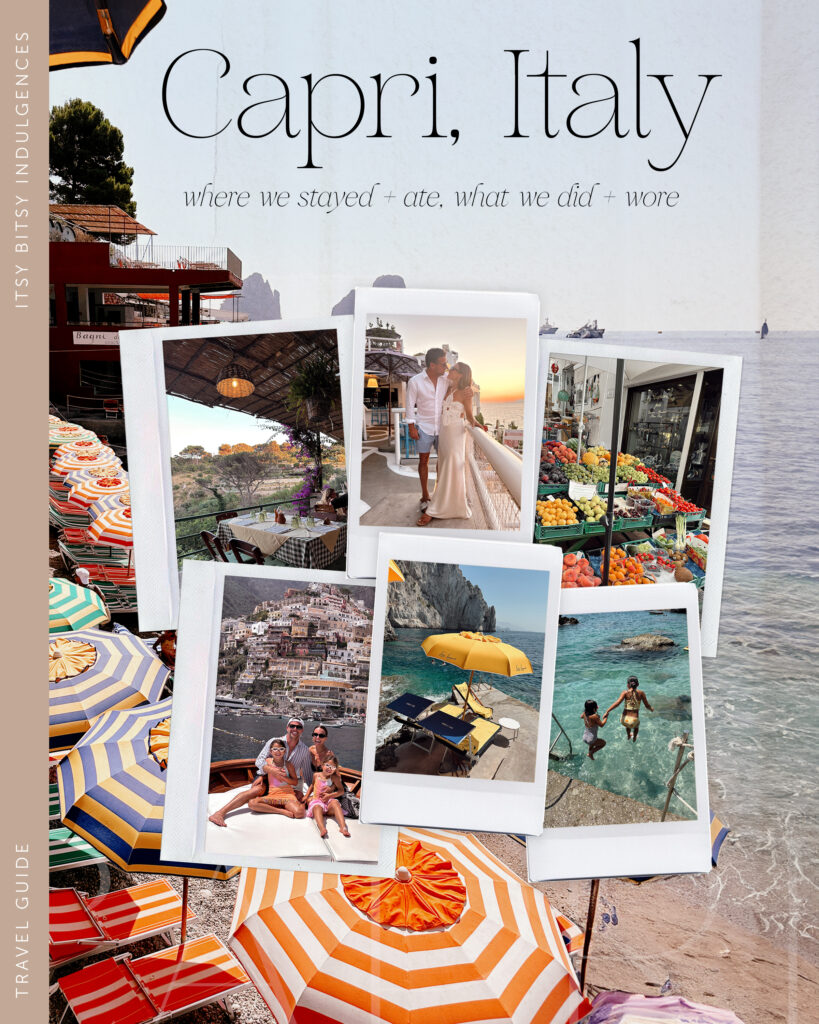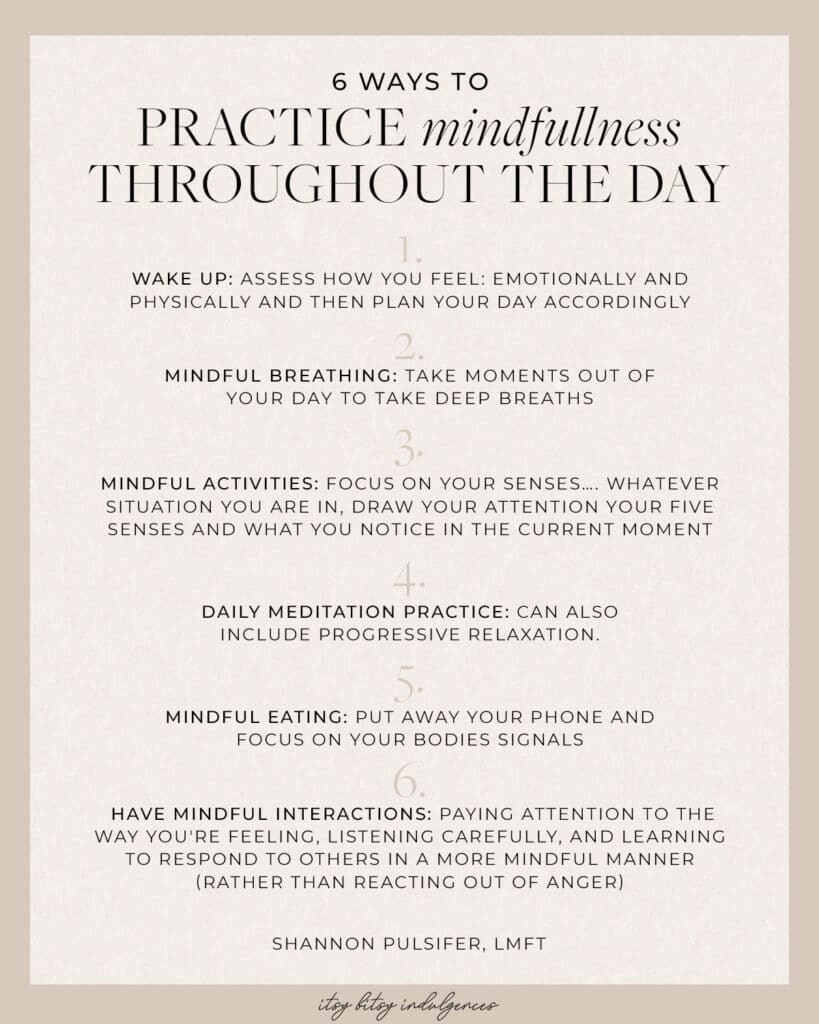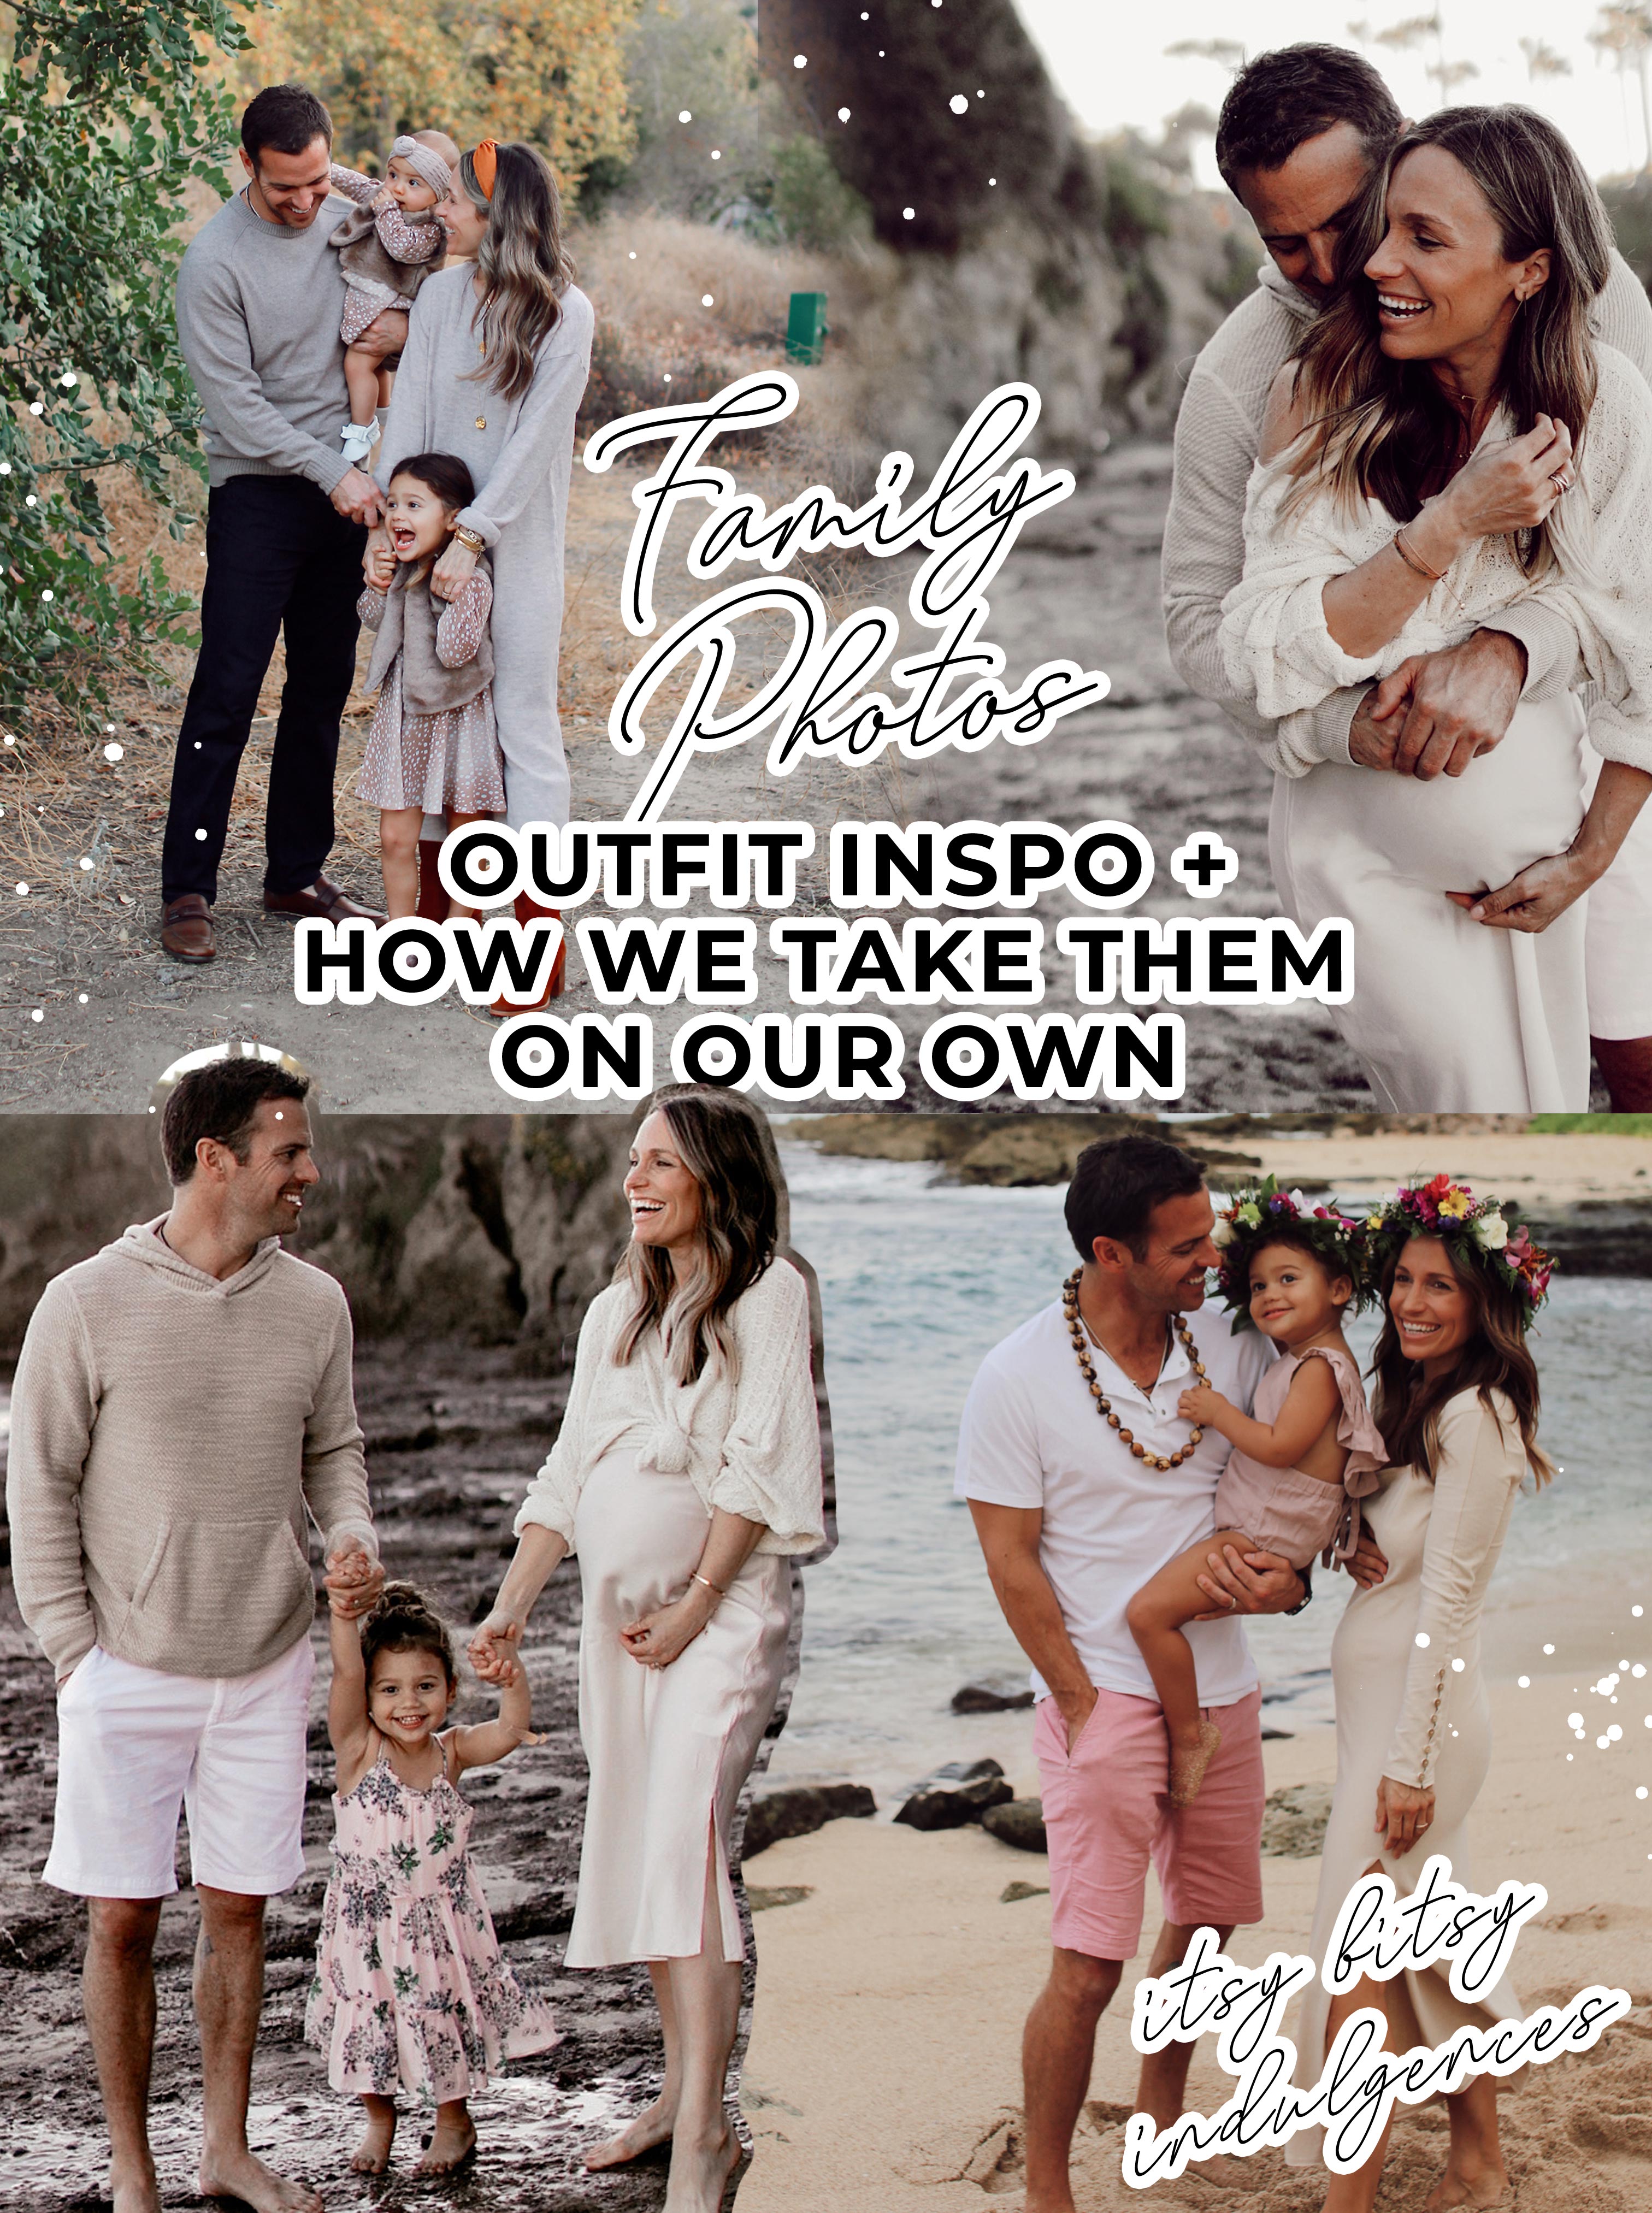
I’ve always loved the stories photos tell…. I took photography classes in high school and loved the act of documenting, developing, and then seeing the finished product turn out and tell a story. I think the same thing goes with family photos… they’re like a visual documentation of a family’s life progression. In my parent’s house we have a photo from a family trip we took when my sister and I were 13 + 7… we now have a photo in that same exact spot with our family plus TJ + Harper… and are just waiting to get back to the spot to add Camille and my brother-in-law into the photo as well.
All that to say, I think family photos go beyond the simple act of picking outfits + forcing the kiddos to feign excitement (sarcasm intended). It’s fun to look back and see how much has changed. Yet, for me, I feel as if I never quite get organized enough to book the photographer ahead of time… so over the years we’ve become quite comfortable with taking our own photos with a simple tripod, shutter clicker, and our camera we’ve had for 7 years. Granted, I’m sure we’d get images that are better with a professional, but to be honest I always feel so much more comfortable shooting them on our own…. toddler throws a tantrum and doesn’t cooperate, oh-well… the weather doesn’t cooperate… we’ll take them the next day. And given the current climate, a photographer might not be in some family’s budgets and others might not feel comfortable given distancing recommendations.
Enter today’s post. We’re absolutely no professionals over here, but I’ve compiled a few tips and tricks we’ve learned over the years so that you can possibly shoot some family photos on your own. I’ve also included several dress options in case you’re looking for a little outfit inspo as well.
____________
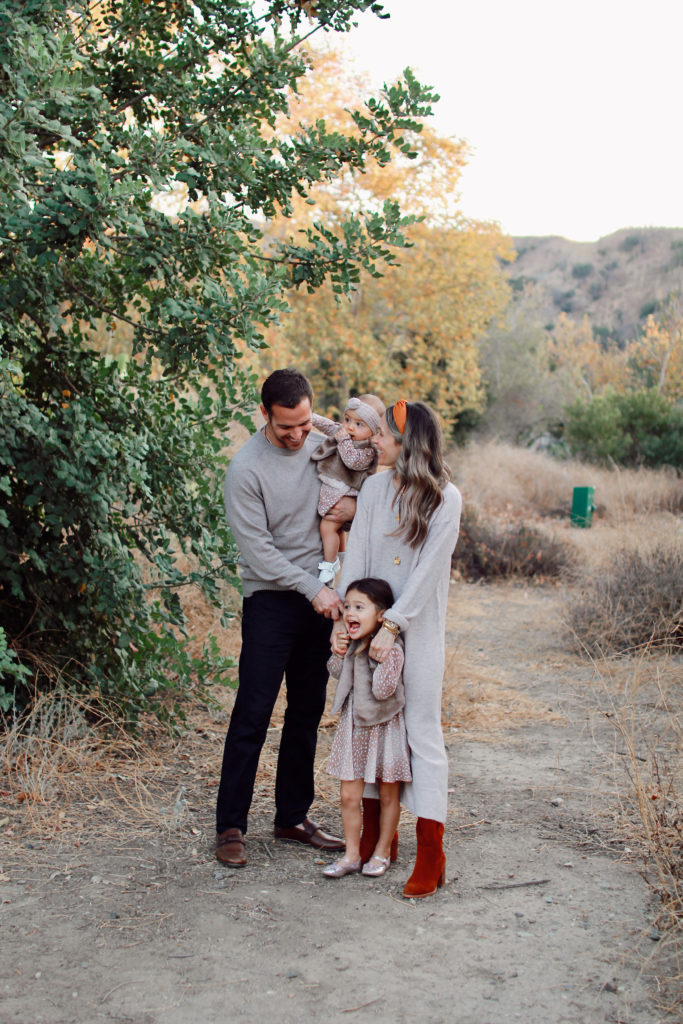
1. CAMERA: We’ve shot casual family pics on vacation with our iPhone, but for more “formal” photos we use our Canon 6D and this lens which we purchased several years ago. Obviously you don’t need this exact camera to take photos, but something similar would be recommended (i.e. DSLR). If that’s not an option, you can rent these cameras for a day (I’ve forgotten my camera on vacation and have rented so I know it’s possible) for a relatively reasonable rate (a simple google search of camera rental shops near you should provide some options). TBH, I do think that the iPhone takes beautiful photos and you can get some really great shots using it as well (some of my all time favorite photos have been taken with one).
With the bigger camera, where it gets tricky is in the settings… how to capture the right light, not have blurry subjects, etc. When we’re taking our own photos, we’ve had huge success using sports mode, which allows for a quick shutter speed, making movement possible without the blur. Basically, you can get those professional movement shots without subjects being blurred. I always recommend taking a few test shots in different directions to see which way captures the best light (and, as a typical rule of thumb, the hour or so right before the sun sets is the easiest to shoot in, with the most beautiful golden lighting) and then set up your peeps there. A downfall to sports mode is that all the settings are chosen for you, so you can’t really make things brighter, or darker, by manually adjusting them. You can edit the brightness in the editing process, but only to a certain extent… so you just want to make sure photos don’t look super dark or overly white washed.
Once we have the camera mode down, we select the continuous shooting option so that we can use the shutter clicker and it will continue to take photos while we move around and “look” natural (this setting varies on all camera so you’ll have to consult your manual here).
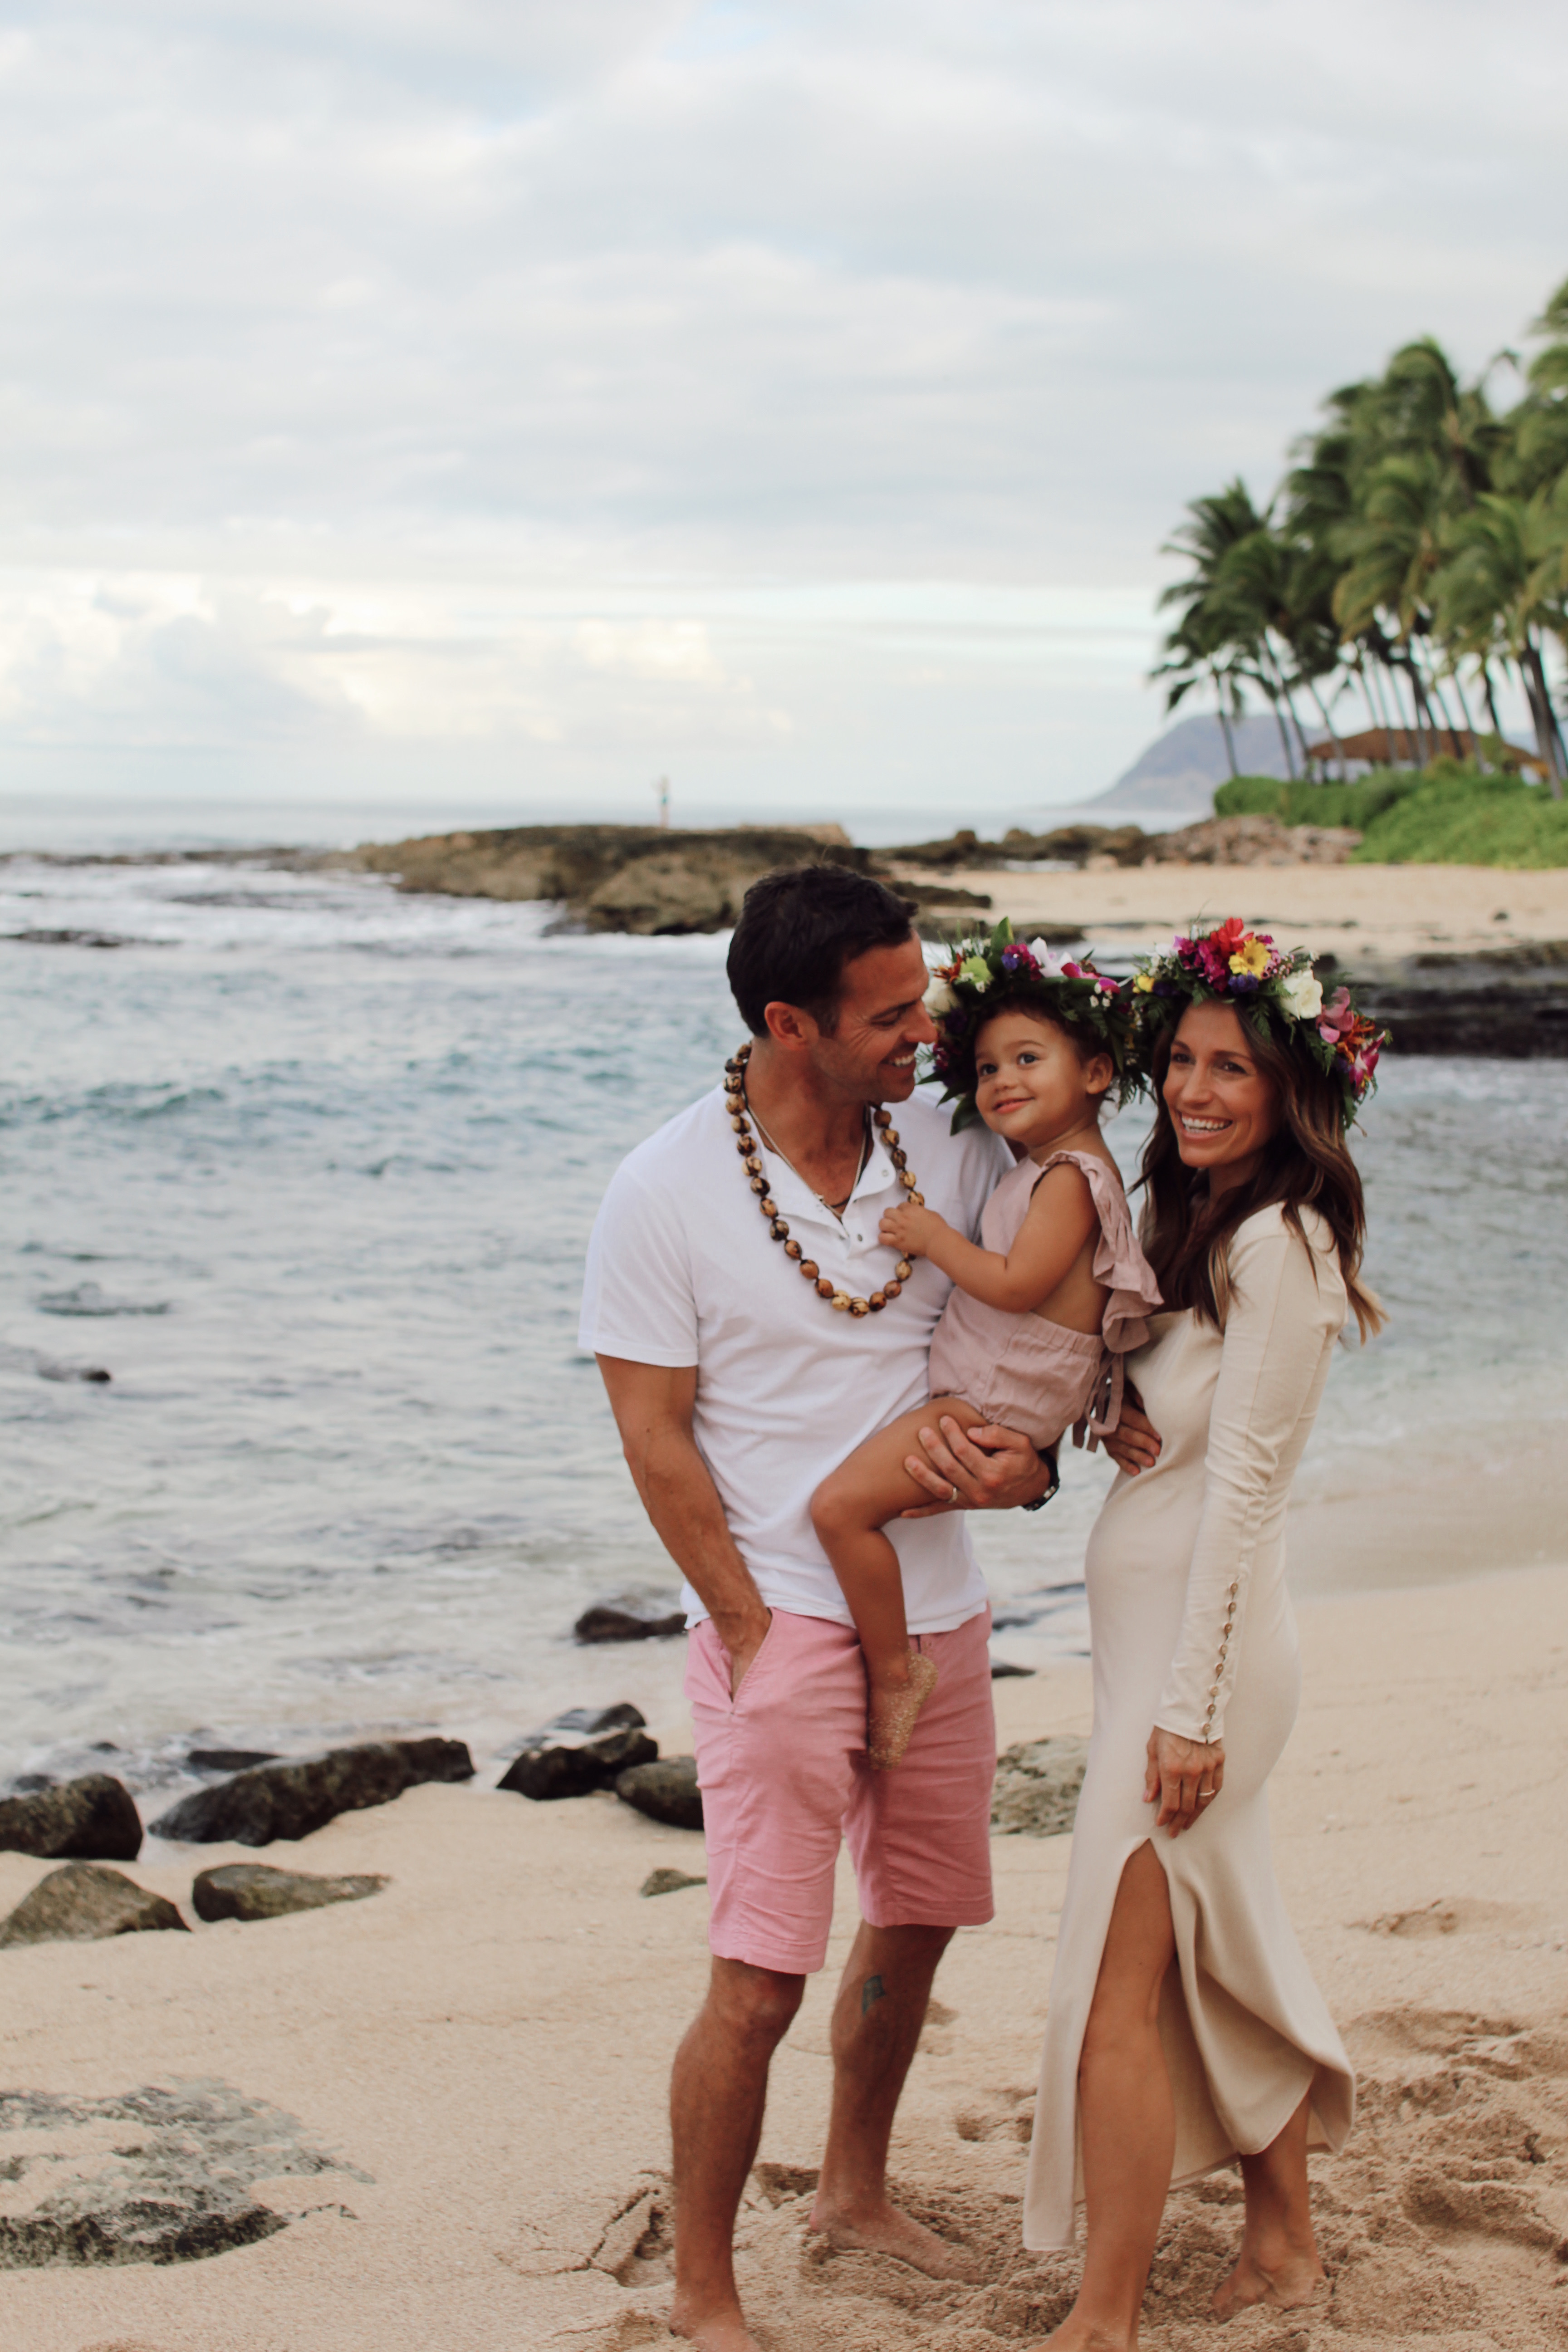
2. TRIPOD + SHUTTER RELEASE: We have a tripod + shutter release for our iPhone + for our Canon. For our iPhone we use this tripod, which allows for a good variation in tripod height, as well as direction. We also use this bluetooth shutter release so we can snap away and get the more natural looking photos. For our camera we use this tripod (it allows the camera to adjust in multiple directions) and this shutter release.
I’ve had to play around with angles over the years, but what I’ve found is that having the camera further away from subjects works best when you’re doing movement shots such as walking towards the camera, and moving it closer to subjects when you want up close portraits, or closer movement shots where you’re standing in one place, but maybe just doing different poses/smiles in that one spot. Get creative by tilting the camera and adjusting the tripod height (and maybe try some of this out before you get to the actual spot you want to take the photos…. trust me, when you have little ones you’re on borrowed time).

3. EDITING APPS: Something I am guilty of doing all the time is looking at the raw images on the camera and not being 100% sold on them. All the beauty comes in the editing (a note here, I don’t ever edit body parts, this is solely for enhancing color + possibly removing things in the background like a piece of trash we didn’t see when shooting). That being said here is my editing process for photos taken on our Canon:
Upload photos on my MAC + then use the “photos” tool to do very basic edits such as enhancing, possibly adjusting lighting (but I prefer to do most of this with the filters), and sharpening (if need be).
Use the Tezza App to add filters to my photos. I prefer to use her vintage series, but I also occasionally use Summer Fridays + Softee for outdoor photos (a lot of Park City photos were edited with the last two). Once I settle on a filter, I can adjust the intensity of the filter as well as saturation + contrast.
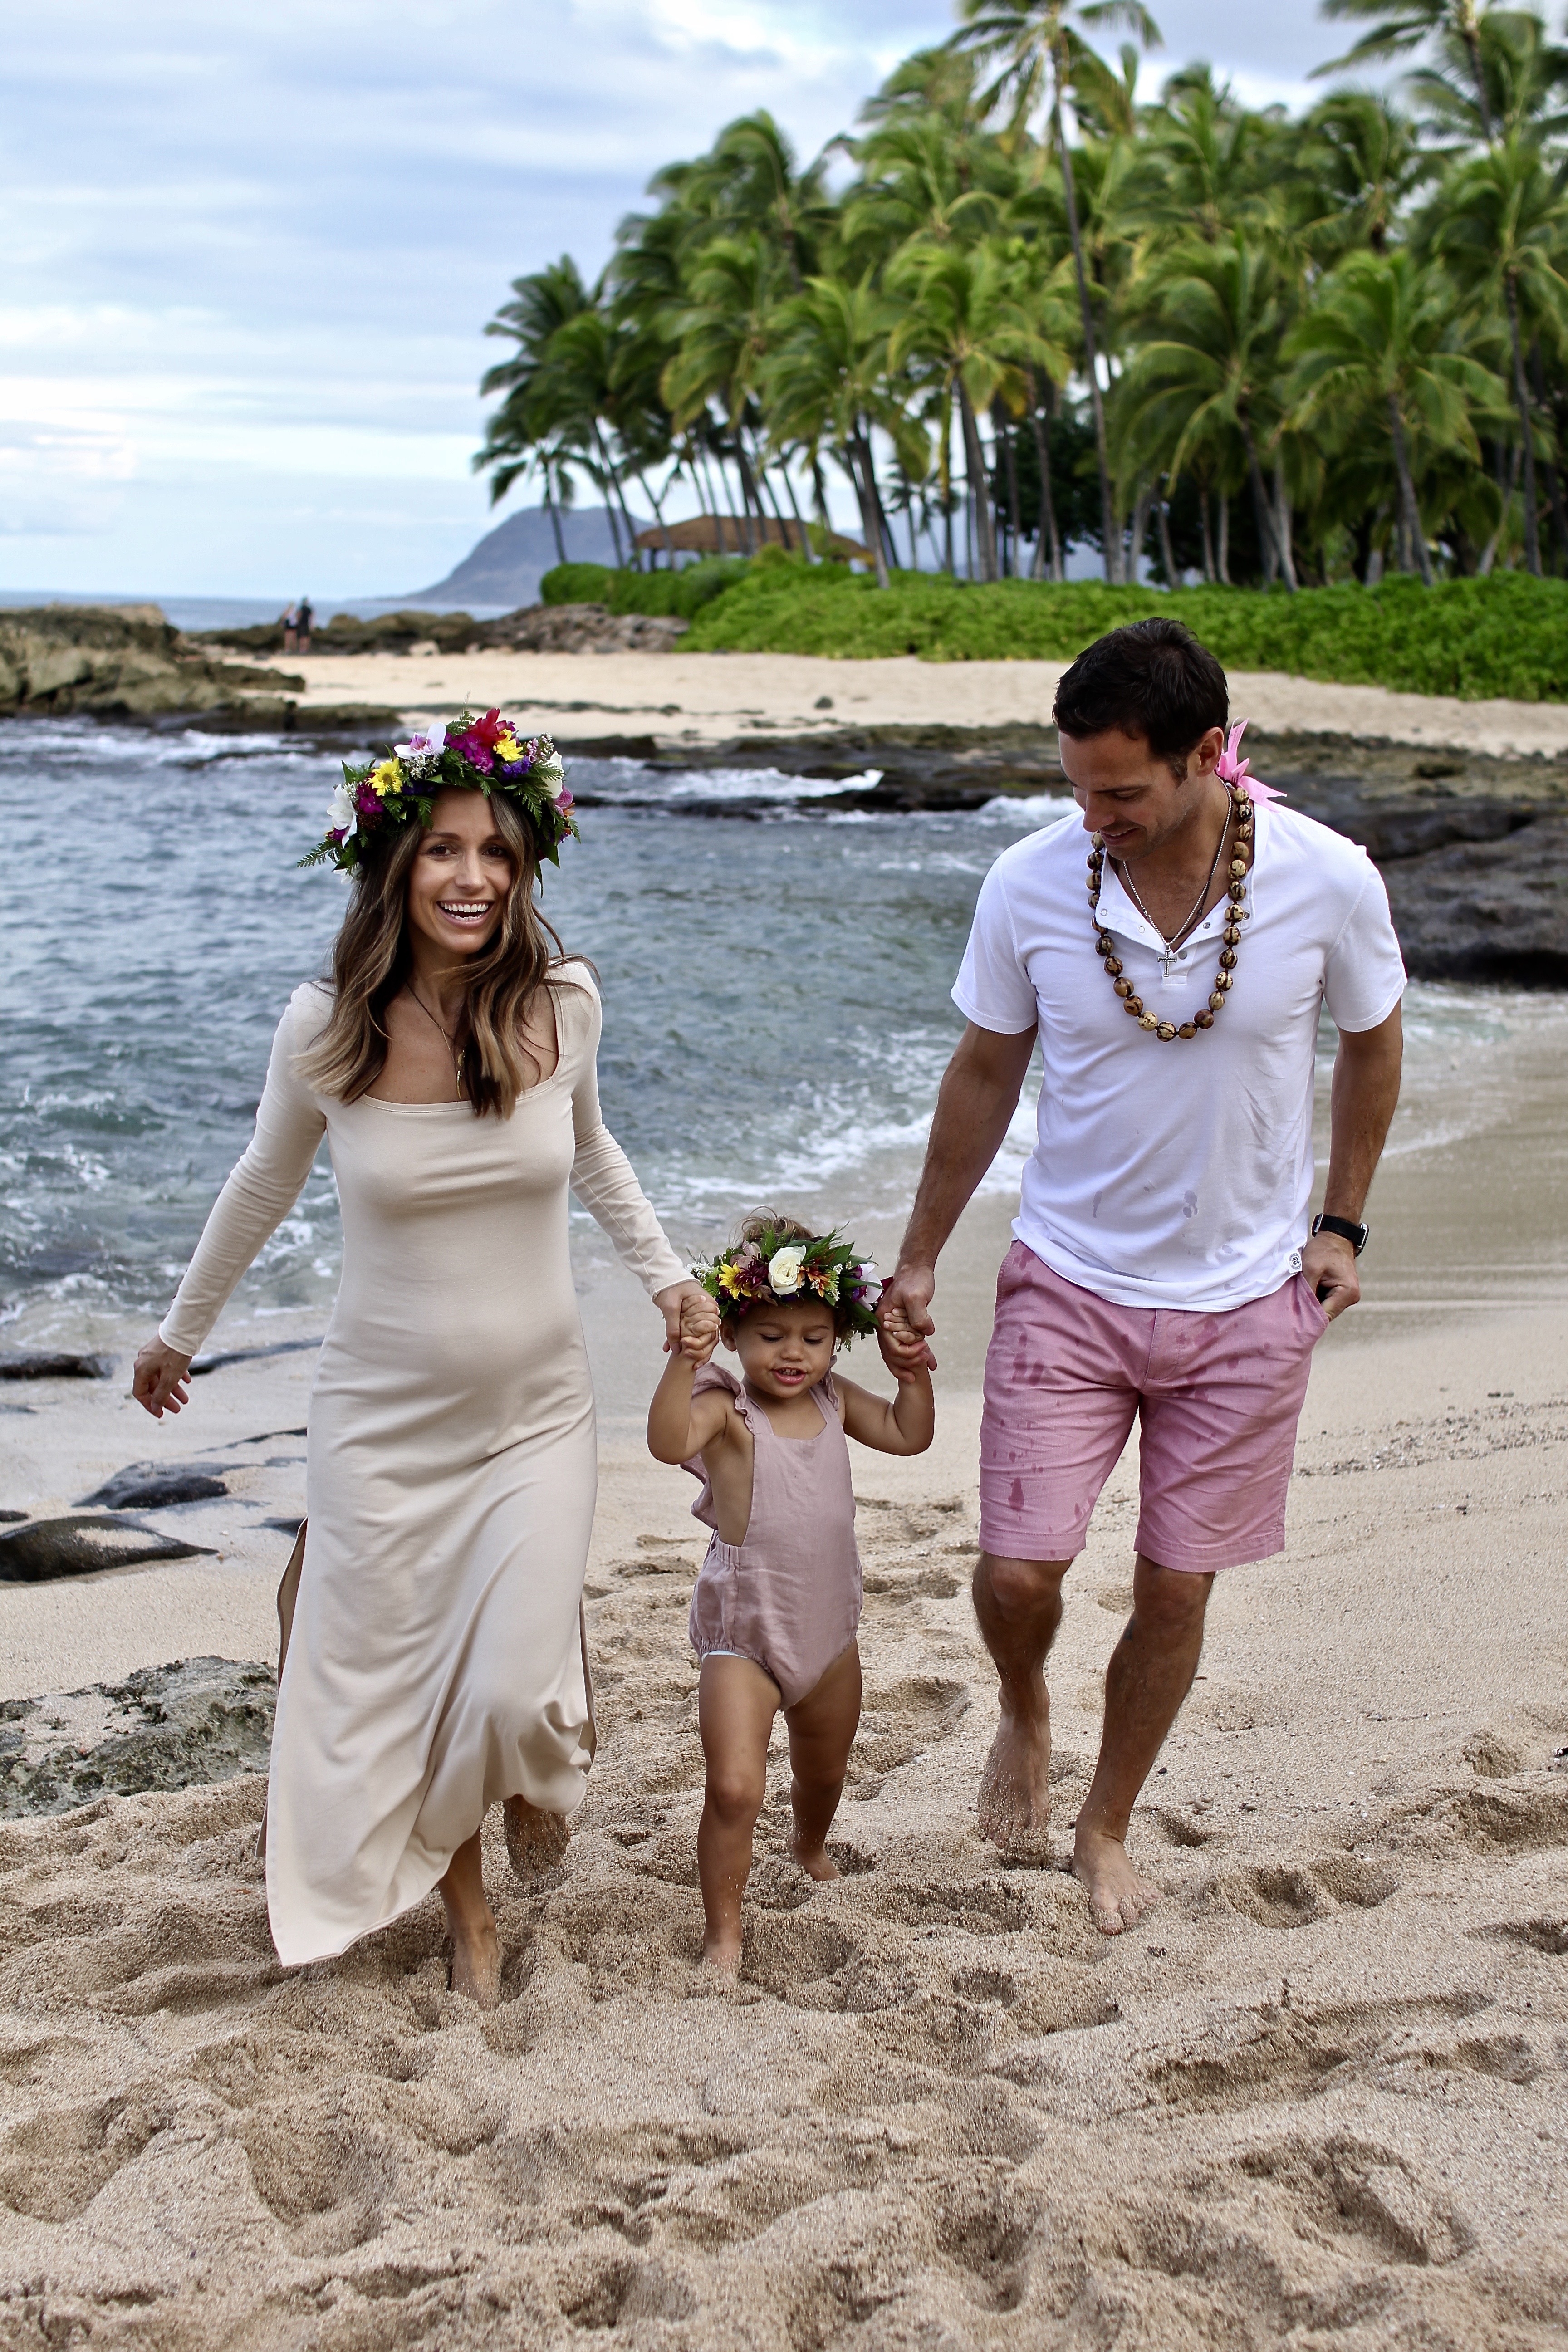
4. POSES: I feel a little silly adding this one to this post, but it’s a question that came up a few times so I wanted to address it. We have zero tricks for getting the girls to look at the camera. I mean, Harper is at an age where she will look, but honestly the smile is so painful it’s comical. So we prefer to have everything look as natural as possible… we tell funny stories to try and get Harper to laugh and tickle Camille to try and get her to smile (a little tickle on the thigh gets her giggling).
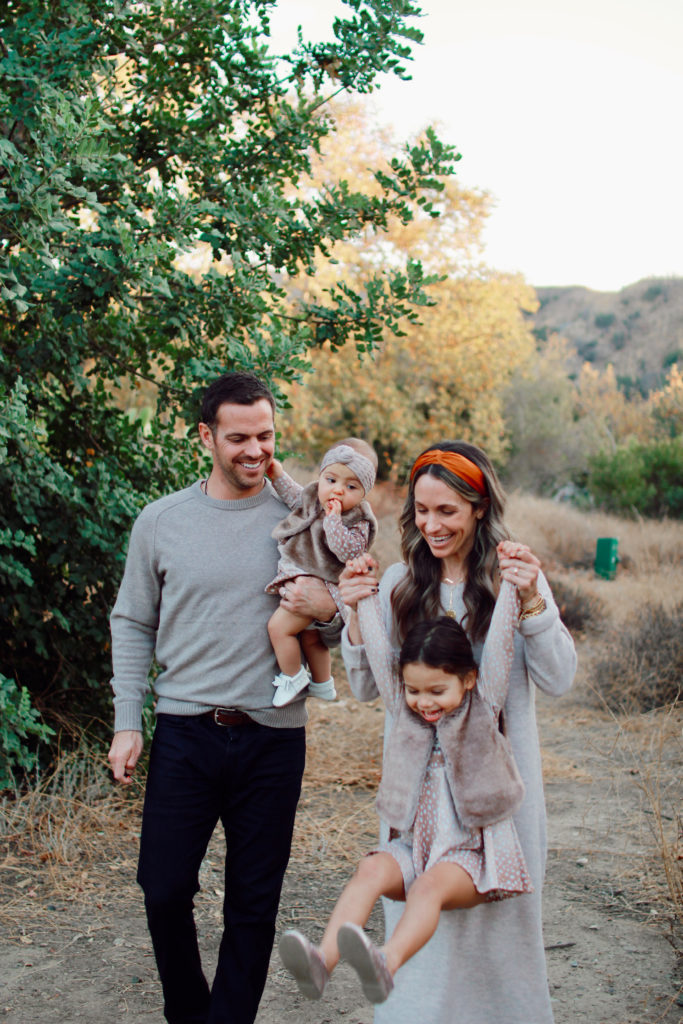
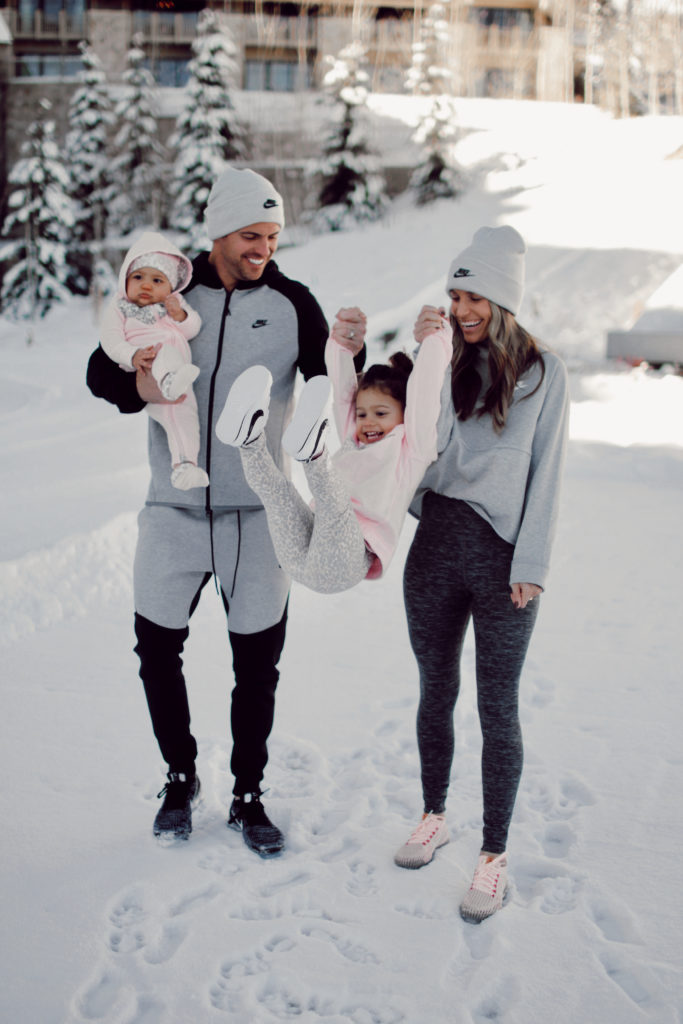
That’s it! I hope it’s helpful in some way…. and if you’re looking for some outfit inspo, I’m sharing some dresses below!
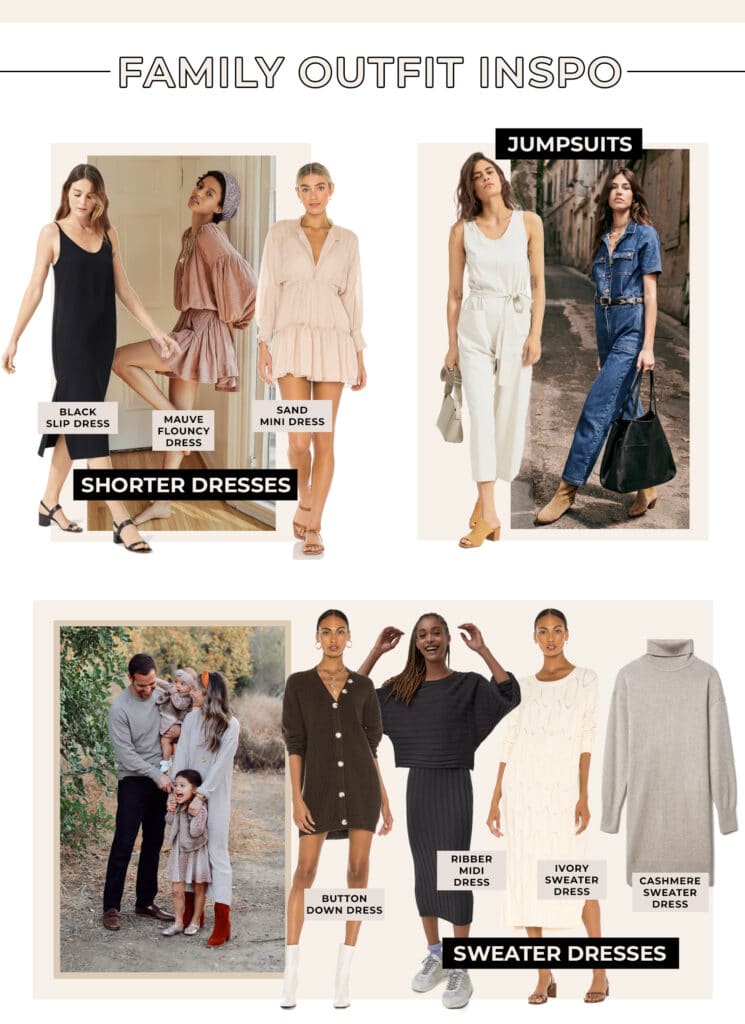
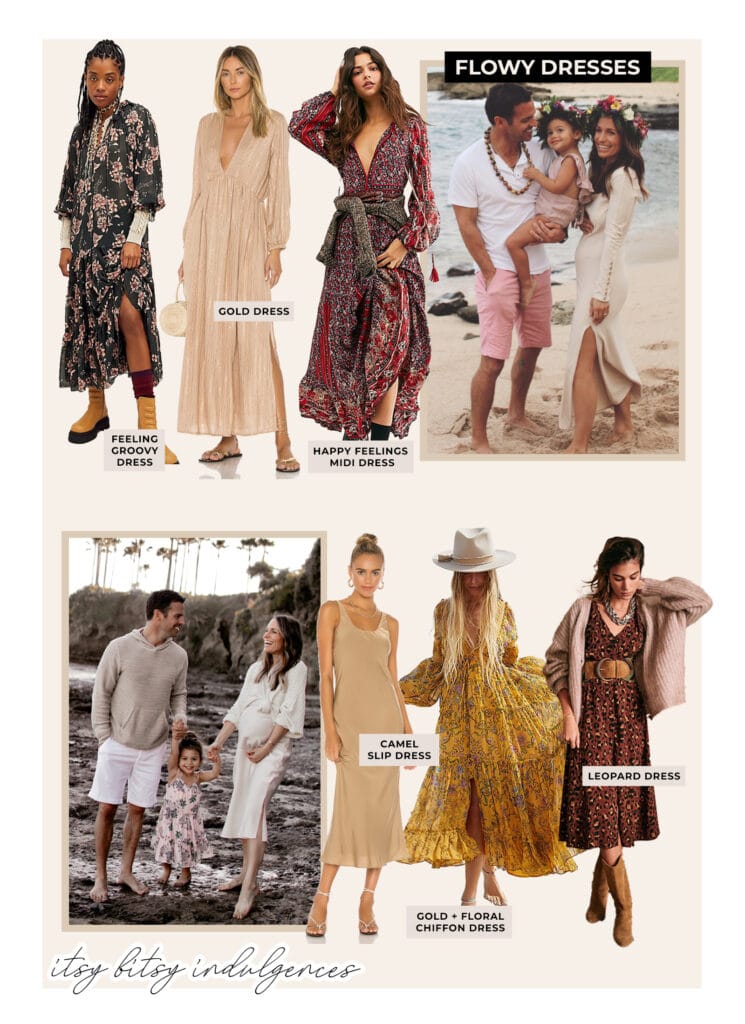
I always like to change things up a bit for family photos and wear a beautiful dress… I typically lean towards a sweater dress, slipdress, or a long and flowy dress, so I gathered a few options in each category and here they are….
SHORTER DRESSES
Black Slipdress
Mauve Flouncy Dress
Sand Mini Dress
JUMPSUITS (in case dresses aren’t your thing)
Ivory Jumpsuit
Denim Jumpsuit
SWEATER DRESSES
Button Down Dress
Ribbed Midi Dress
Ivory Sweater Dress
Cashmere Sweater Dress
FLOWY DRESSES
Feeling Groovy Dress
Gold Dress
Happy Feelings Dress
Camel Slipdress
Gold + Floral Chiffon Dress
Leopard Dress

