
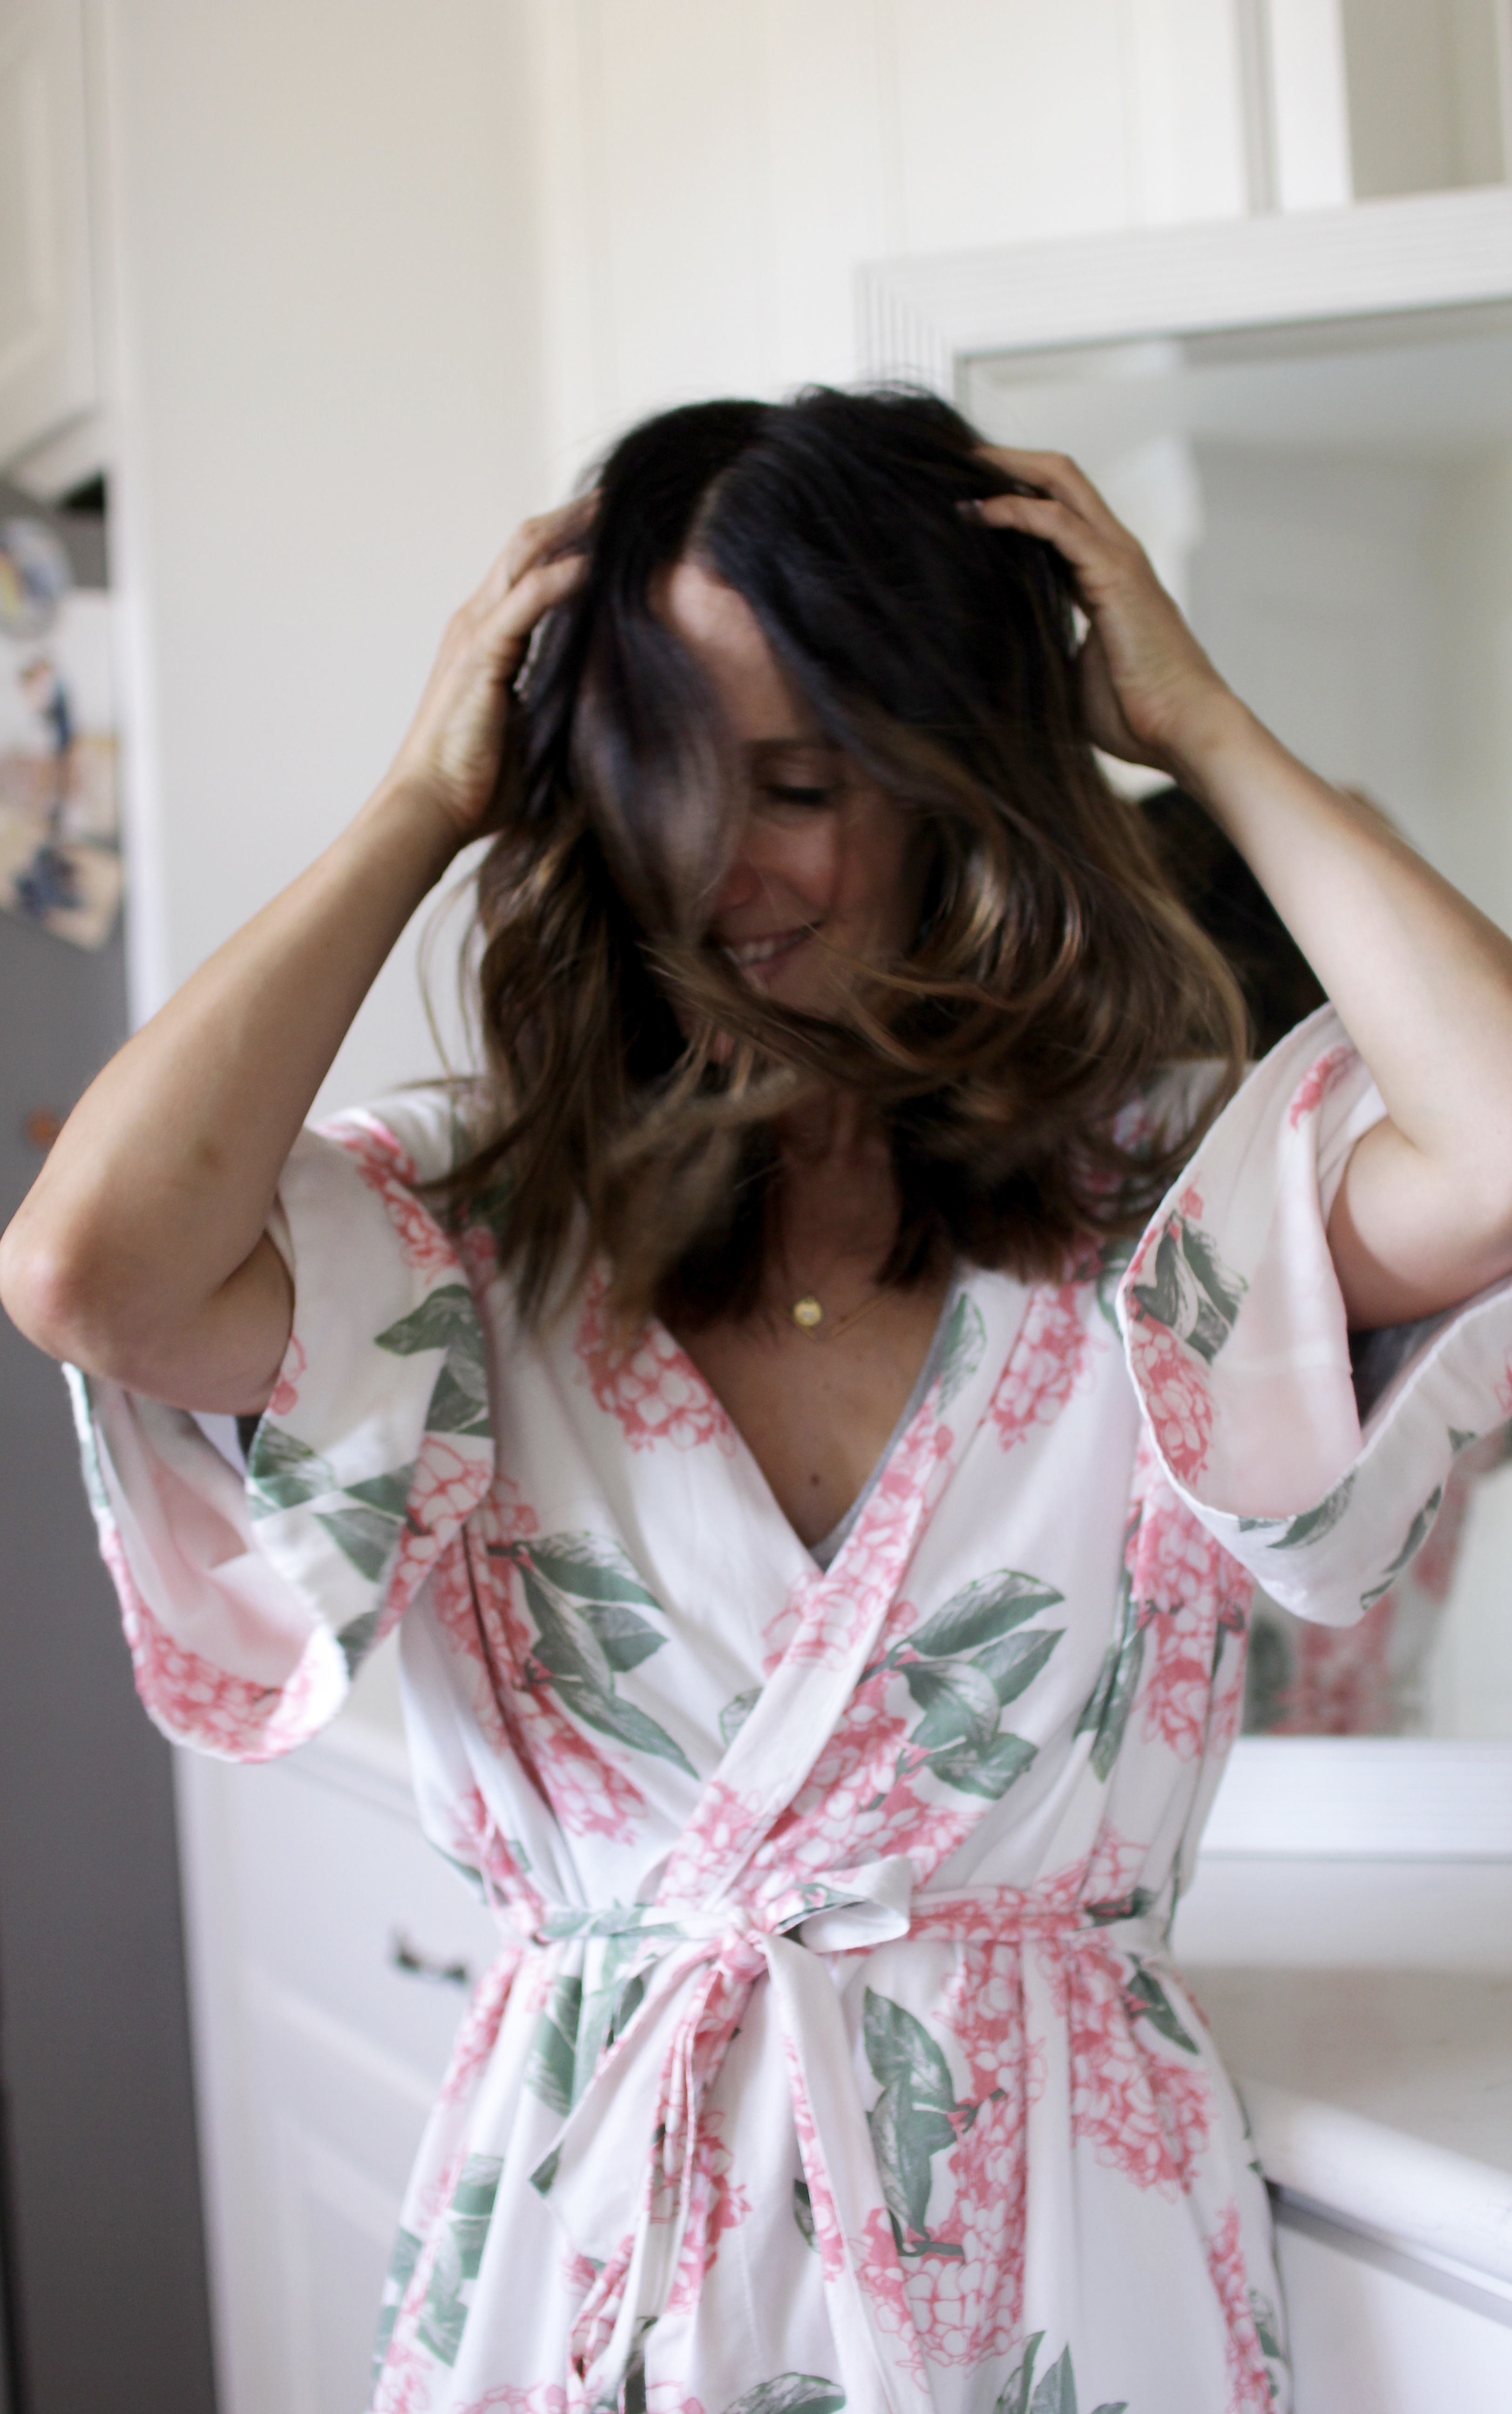
True Confession: Growing up, I loved hot rollers. Like, #obsessed. Each morning, before school, I’d have my mom help me roll my hair up in the varying sizes and then I’d eat my breakfast…. anxiously anticipating when I could take out each roll and relish in the perfectly set curl. Thankfully that was a phase that is no longer in existence (insert praying hand emoji here).
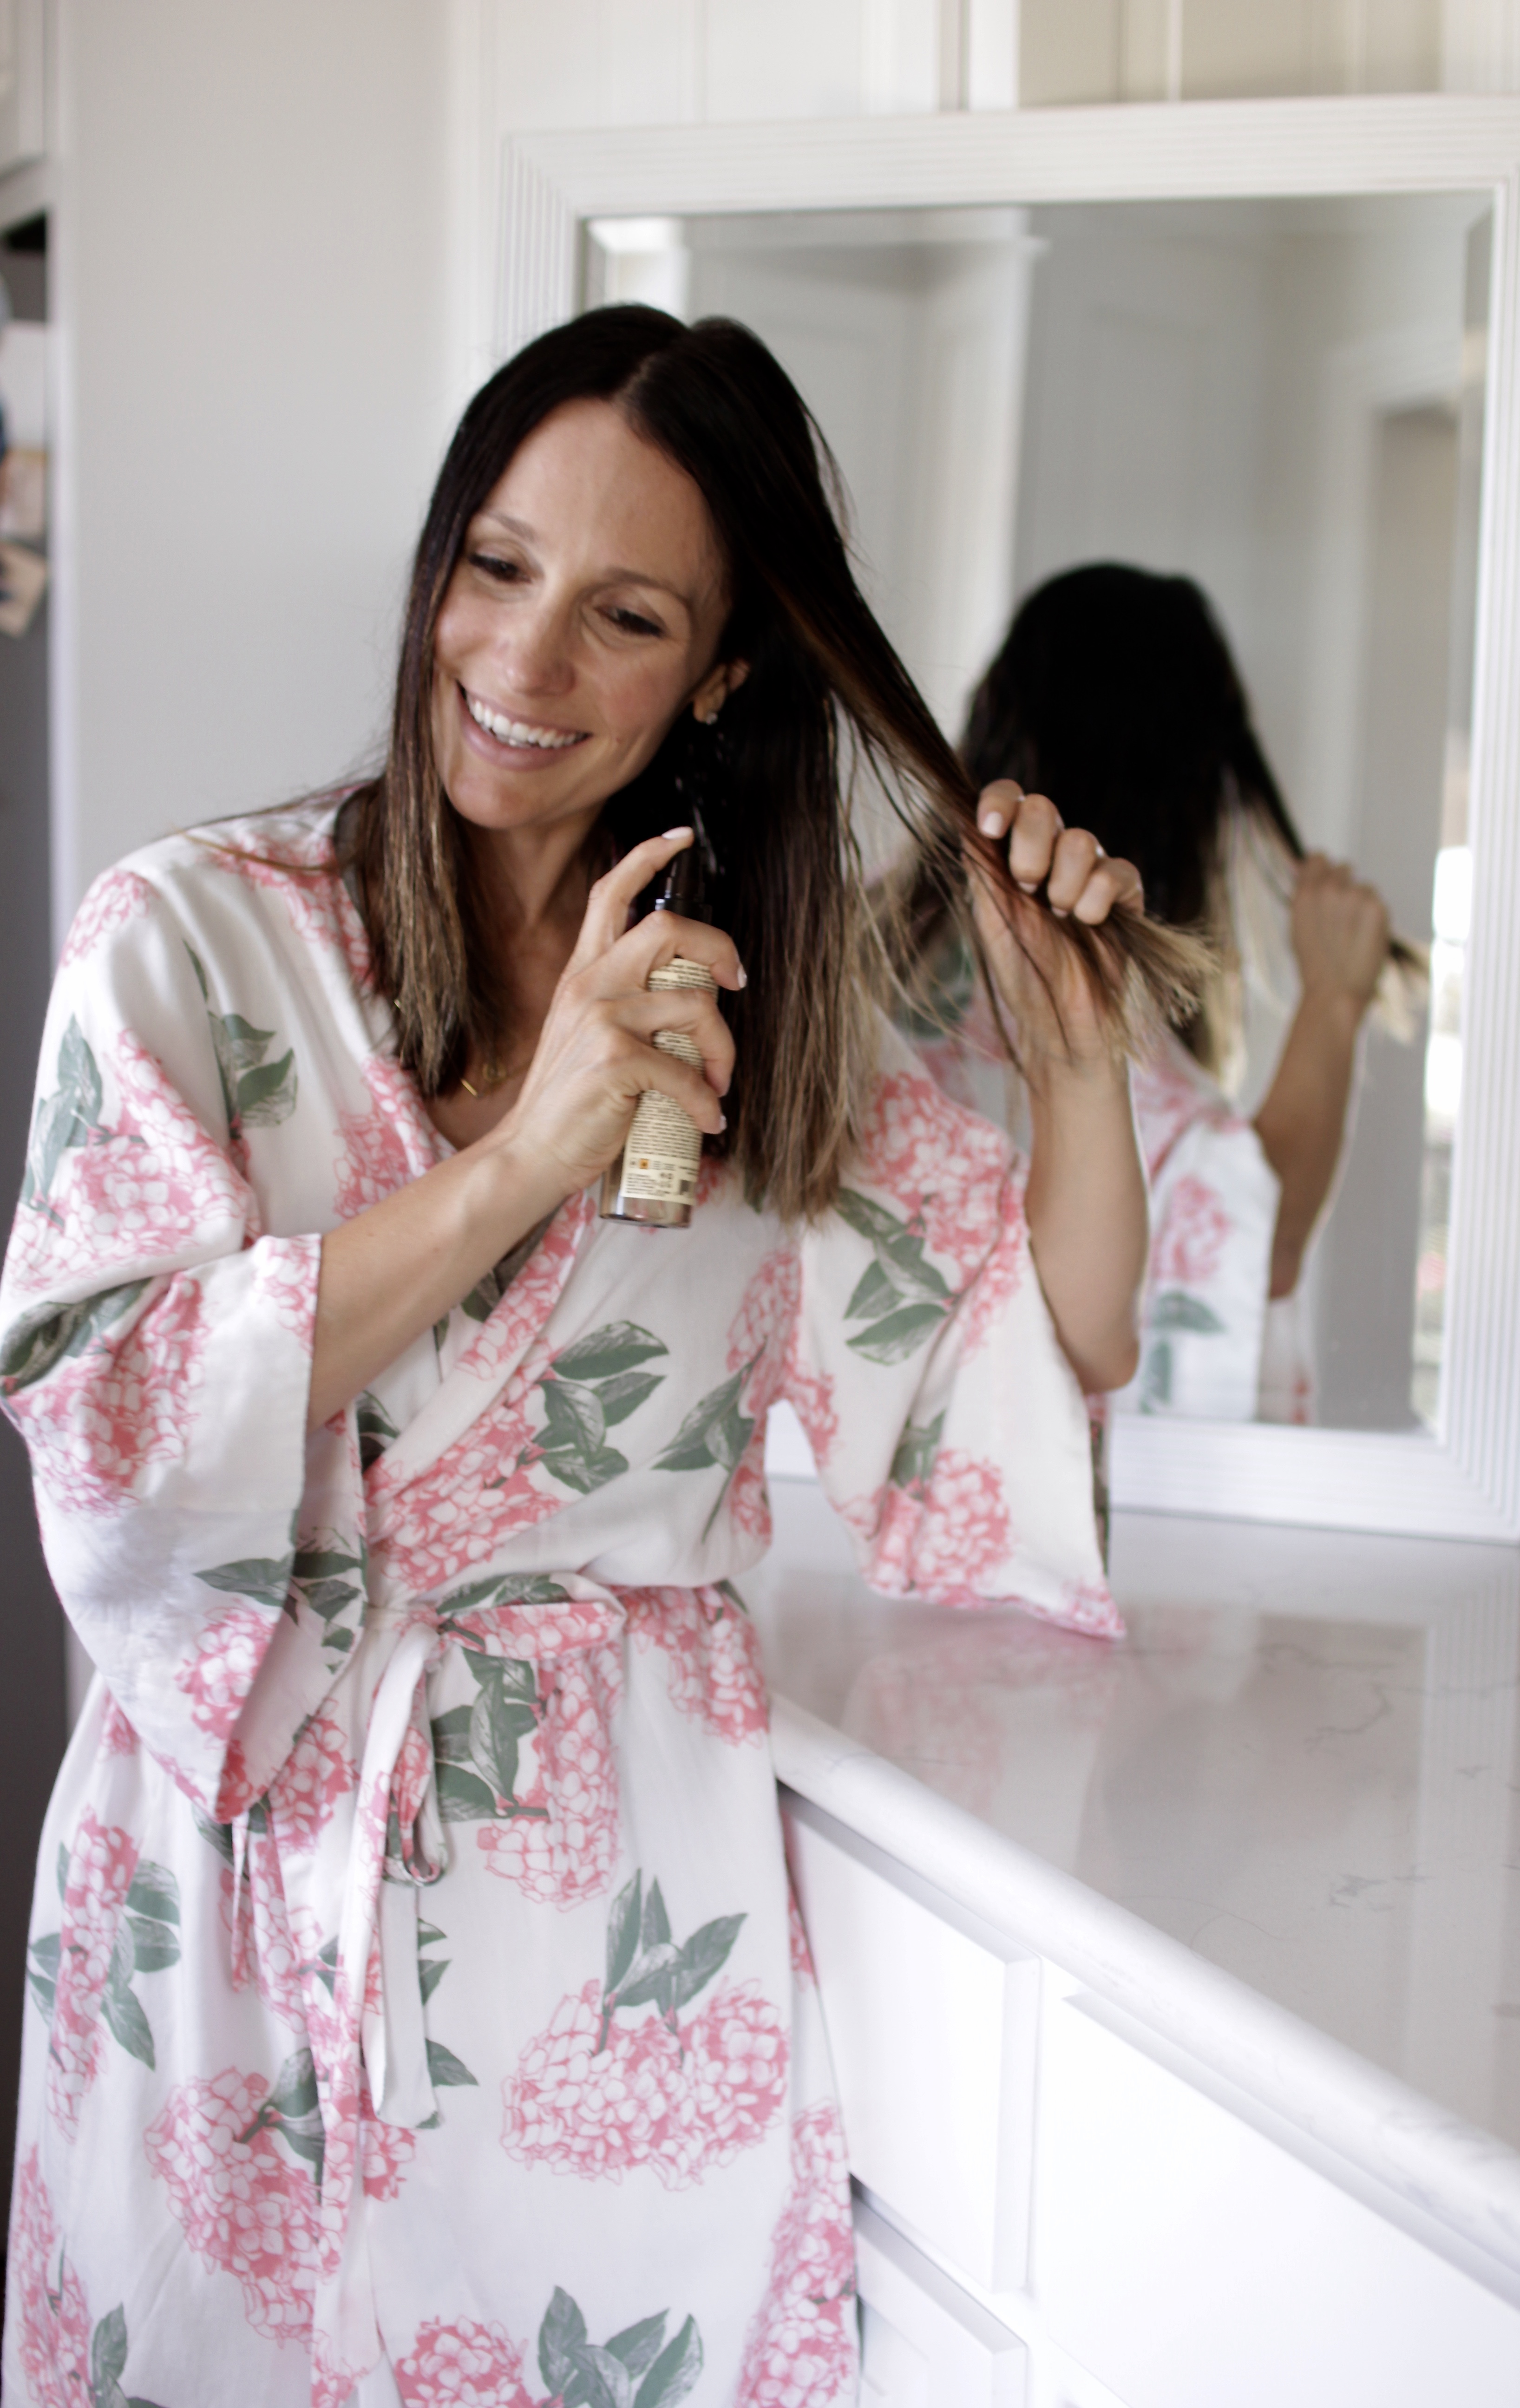
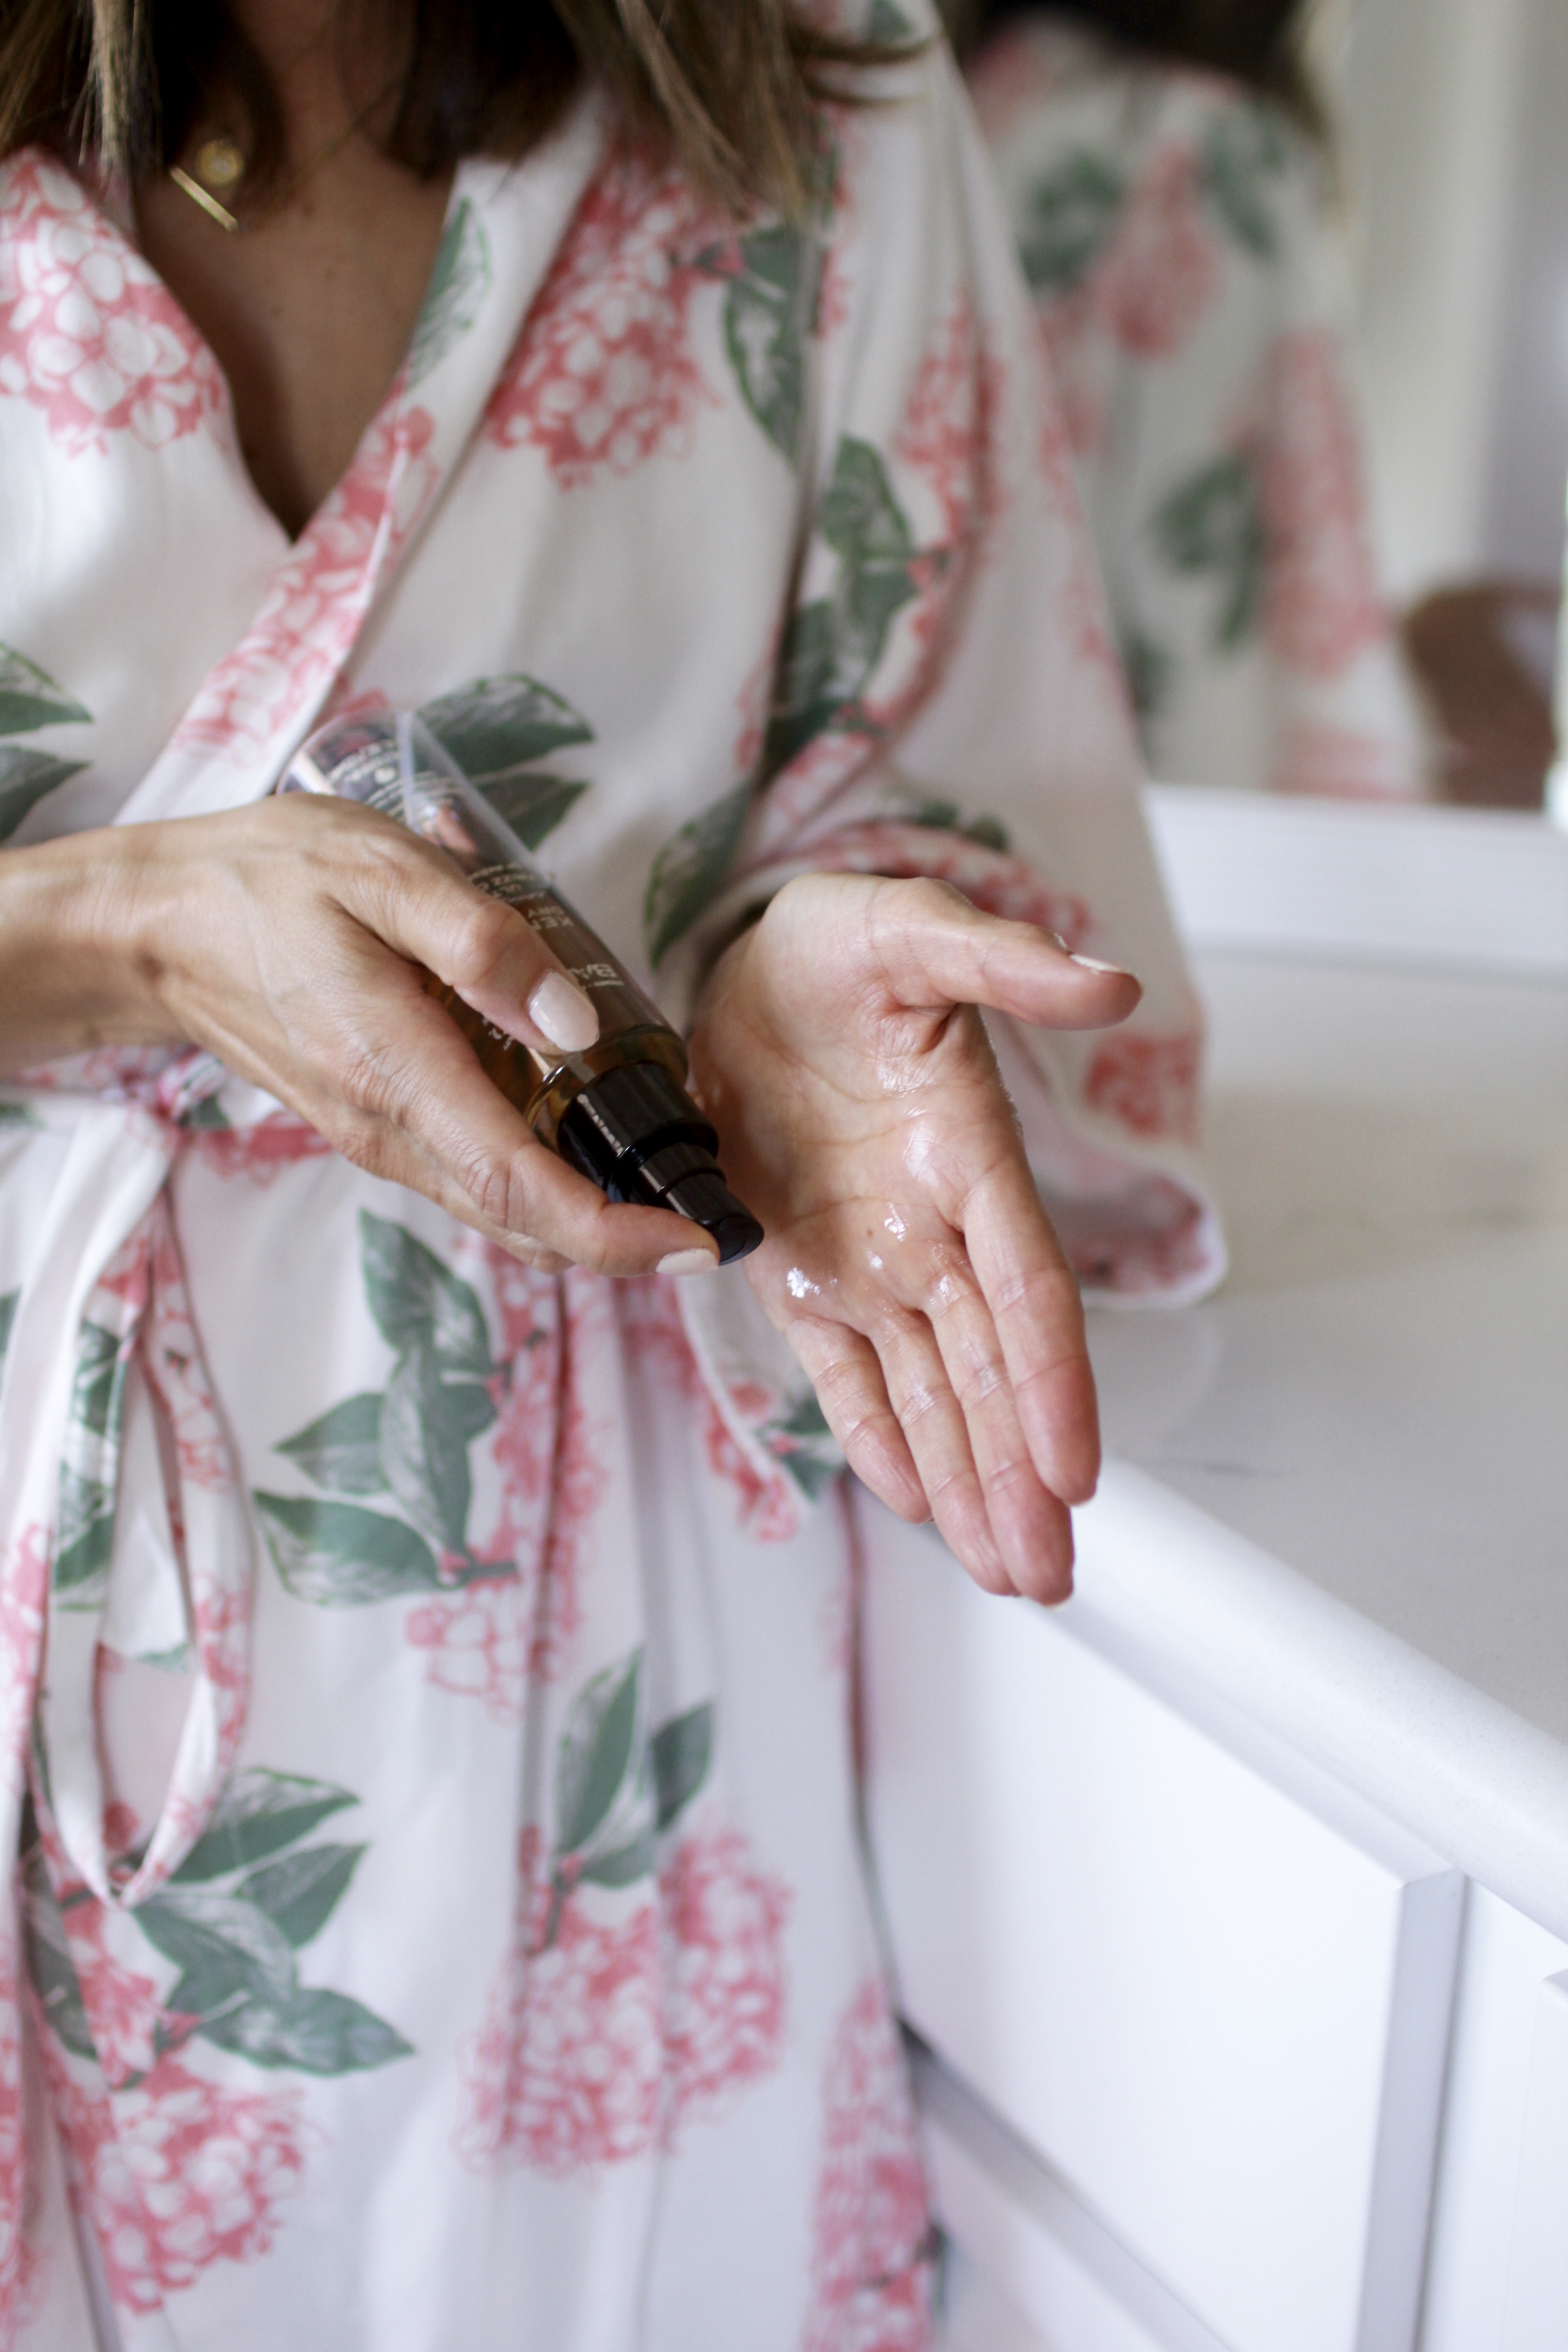
Now, I prefer my curls to look soft and slightly undone… the complete opposite of those 6th grade curls. Its taken a few years to get down the right tools, angles, and products, but I am kind of digging the ones I am using right now and thought I would share the process with you. My hair typically holds a curl best when it is a little dirty (which is why I can often go 3-4 days without a wash), but for the sake of this post, I am doing it from start to finish. So… in that light, I start with clean hair. I’ve been using this shampoo and conditioner for several years. I’ve tried many different conditioners over the years, but this one takes the cake. It leaves my hair so soft, tangle free, and I love the smell. After I towel dry my hair, I comb through it with a flat brush and spritz on some oil spray.
_________
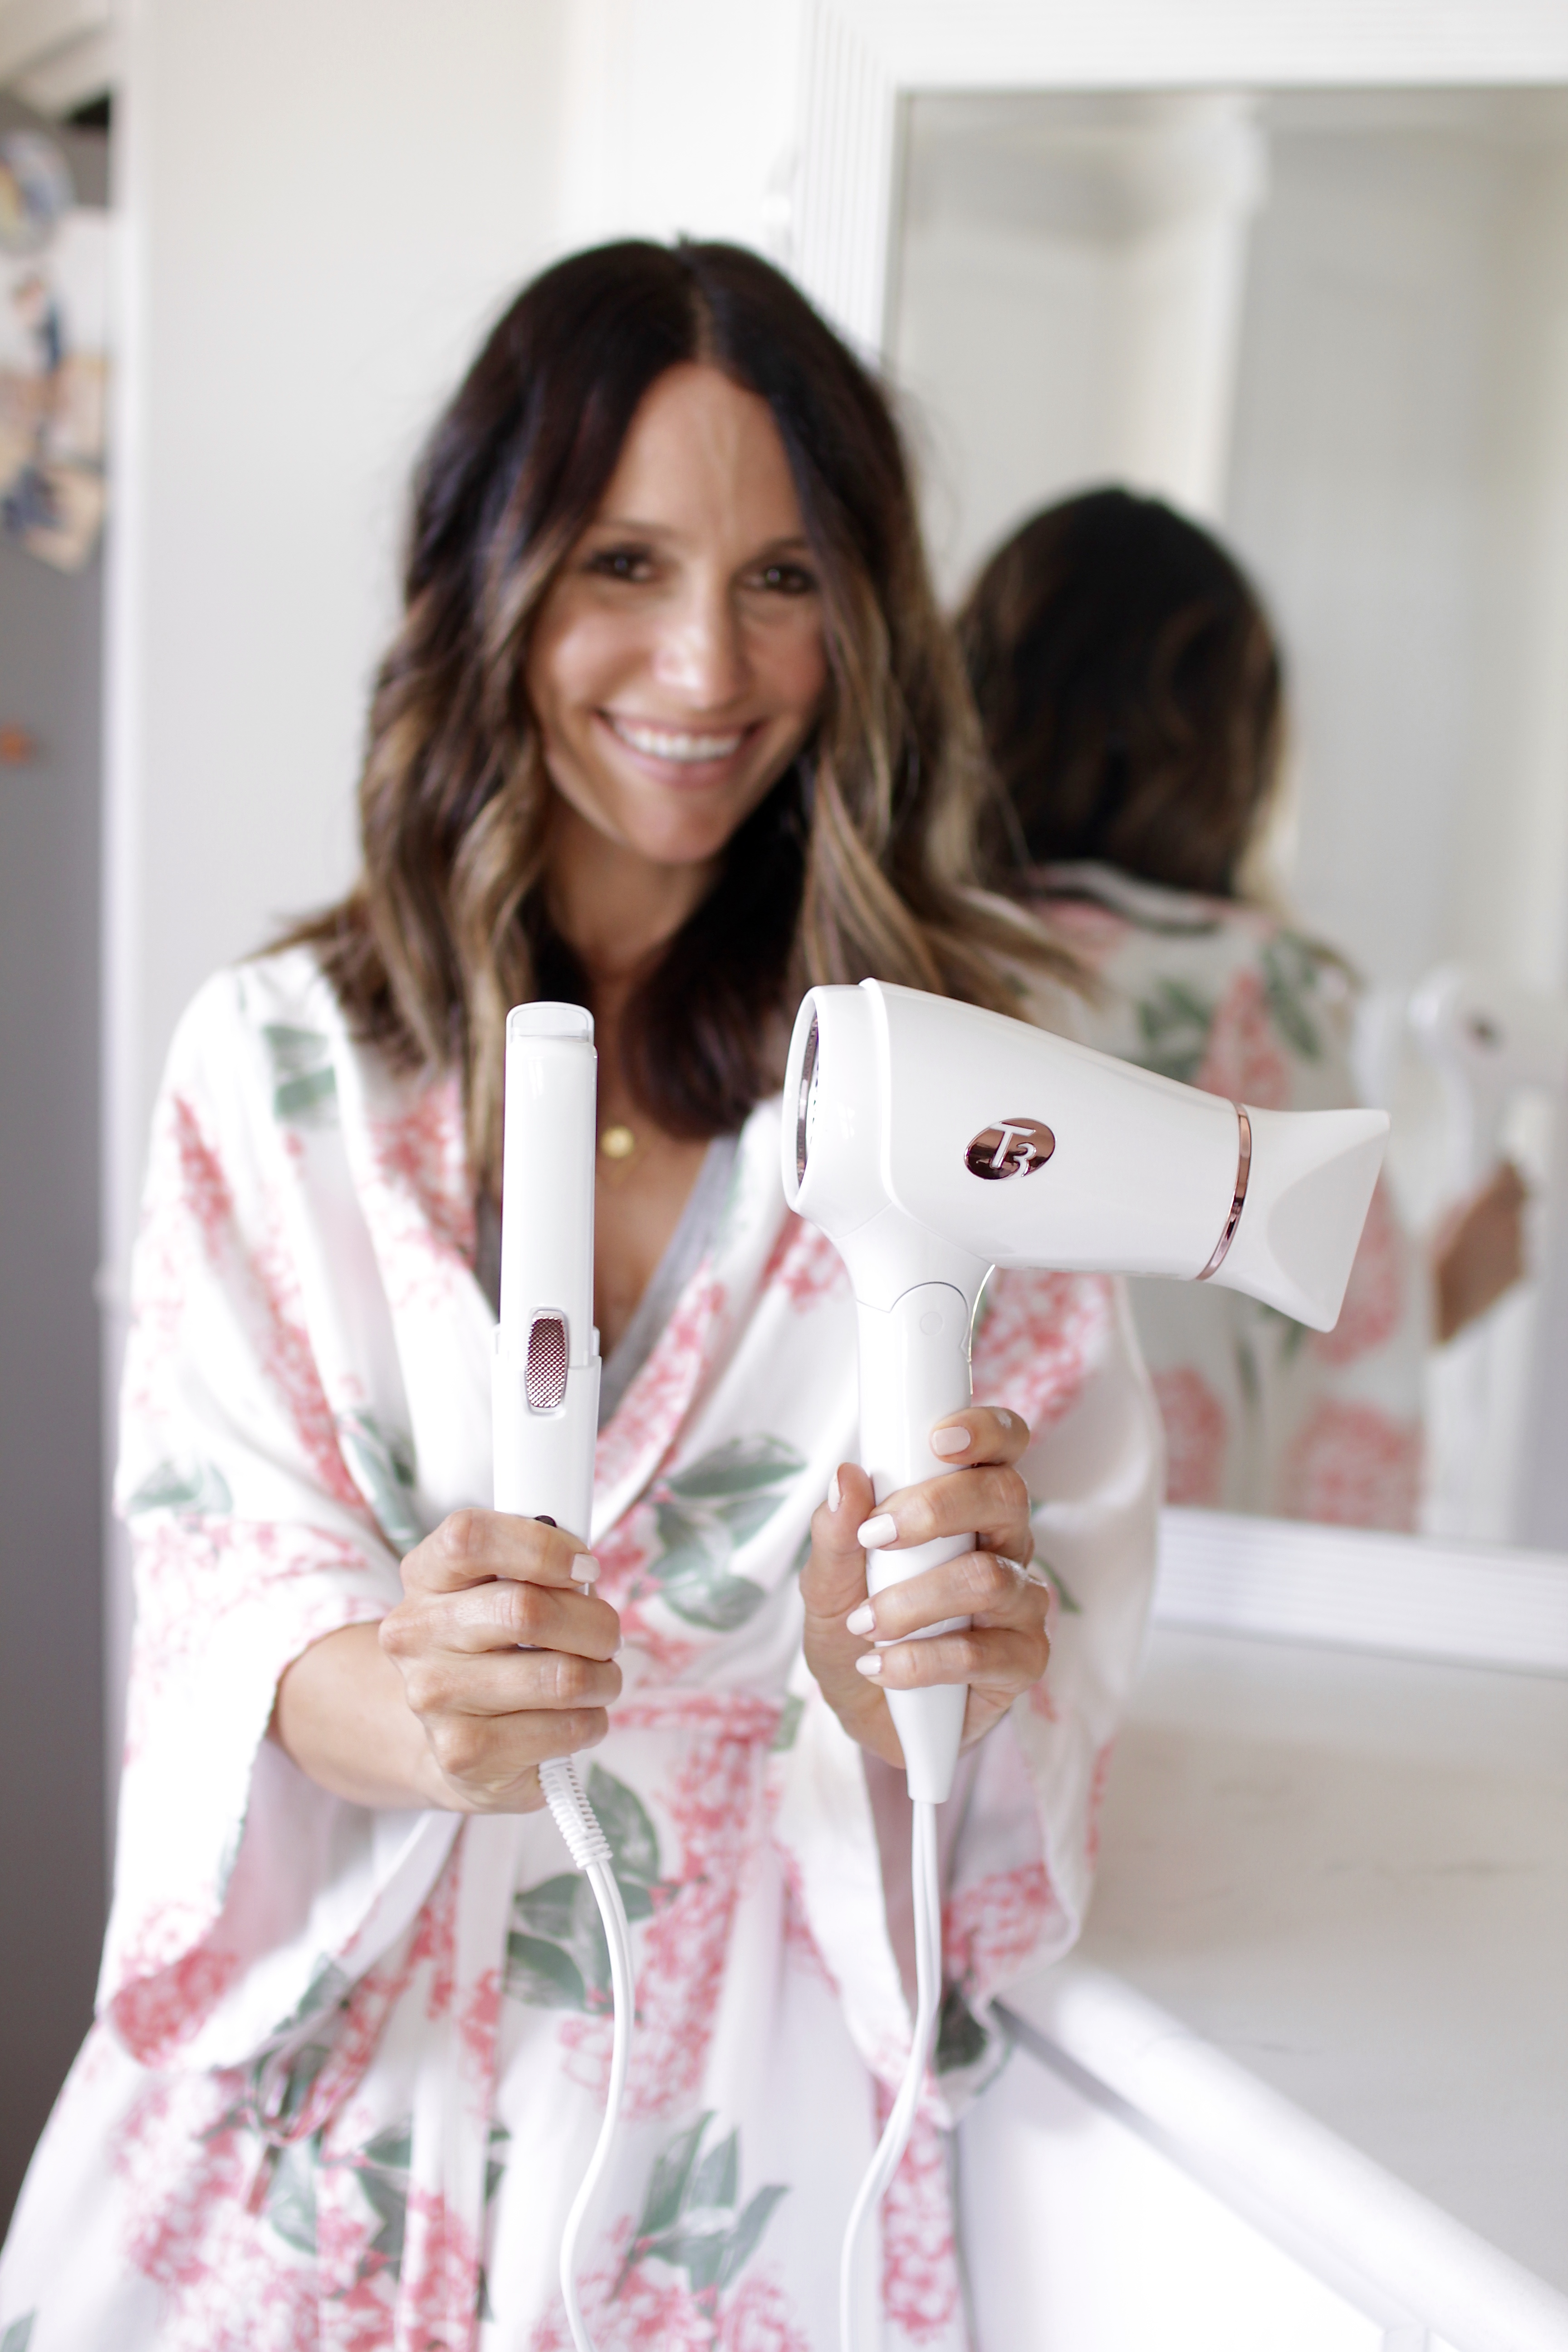
{Post Details | Robe (identical) | Hair Dryer (c/o) this one on sale!| Straightener (c/0) | Curling Wand (not available anymore, but looking to invest in this one) | Round Brush (similar) | Flat Brush | Oil Spray | Wave Spray}
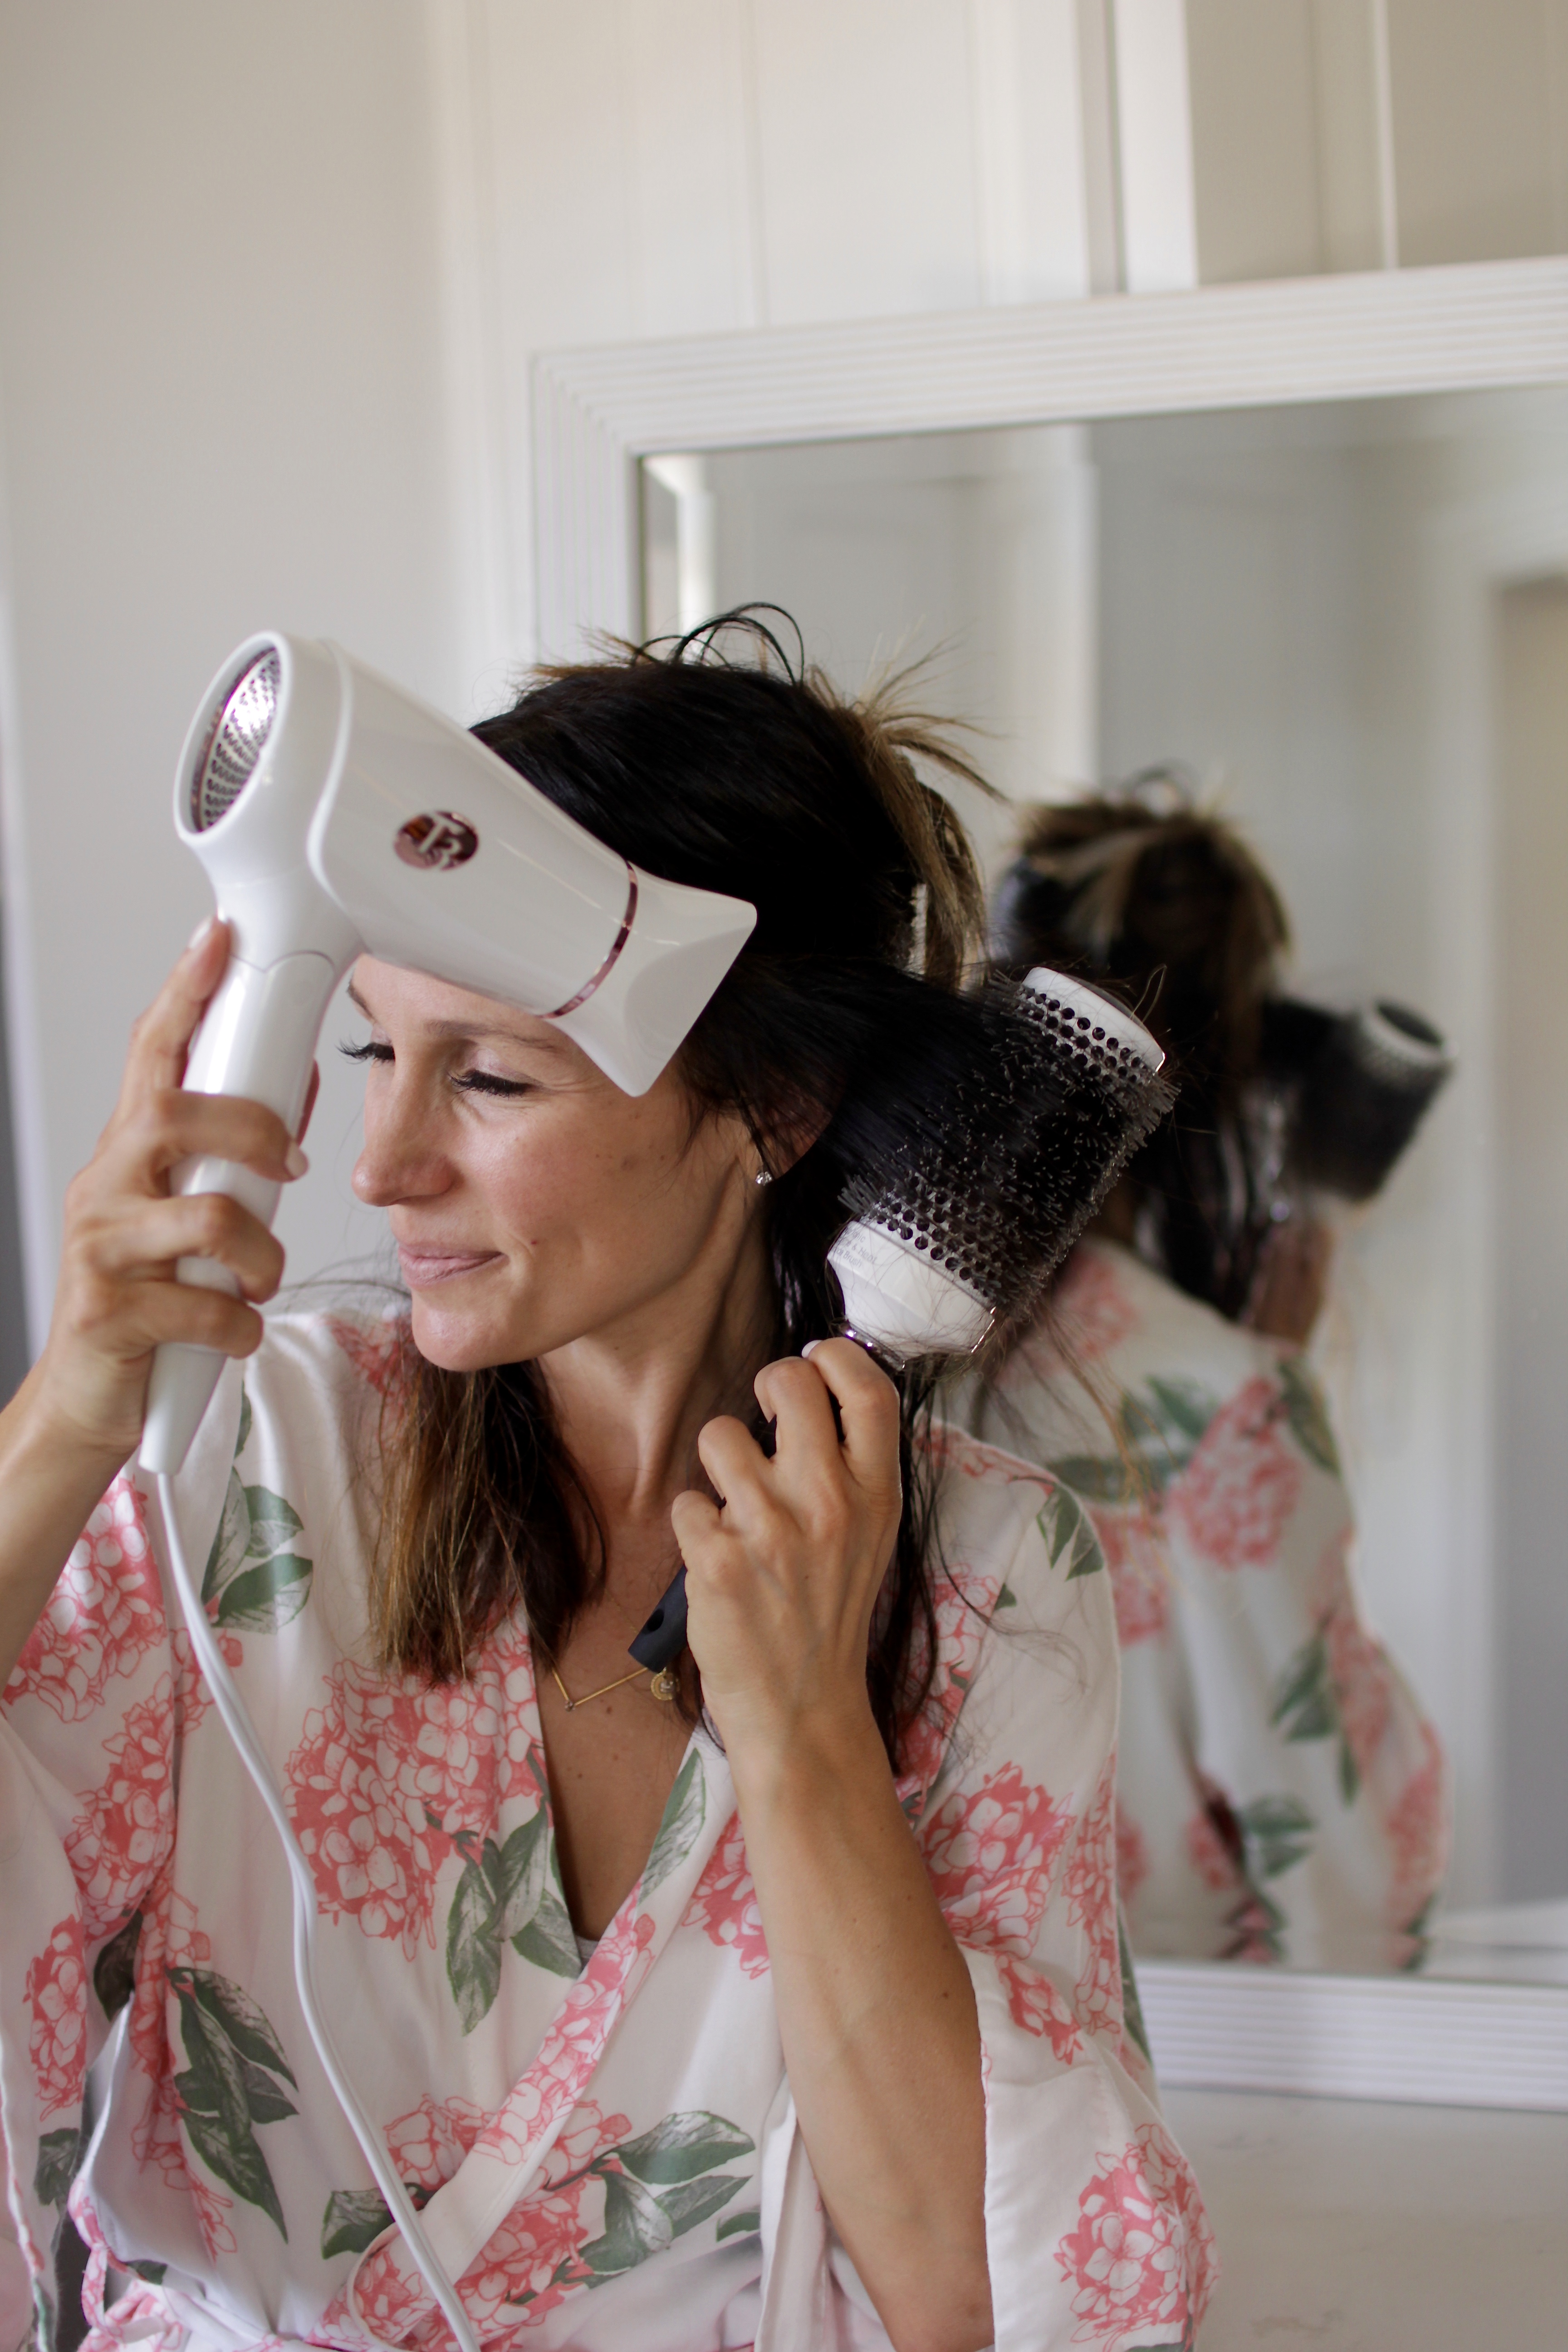
Next, I round brush my hair. I love the volume it adds and how smooth my hair ends up looking. I used to buy cheap-o hair dryers, but two things started happening. First, they kept breaking… so I’d go through 3 a year (which adds up!). Second? Well, they fried my hair. Like, literally a piece of my hair extension (when I wore them) came off. So, I figured it was time to invest in a high quality hair dryer (at my hairdressers advice). This T3 one is amazing. It literally took me 18 minutes to dry my hair. With the other hairdryers it would take me at least 30 minutes (and as a momma, those extra 12 minutes are crucial). I also love that this one is portable and can come with me on all my travels, as I’m not a huge an of hotel hairdryers.
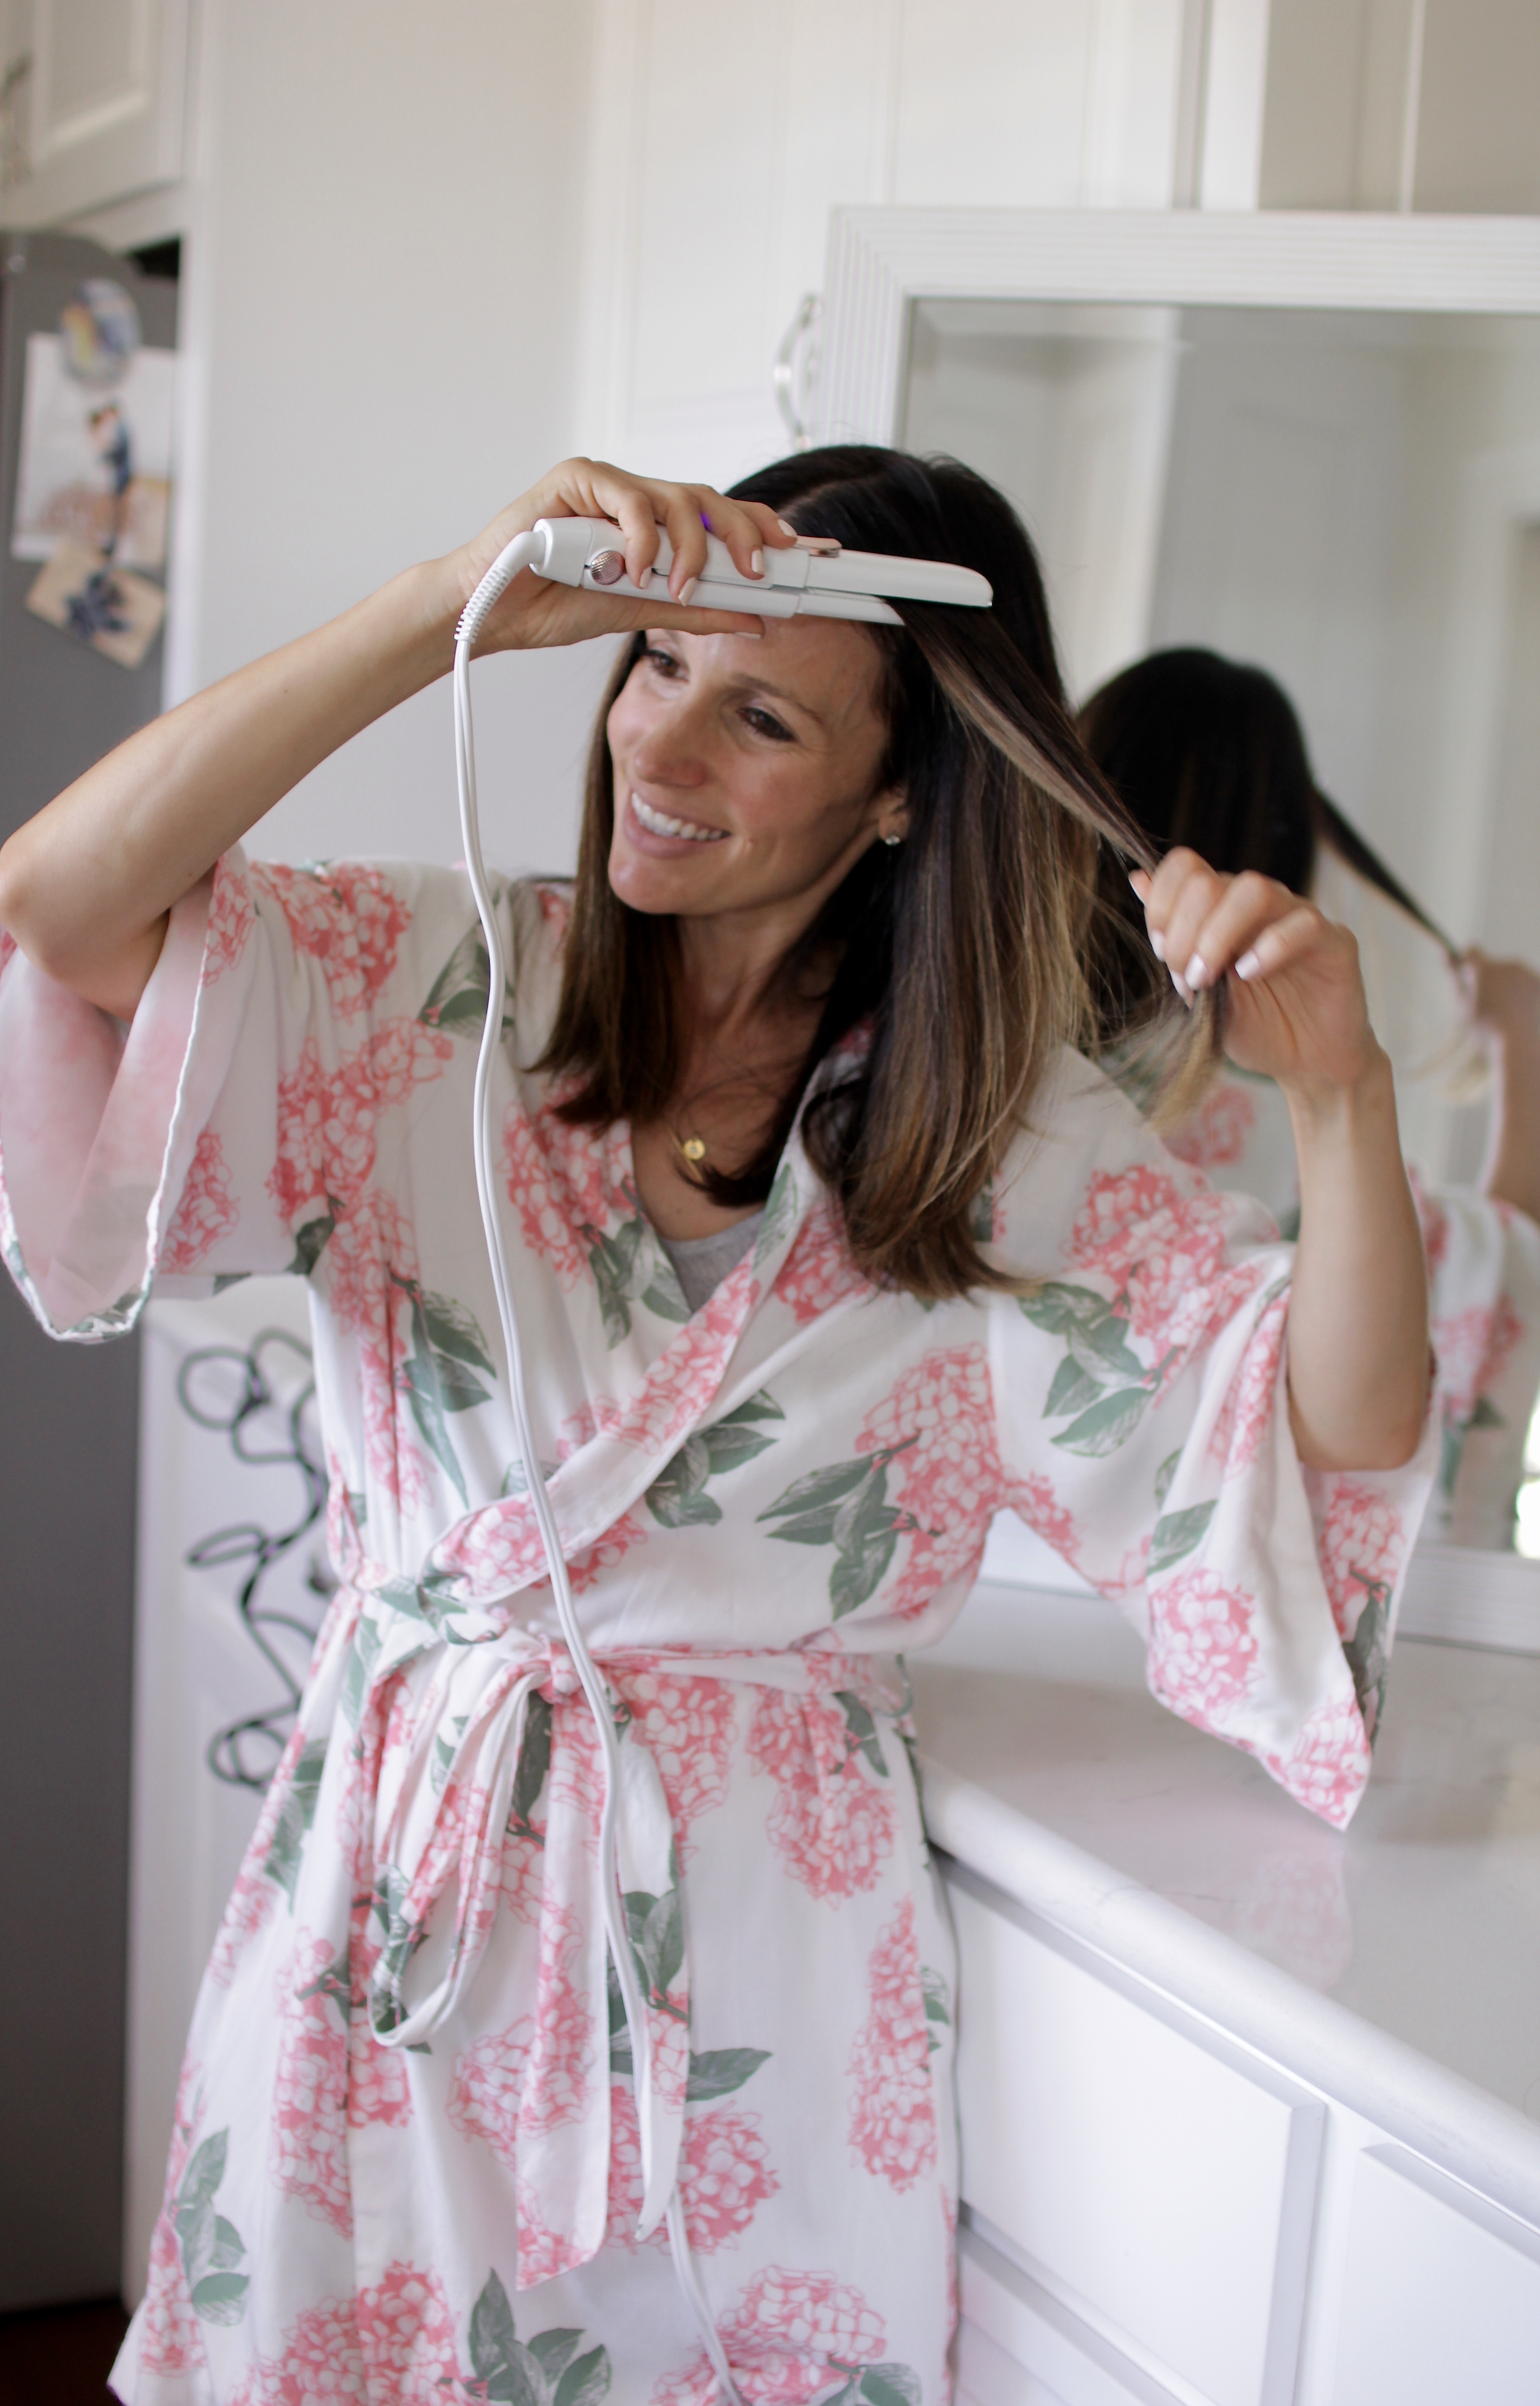
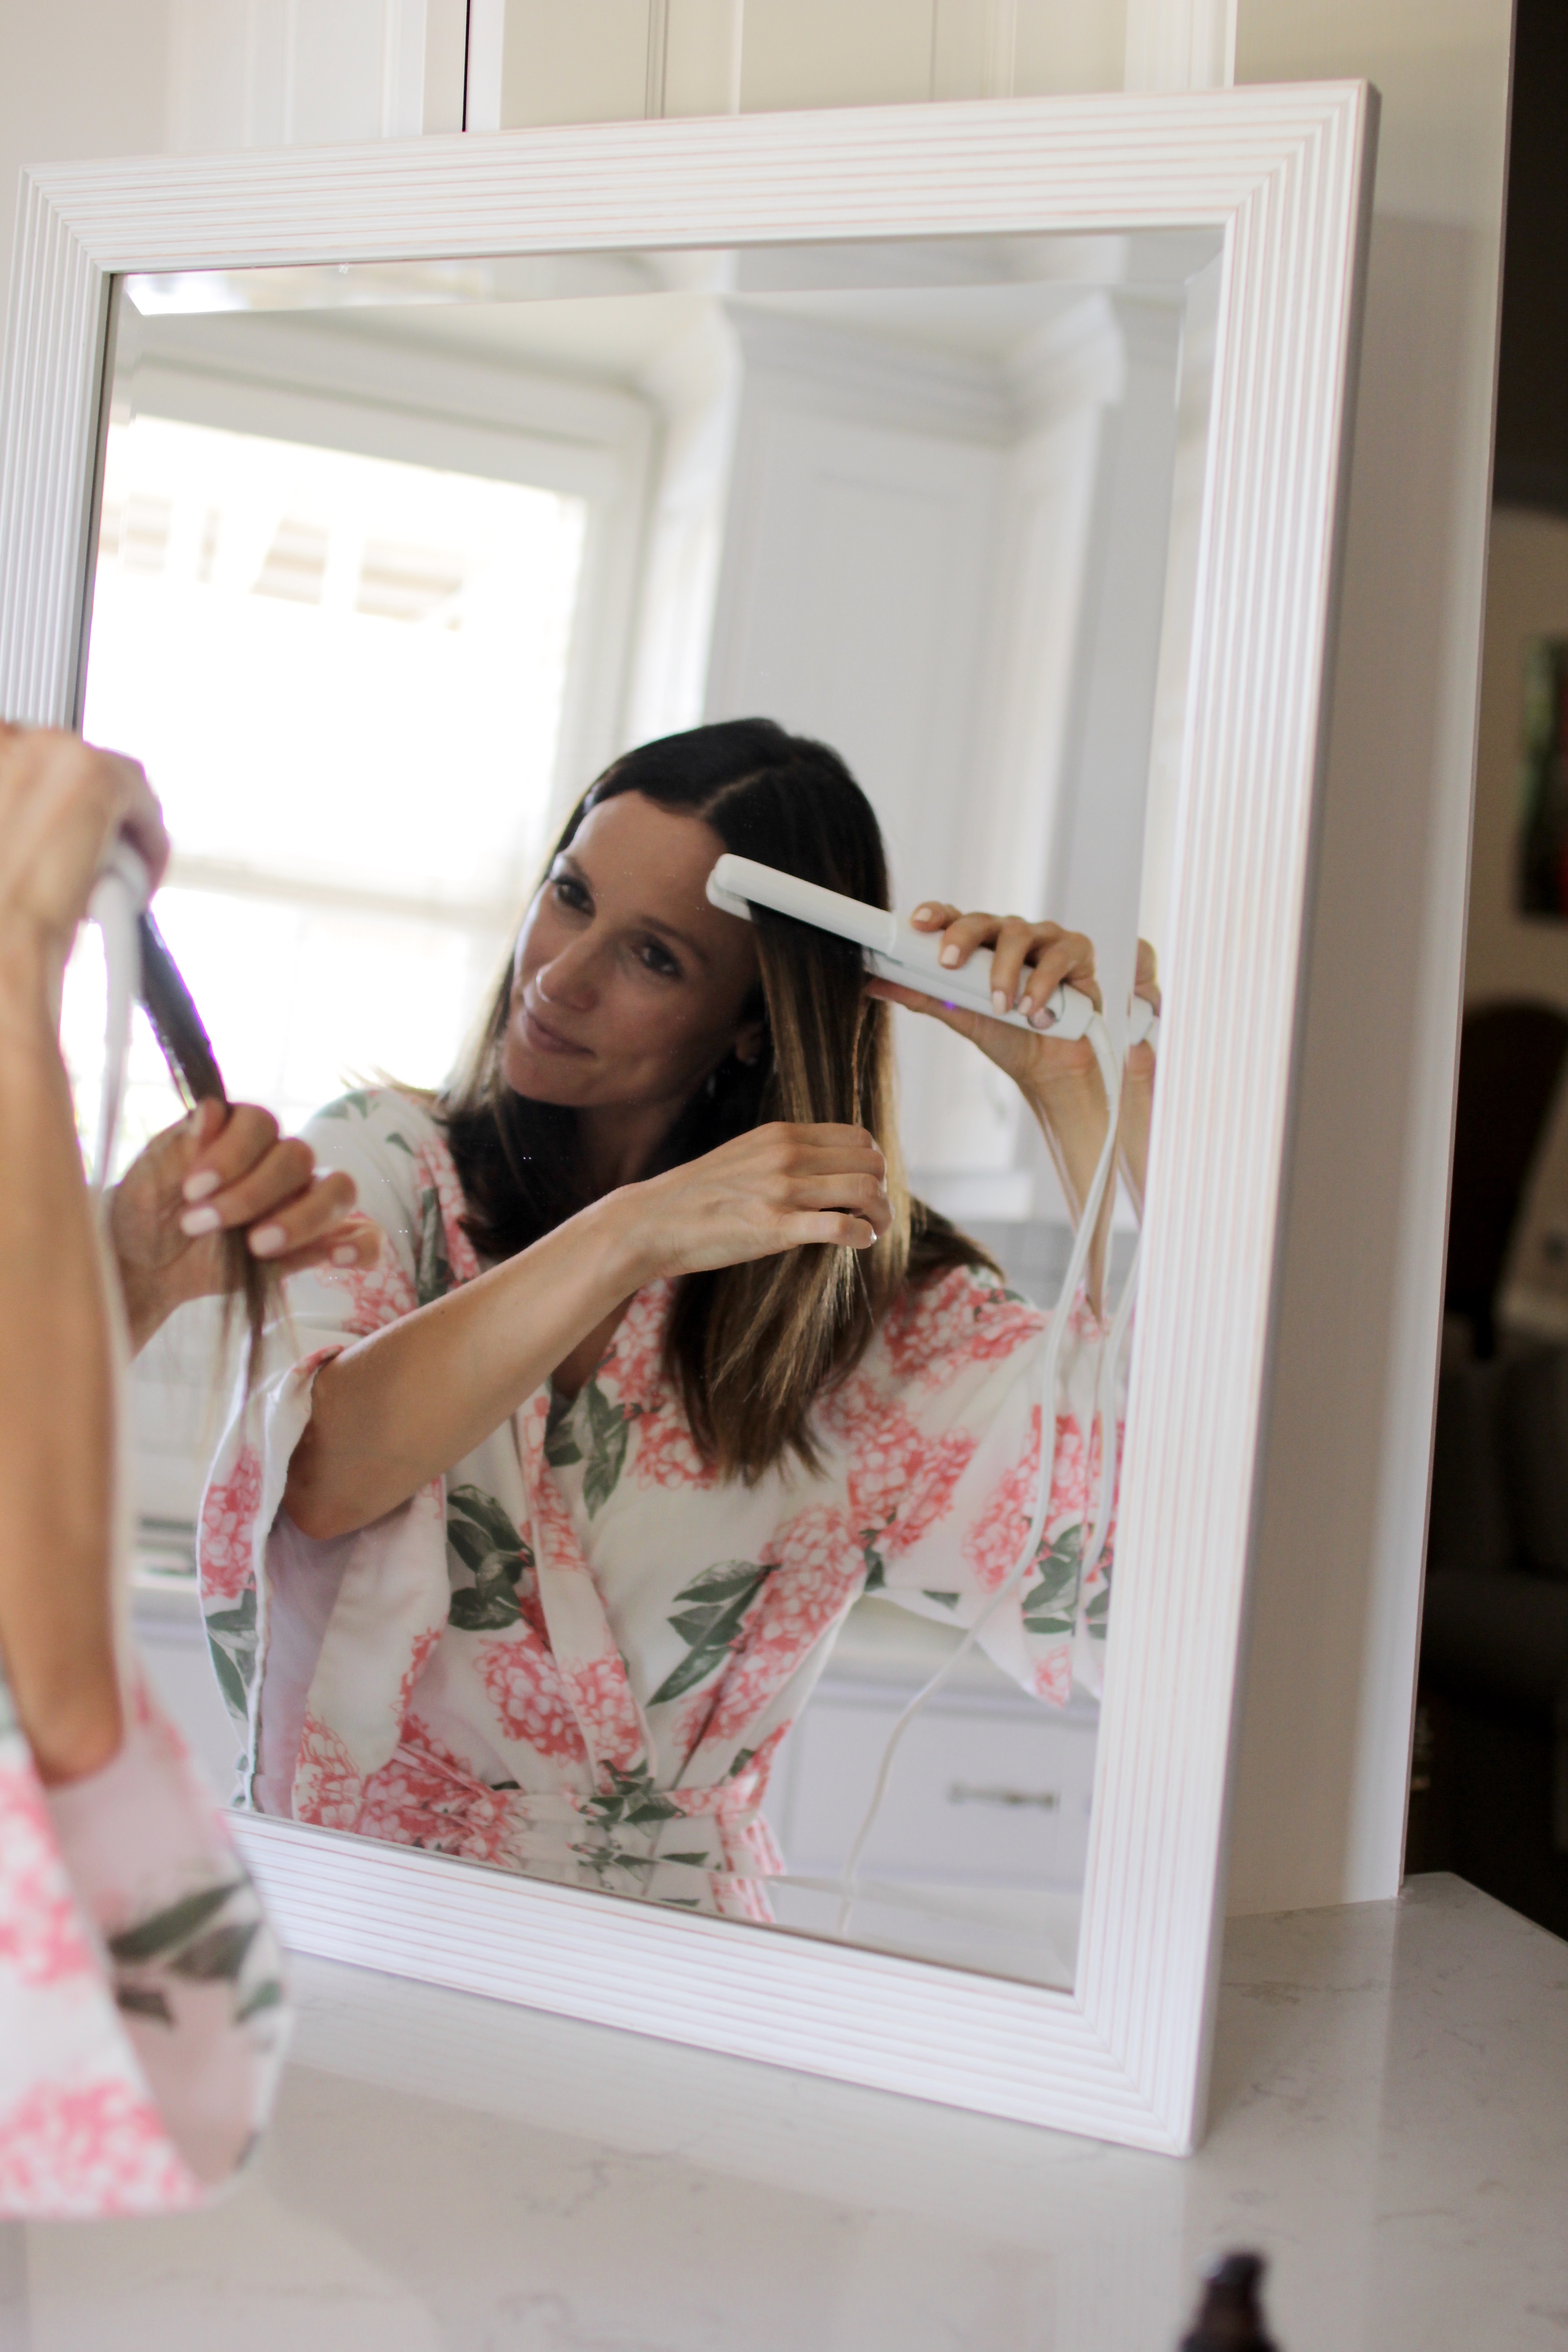
After I round brush, I find sections that may look a little kinky or frizzy and go over just that section with a straightening iron. These pieces are usually around my hairline.
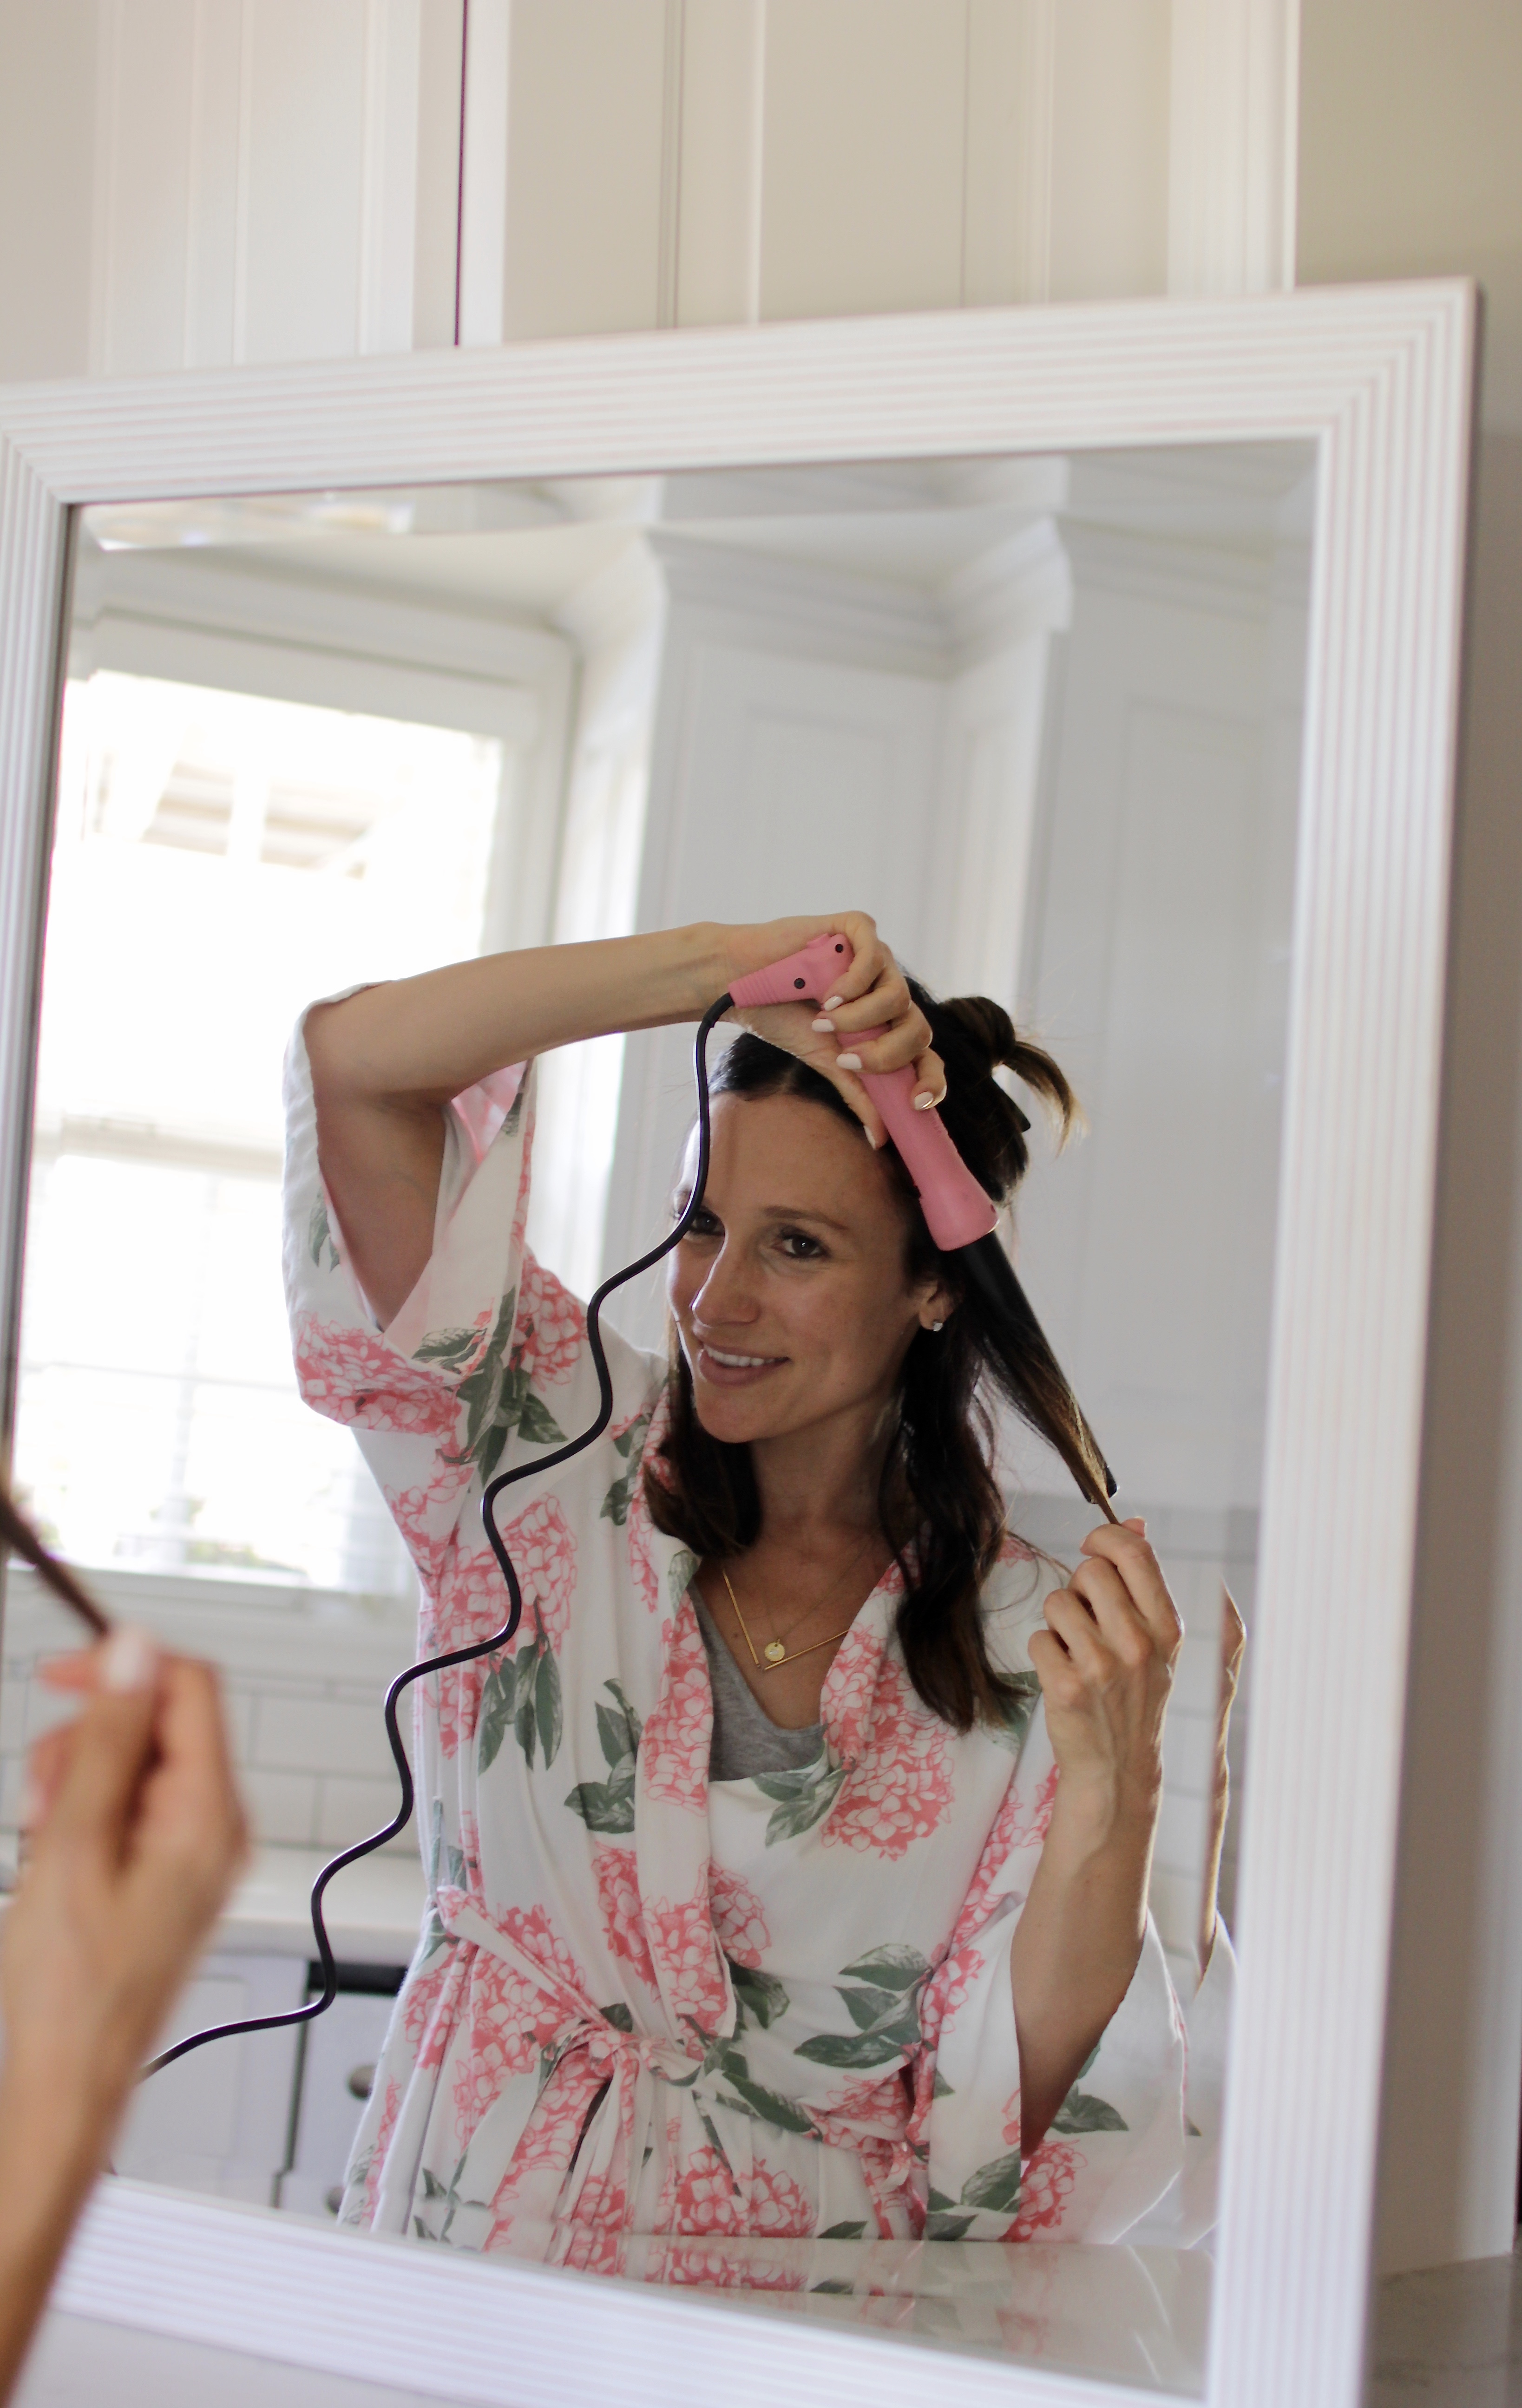
Next, I separate my hair and start to curl it in layers. I always, always, keep the curling wand pointing down. Once I have the angle correct, I wrap 1/2-1 inch sections of my hair around the barrel. On the right side I start by wrapping my hair under the wand and then over. On the left side I start by going over the wand and then under.


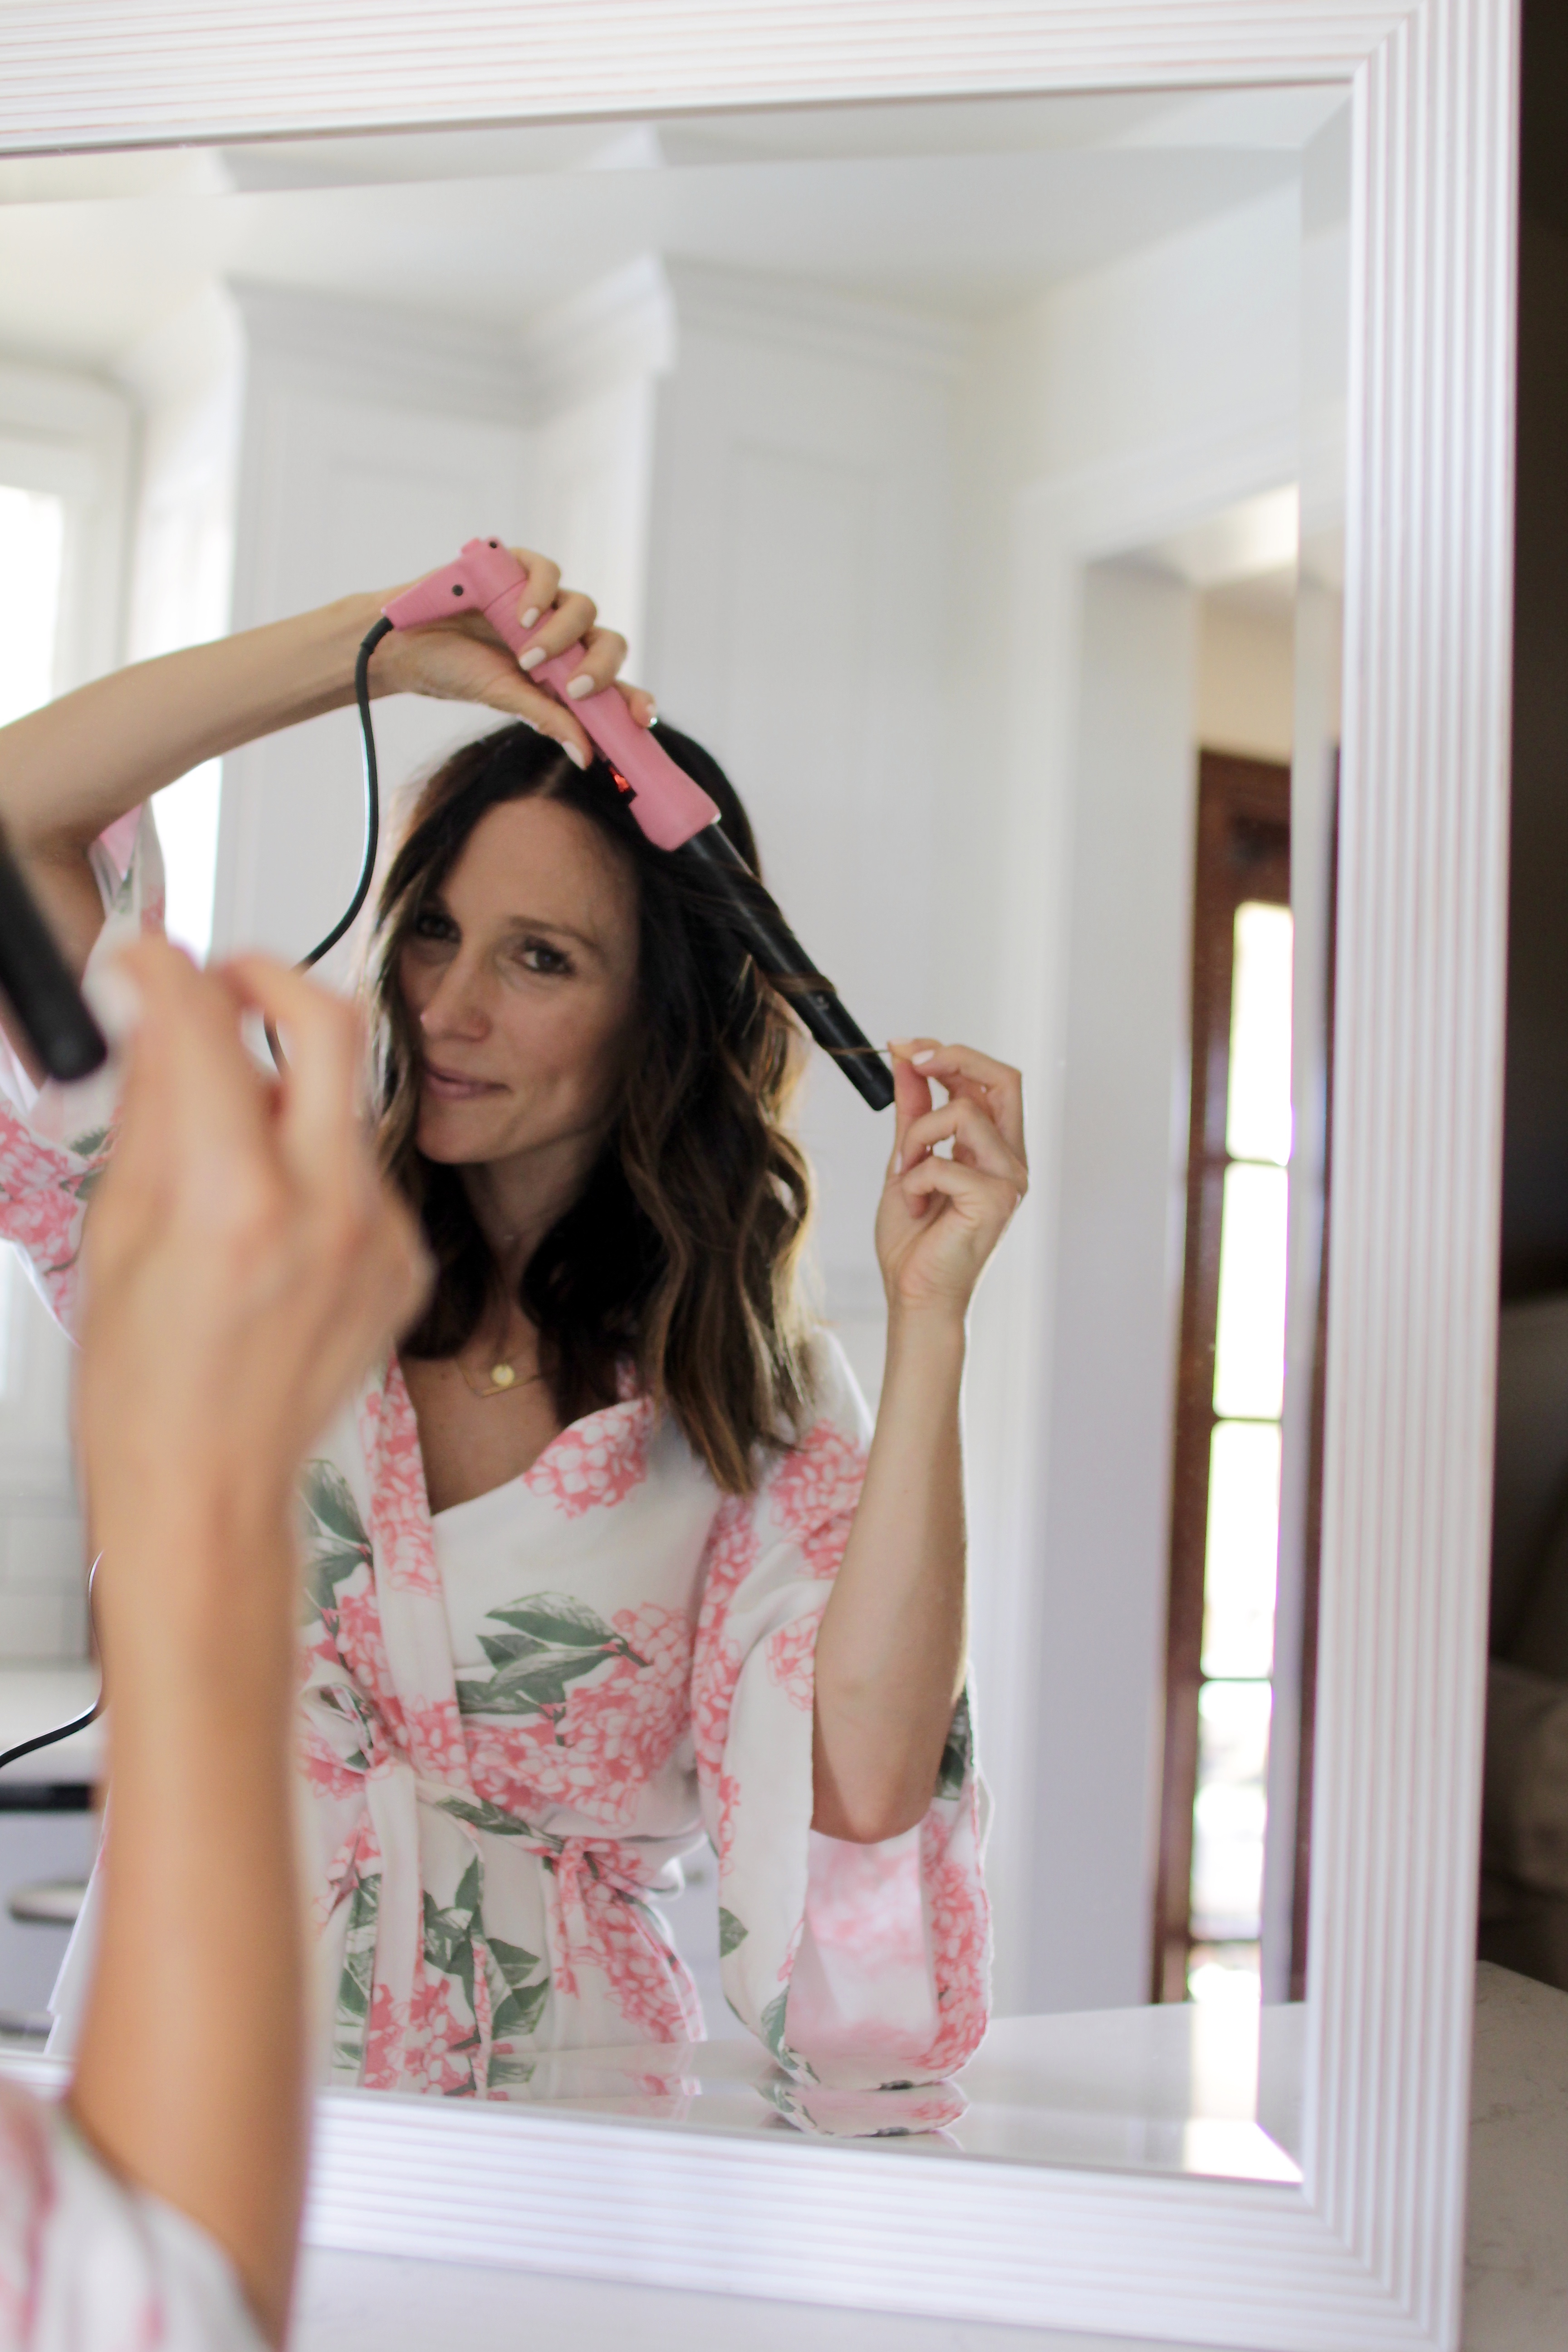
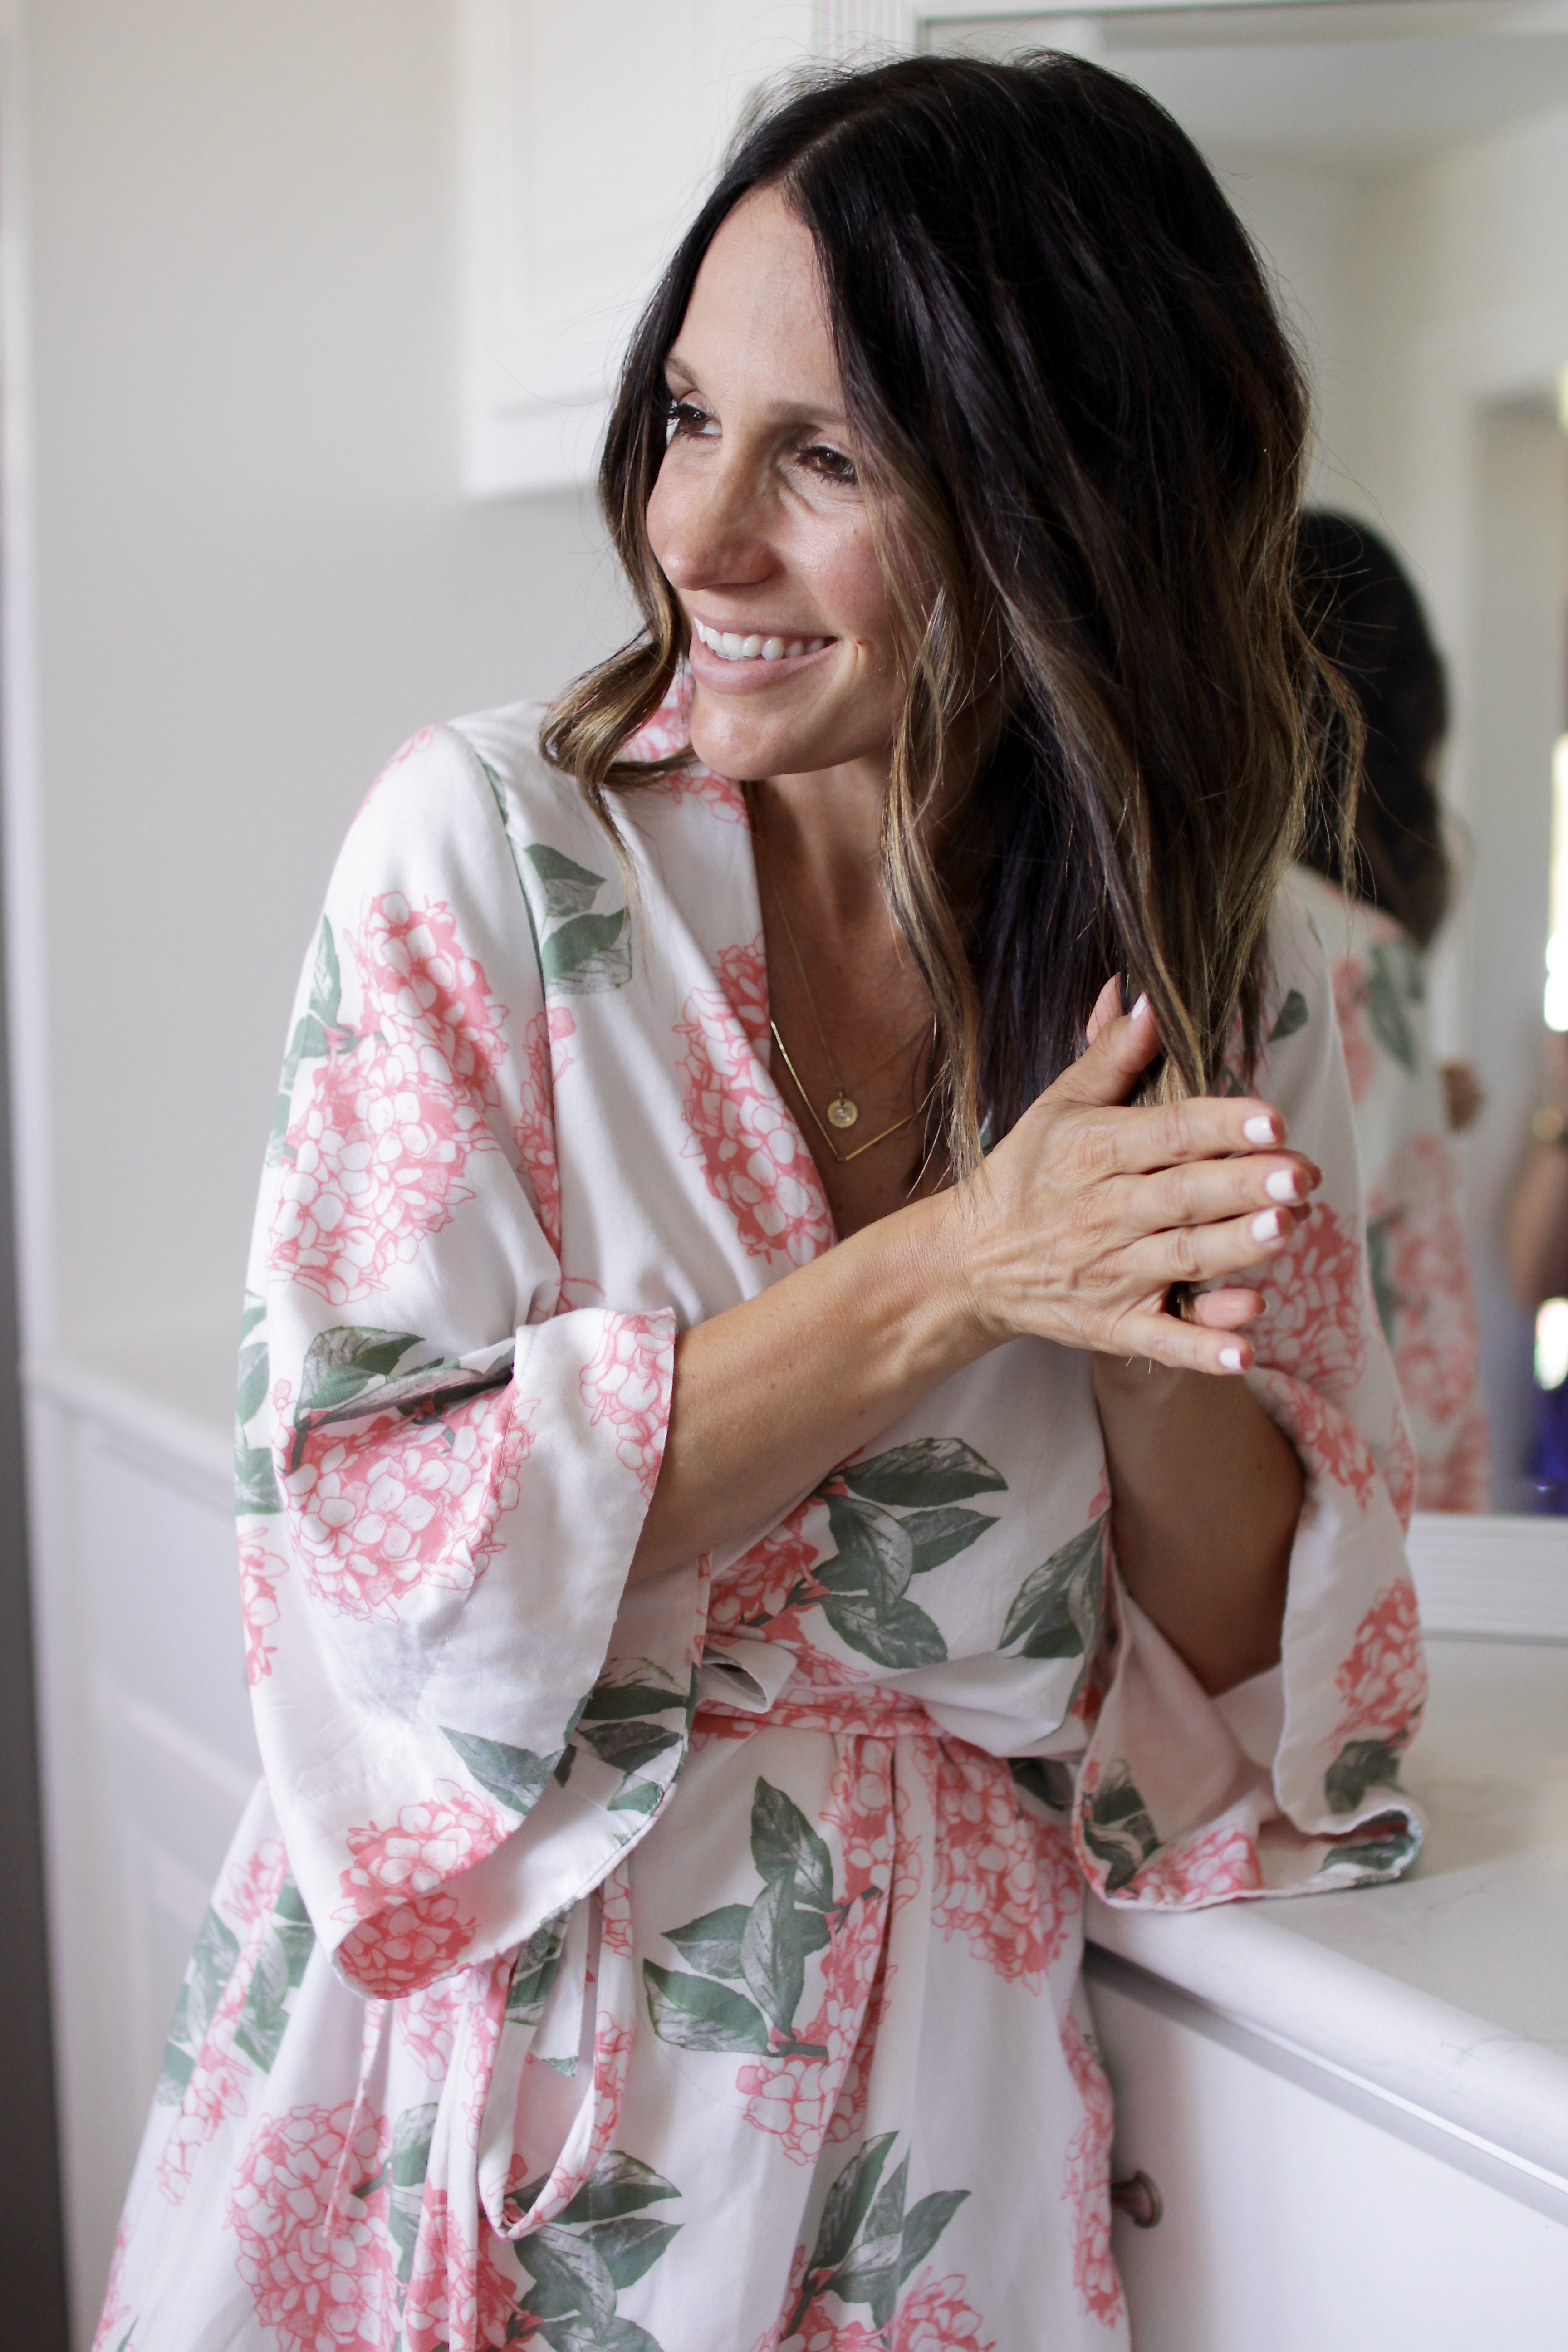
After I have curled all sections, I shake my hands through the curls to loosen then up a little.
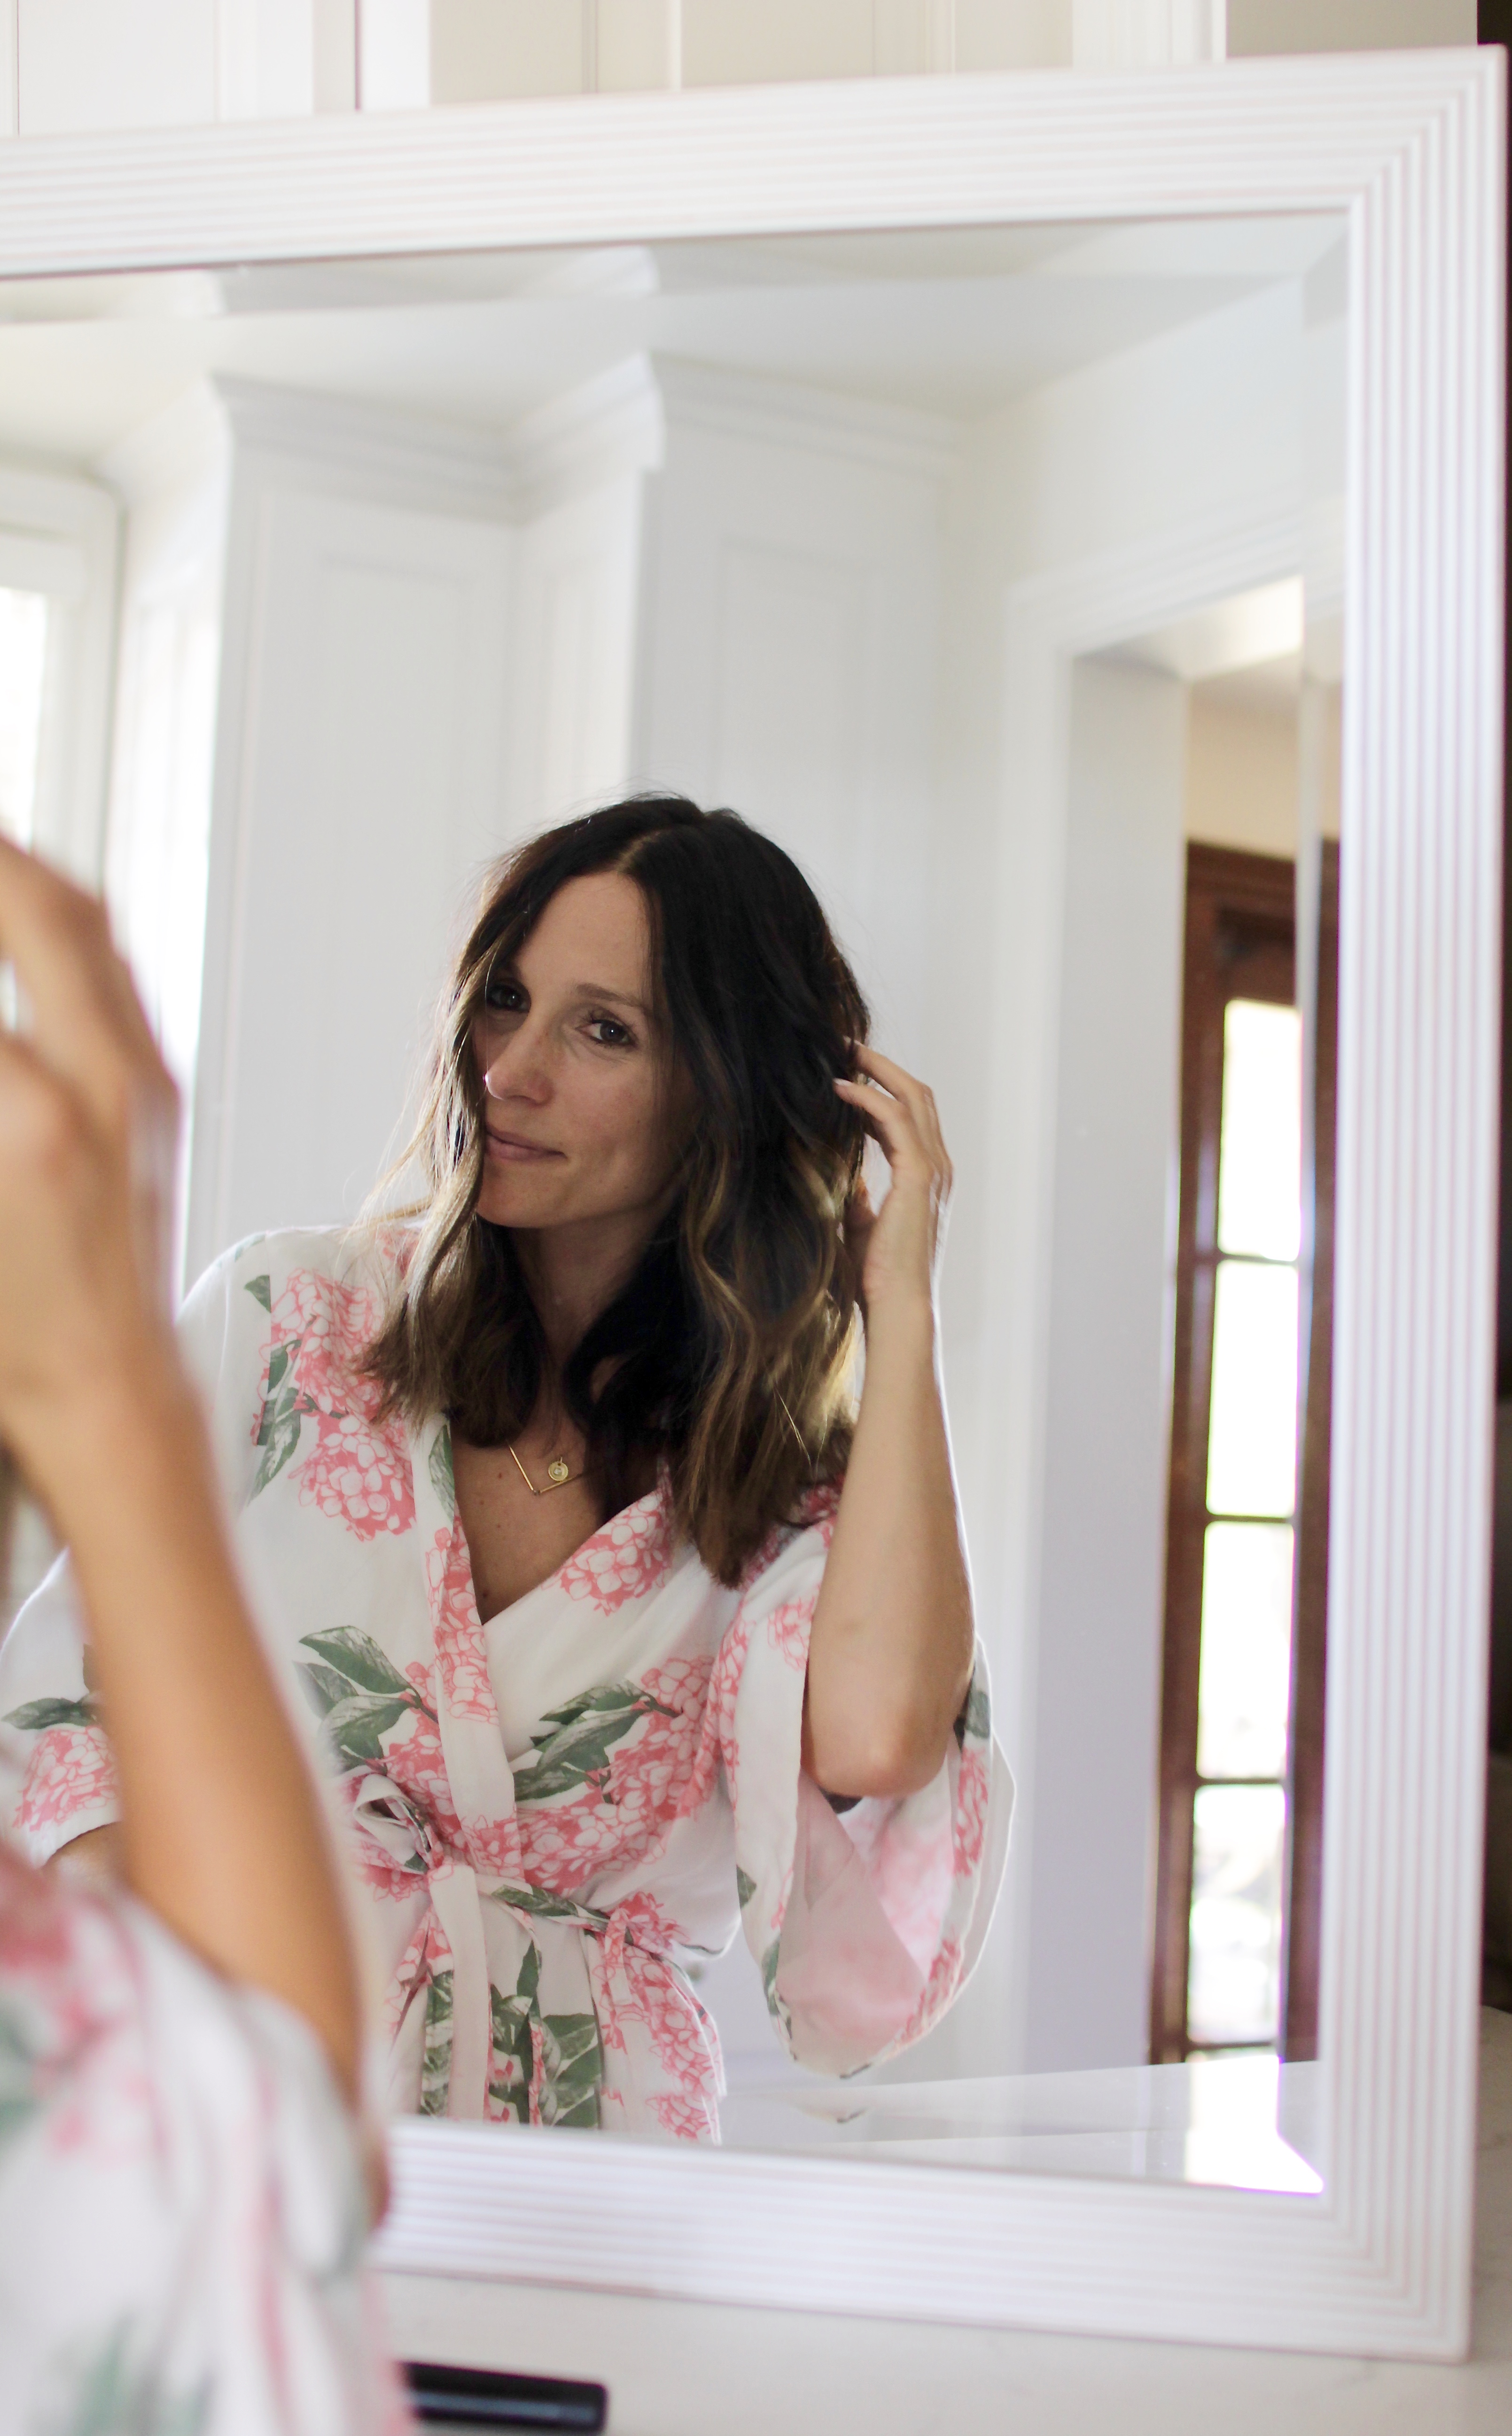
I then spray some of the oil mist on my hands and rub it over my hair to tame any frizz.
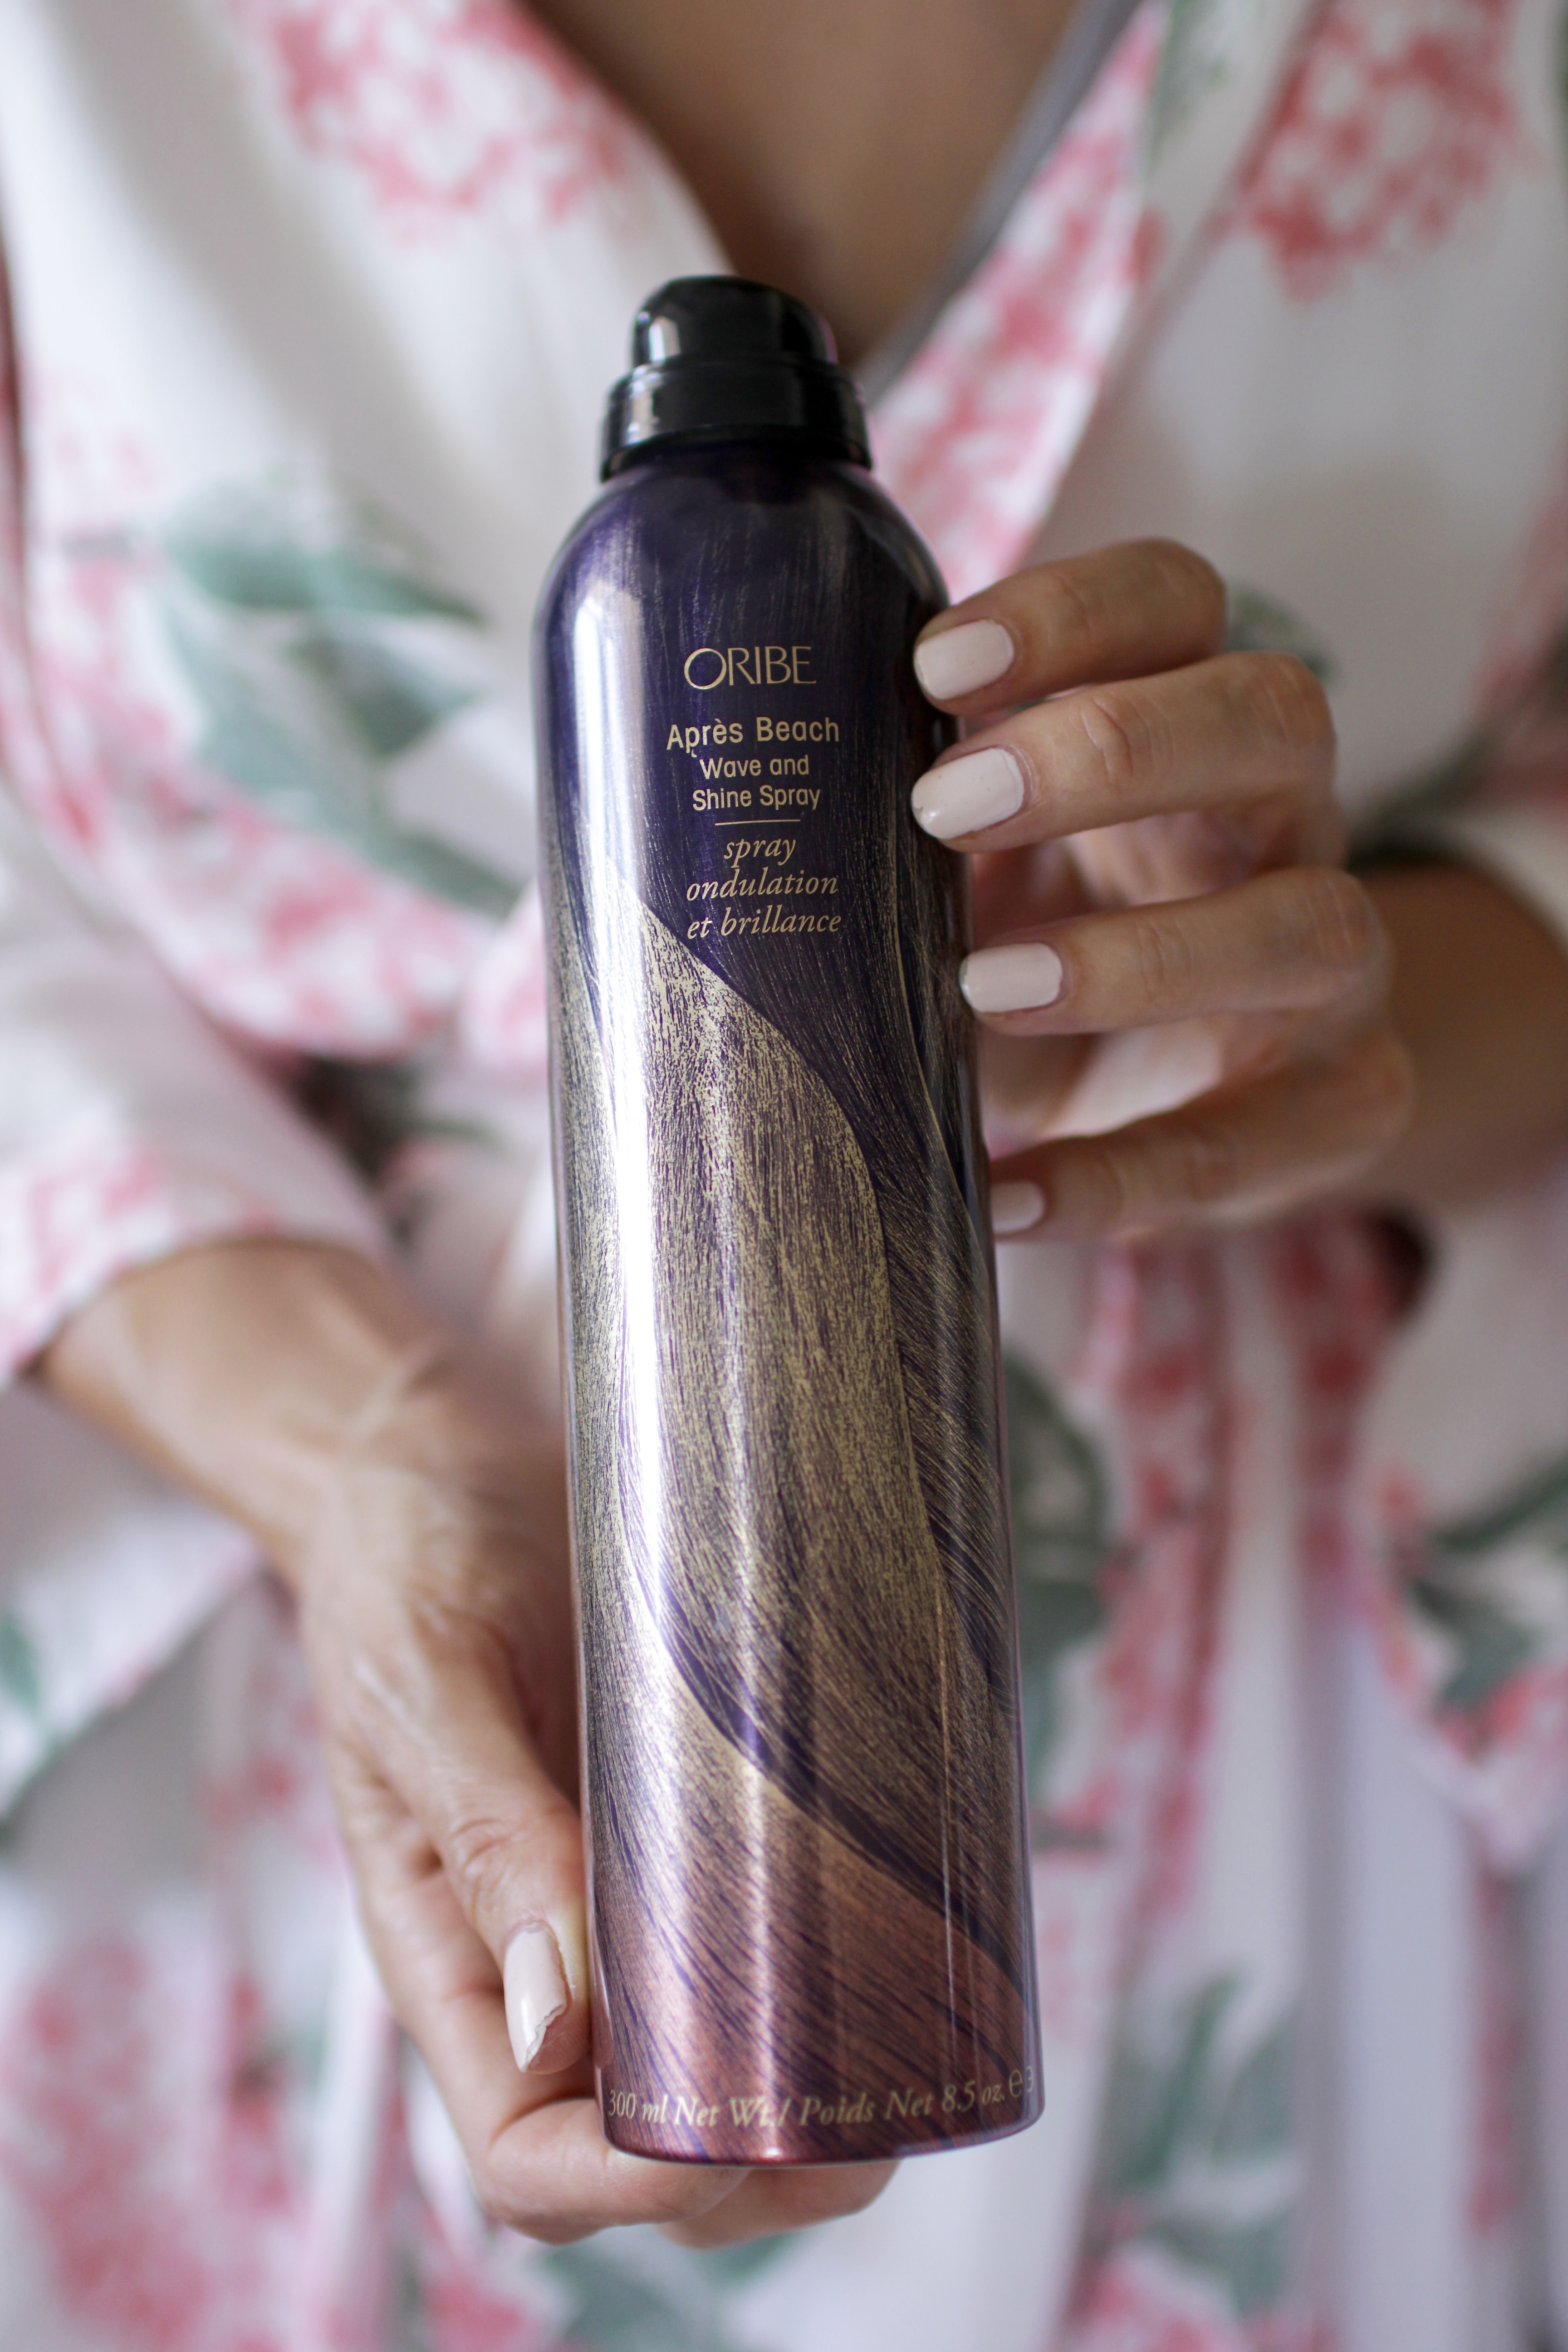
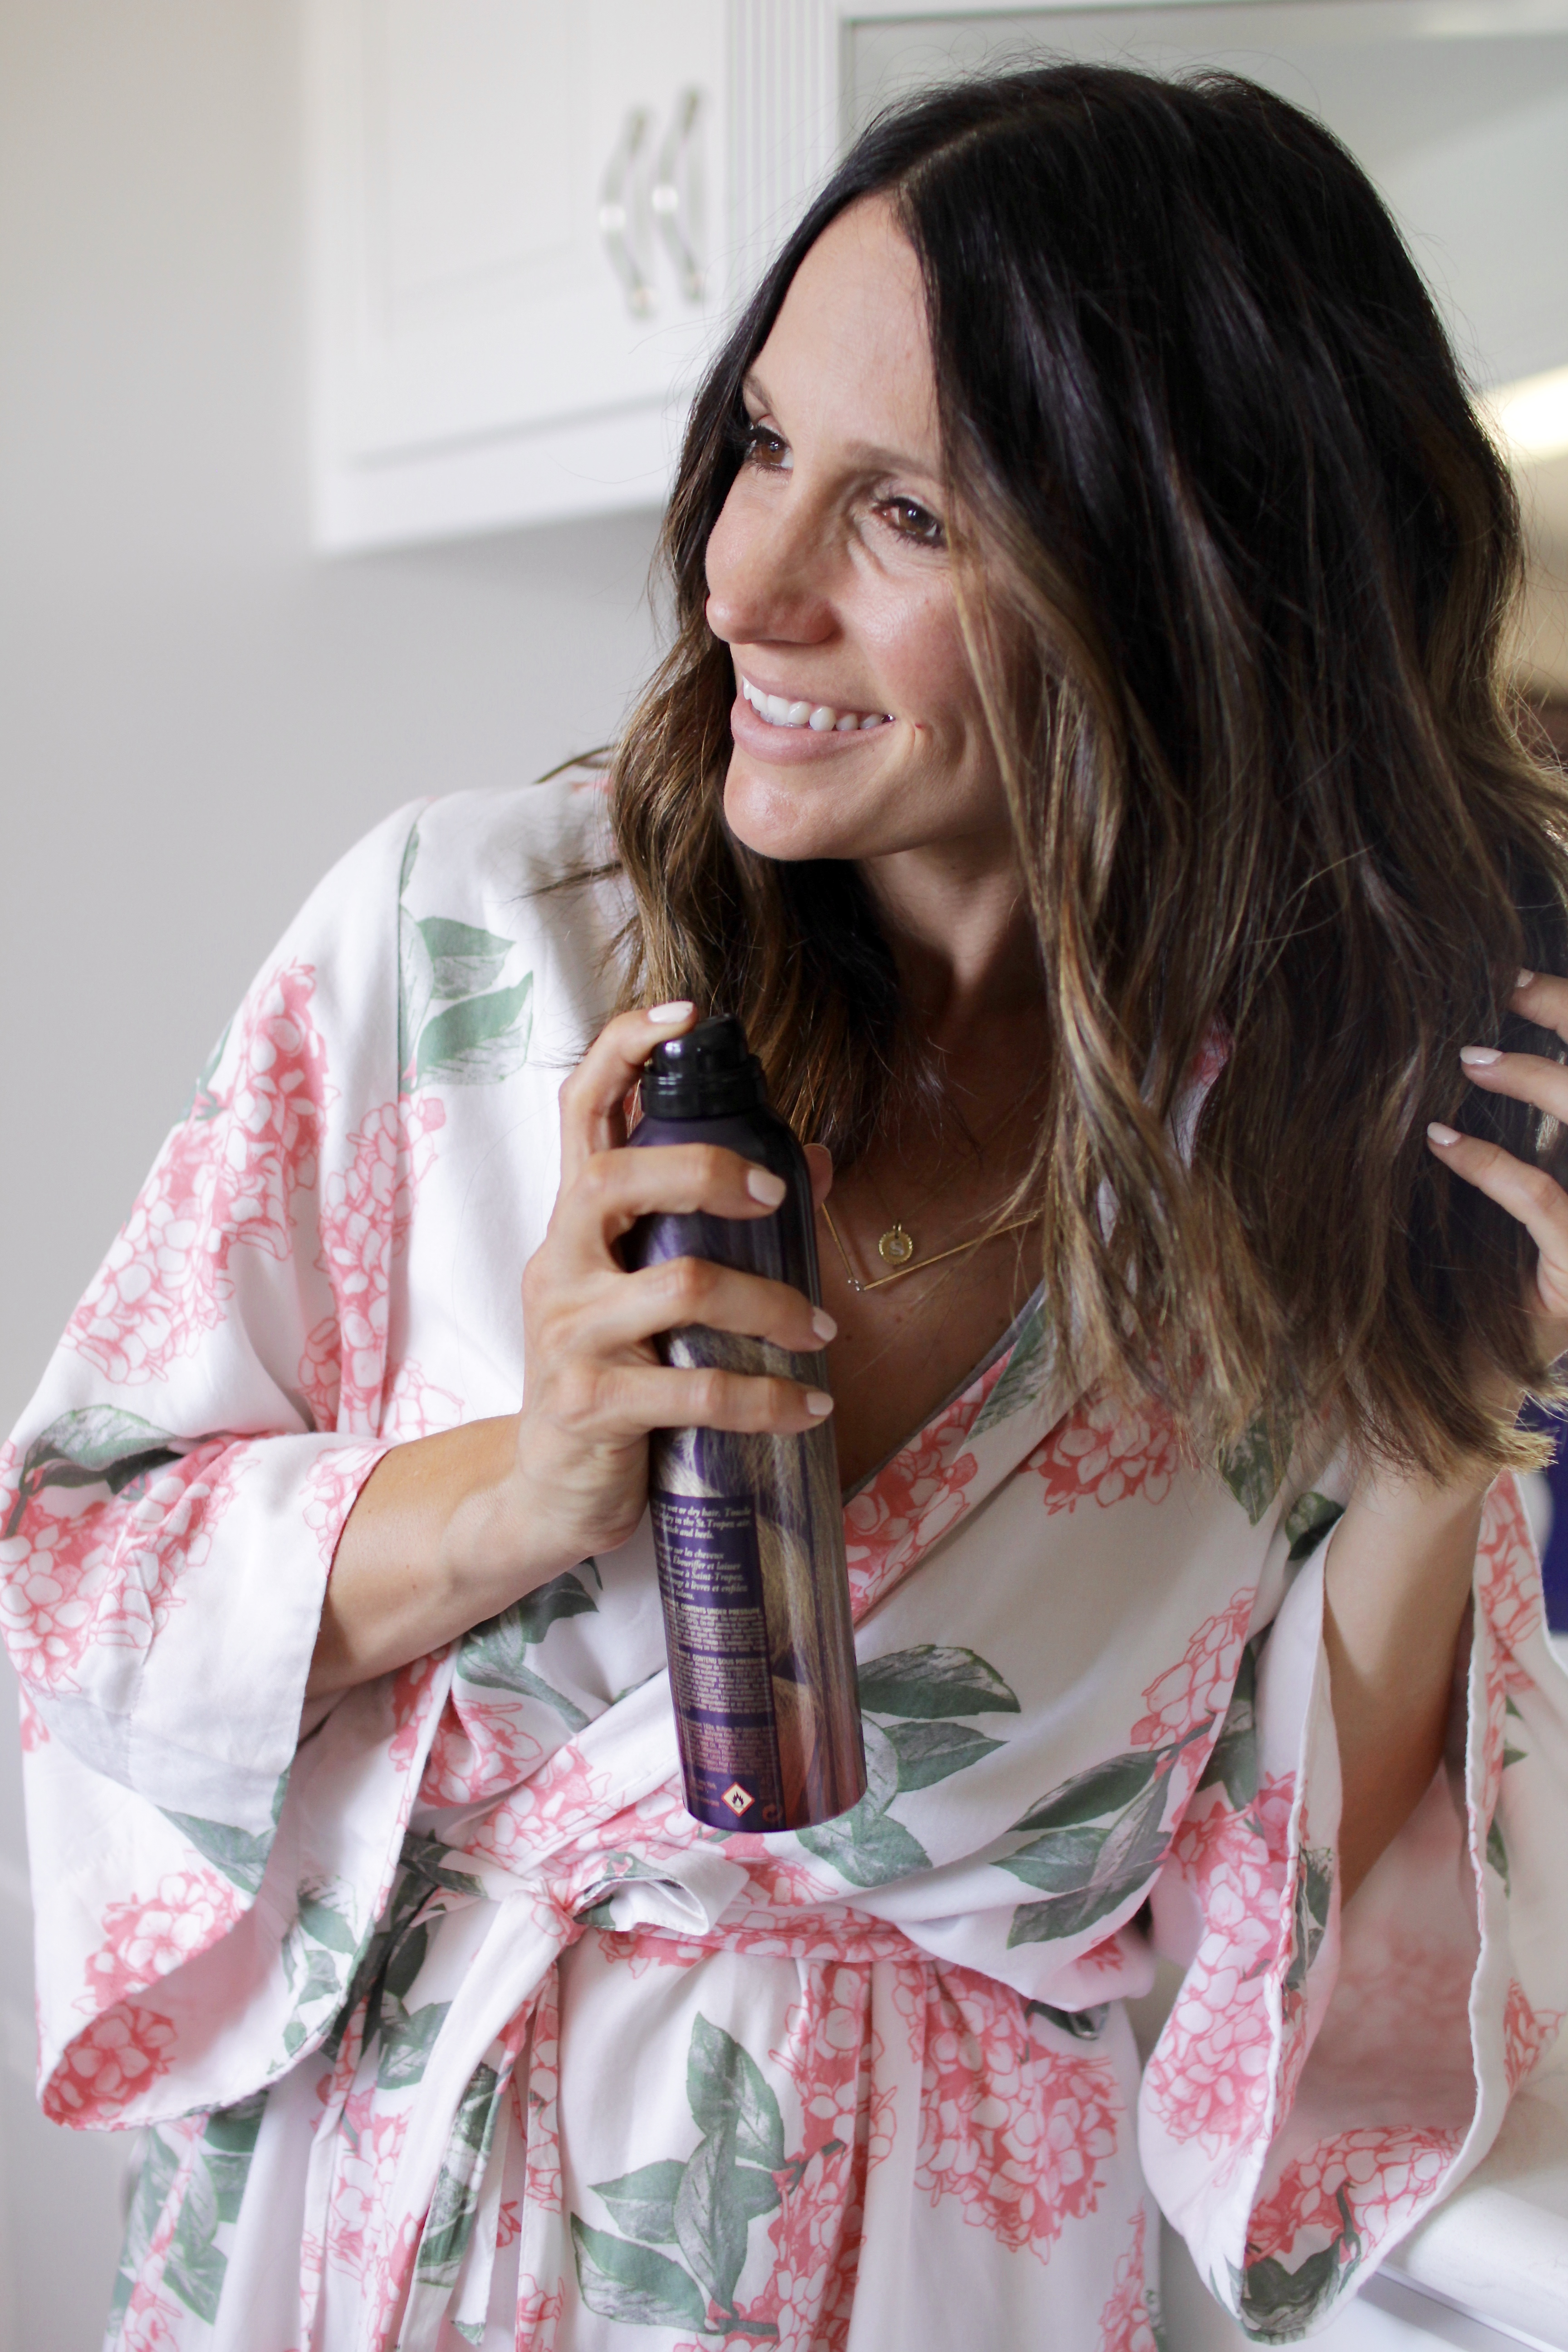
Then, to get it a little messy and tousled, I use a few sprays of this après beach spray (it was an investment, but I like it!).
Then, I’d say toss on your favorite little outfit and get yourself out the door for a little bit of fun! Have a great weekend everyone!!